Installation and Configuration
1.Plug one end of the supplied Ethernet cable into the port labeled 1 on the back of the Connection Point
2.Plug the other end of the Ethernet cable into the Ethernet port on the PC. 2
Powering Up
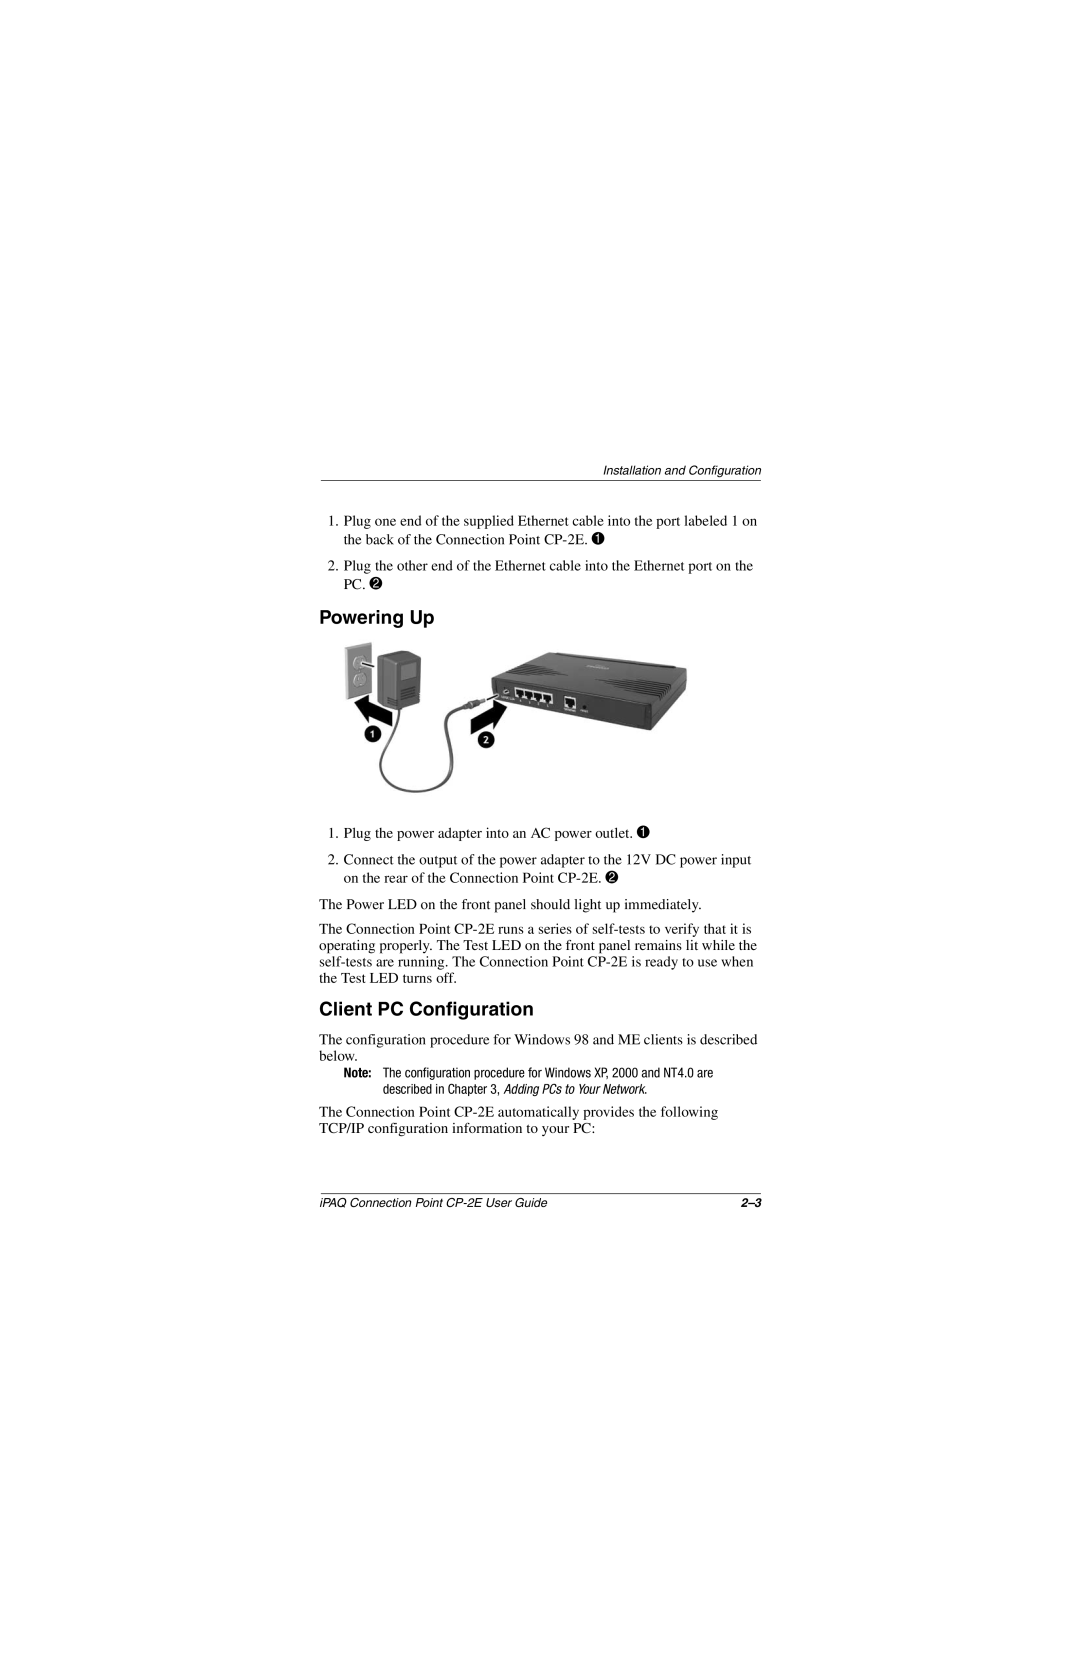
1.Plug the power adapter into an AC power outlet. 1
2.Connect the output of the power adapter to the 12V DC power input on the rear of the Connection Point
The Power LED on the front panel should light up immediately.
The Connection Point
Client PC Configuration
The configuration procedure for Windows 98 and ME clients is described below.
Note: The configuration procedure for Windows XP, 2000 and NT4.0 are described in Chapter 3, Adding PCs to Your Network.
The Connection Point
iPAQ Connection Point |
