15.Position SCRAPER BLADES (item 2) on BEATER (item 13) as shown in Figure 8. Slide beater into freeze cylinder so slotted hooks engage DRIVE PIN (item 17) on DRIVE SHAFT (item 19). Turn beater to the right (clockwise) to lock in place.
16.Lubricate
17.Turn dispensing valve spring housing to the left (counterclockwise) to put tension on torsion spring, then tighten
18.Test dispensing valve to make sure it closes by itself when lever is released. If not, readjust torsion spring tension.
19.Sanitize syrup system as instructed in CLEANING AND SANITIZING, then return Unit to operation.
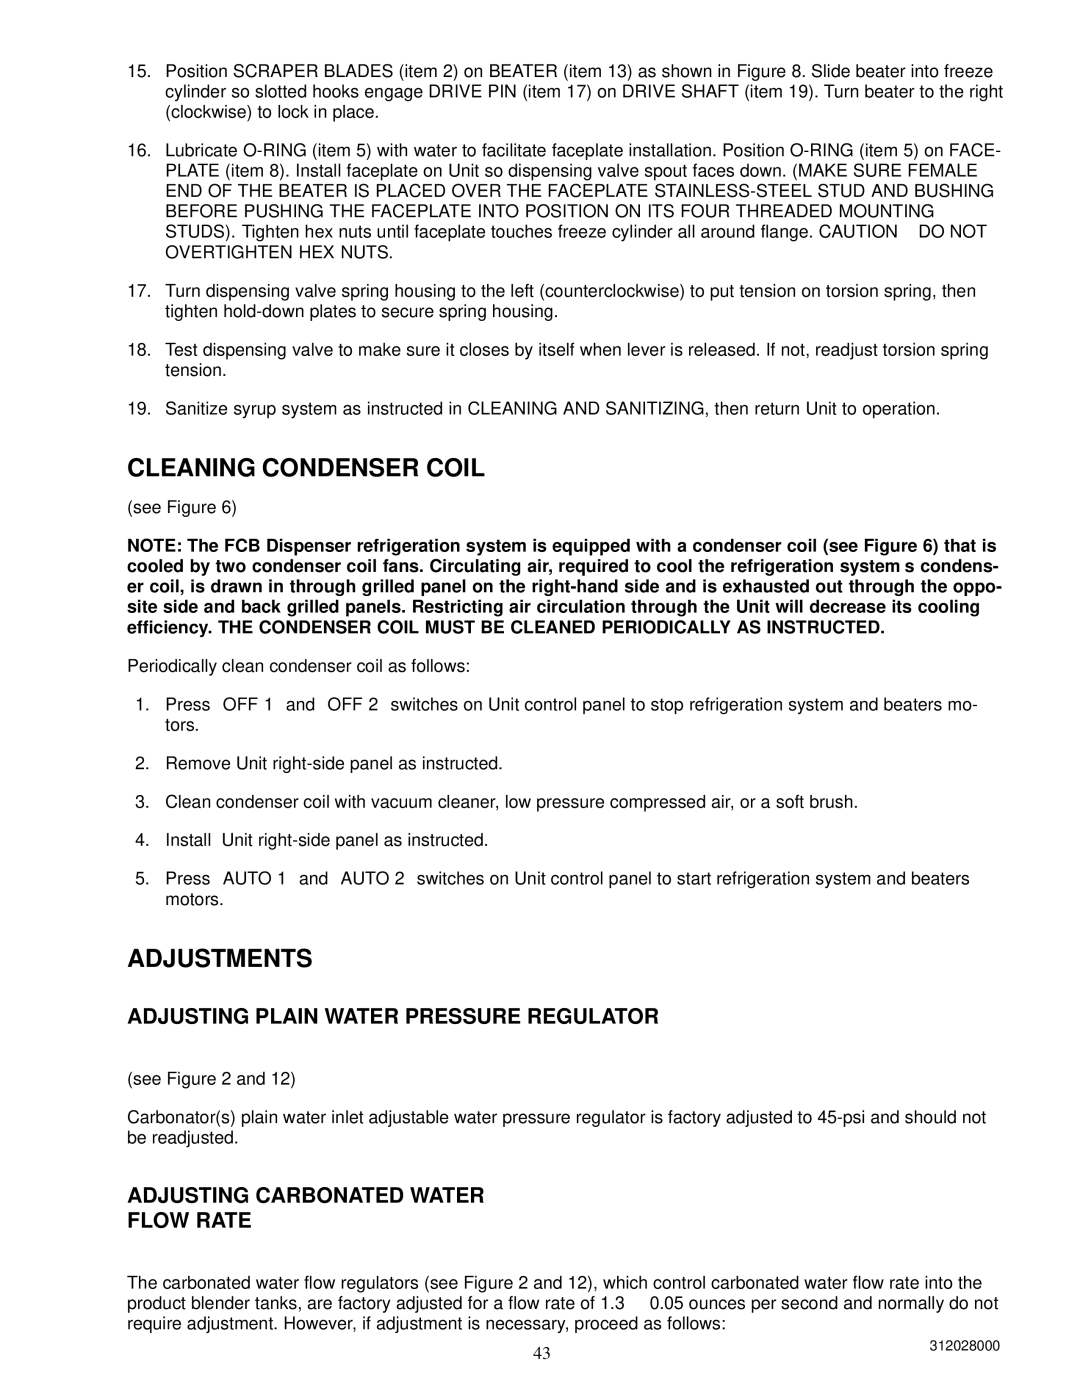
CLEANING CONDENSER COIL
(see Figure 6)
NOTE: The FCB Dispenser refrigeration system is equipped with a condenser coil (see Figure 6) that is cooled by two condenser coil fans. Circulating air, required to cool the refrigeration system’s condens- er coil, is drawn in through grilled panel on the
Periodically clean condenser coil as follows:
1.Press ‘‘OFF 1’’ and ‘‘OFF 2’’ switches on Unit control panel to stop refrigeration system and beaters mo- tors.
2.Remove Unit
3.Clean condenser coil with vacuum cleaner, low pressure compressed air, or a soft brush.
4.Install Unit
5.Press ‘‘AUTO 1’’ and ‘‘AUTO 2’’ switches on Unit control panel to start refrigeration system and beaters motors.
ADJUSTMENTS
ADJUSTING PLAIN WATER PRESSURE REGULATOR
(see Figure 2 and 12)
Carbonator(s) plain water inlet adjustable water pressure regulator is factory adjusted to
ADJUSTING CARBONATED WATER
FLOW RATE
The carbonated water flow regulators (see Figure 2 and 12), which control carbonated water flow rate into the product blender tanks, are factory adjusted for a flow rate of 1.3 ± 0.05 ounces per second and normally do not require adjustment. However, if adjustment is necessary, proceed as follows:
43 | 312028000 |
|