Installing the Hardware 19
Installing the Hardware
This chapter provides instructions for installing the
Preparing the Site for Installation
Before installing the switch or switches, make sure that the chosen installation location meets the following site requirements:
zPower — The switch is installed near an easily accessible
zGeneral — The power supply is correctly installed by checking that the LEDs on the front panel are illuminated.
zClearance — There is adequate frontal clearance for operator access. Allow clearance for cabling, power connections, and ventilation.
zCabling — The cabling is routed to avoid sources of electrical noise such as radio trans- mitters, broadcast amplifiers, power lines, and fluorescent lighting fixtures.
zAmbient — The ambient switch operating temperature range is 0 to 50ºC (32 to 122ºF) at a relative humidity of 10 to 90 percent,
Installing the D-Link DES-3226L Switch
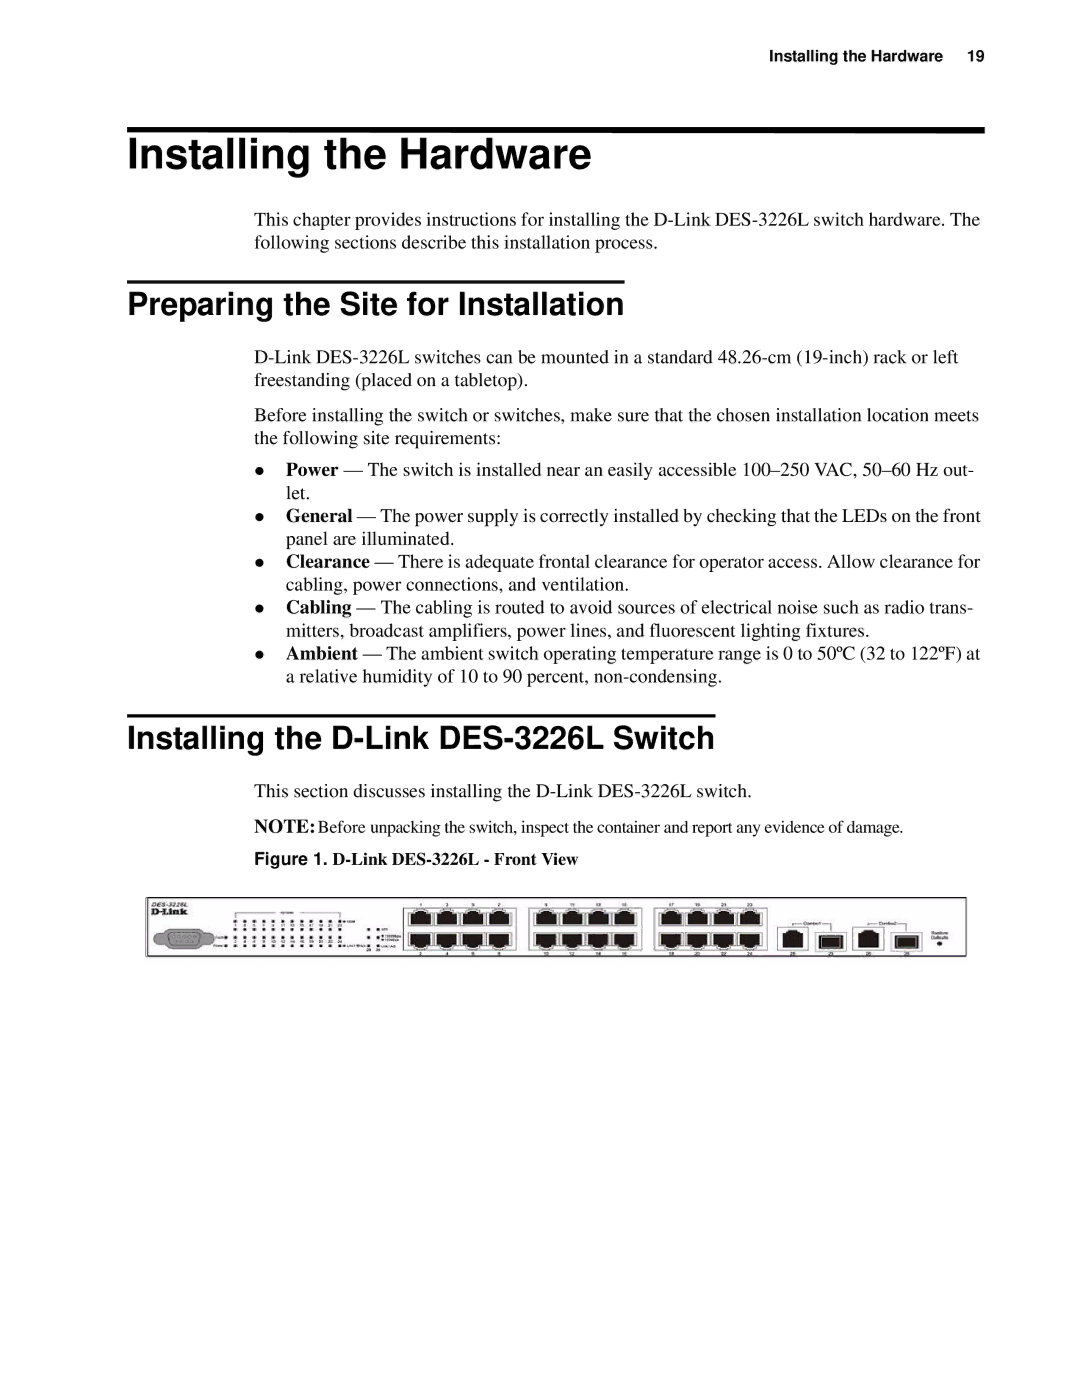
This section discusses installing the
NOTE: Before unpacking the switch, inspect the container and report any evidence of damage.
