Installing the Hardware 21
NOTE: Read the safety information in the Product Information Guide as well as the safety information for other switches that connect to or support the switch.
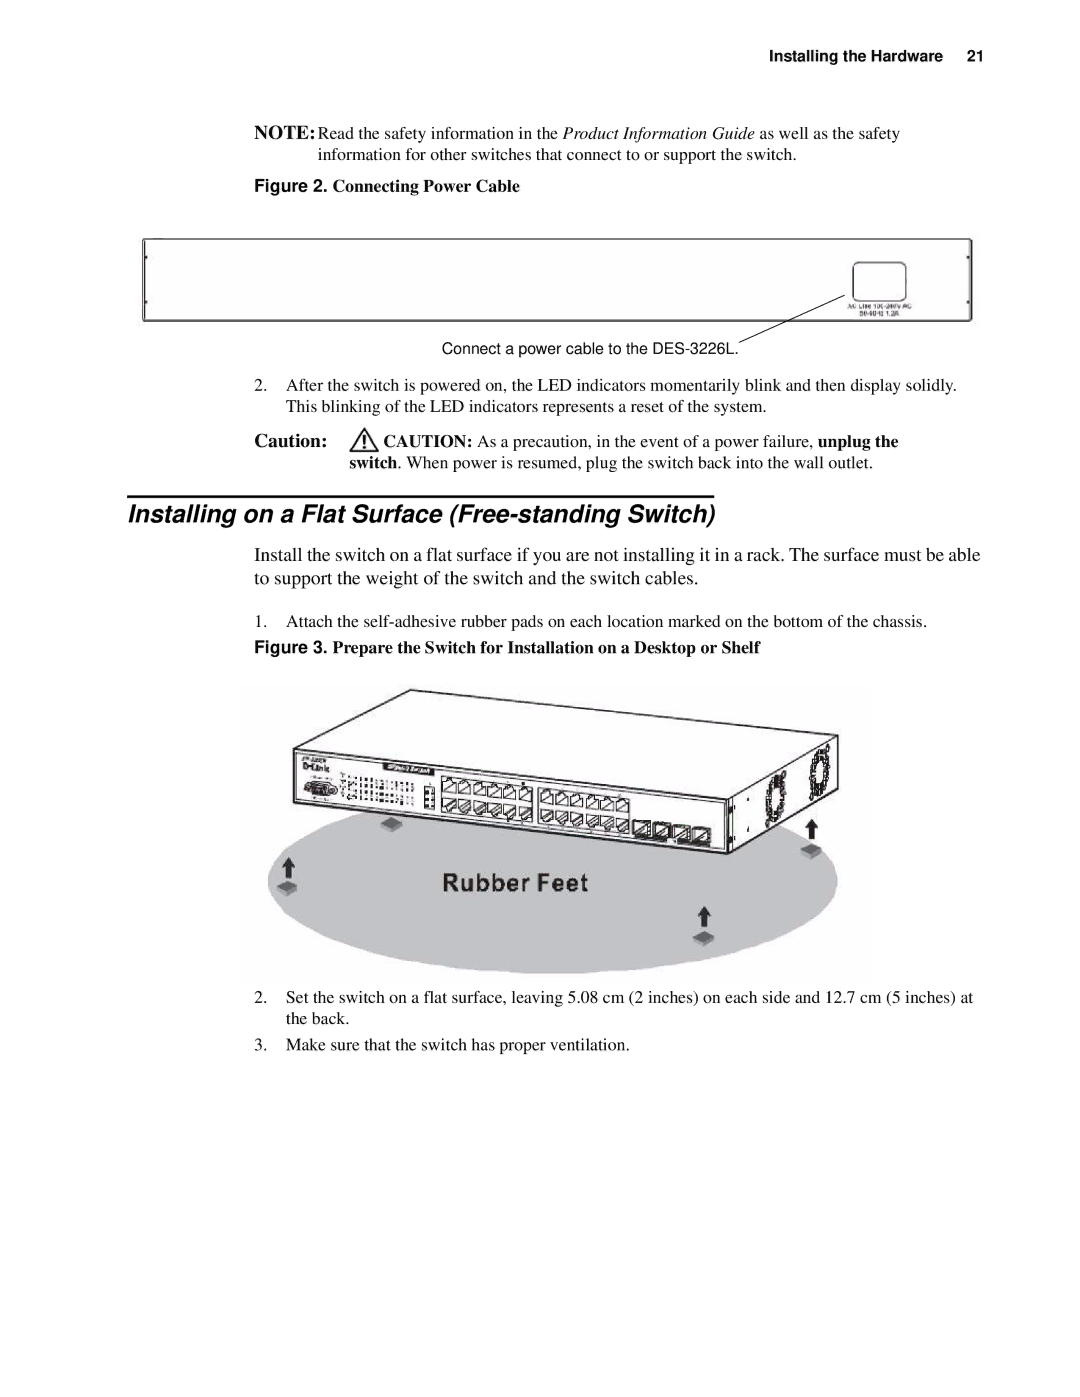
Figure 2. Connecting Power Cable
Connect a power cable to the
2.After the switch is powered on, the LED indicators momentarily blink and then display solidly. This blinking of the LED indicators represents a reset of the system.
Caution: ![]() CAUTION: As a precaution, in the event of a power failure, unplug the switch. When power is resumed, plug the switch back into the wall outlet.
CAUTION: As a precaution, in the event of a power failure, unplug the switch. When power is resumed, plug the switch back into the wall outlet.
Installing on a Flat Surface (Free-standing Switch)
Install the switch on a flat surface if you are not installing it in a rack. The surface must be able to support the weight of the switch and the switch cables.
1.Attach the
Figure 3. Prepare the Switch for Installation on a Desktop or Shelf
2.Set the switch on a flat surface, leaving 5.08 cm (2 inches) on each side and 12.7 cm (5 inches) at the back.
3.Make sure that the switch has proper ventilation.
