Setting Up Your Printer
2.2 Interfacing to the Printer
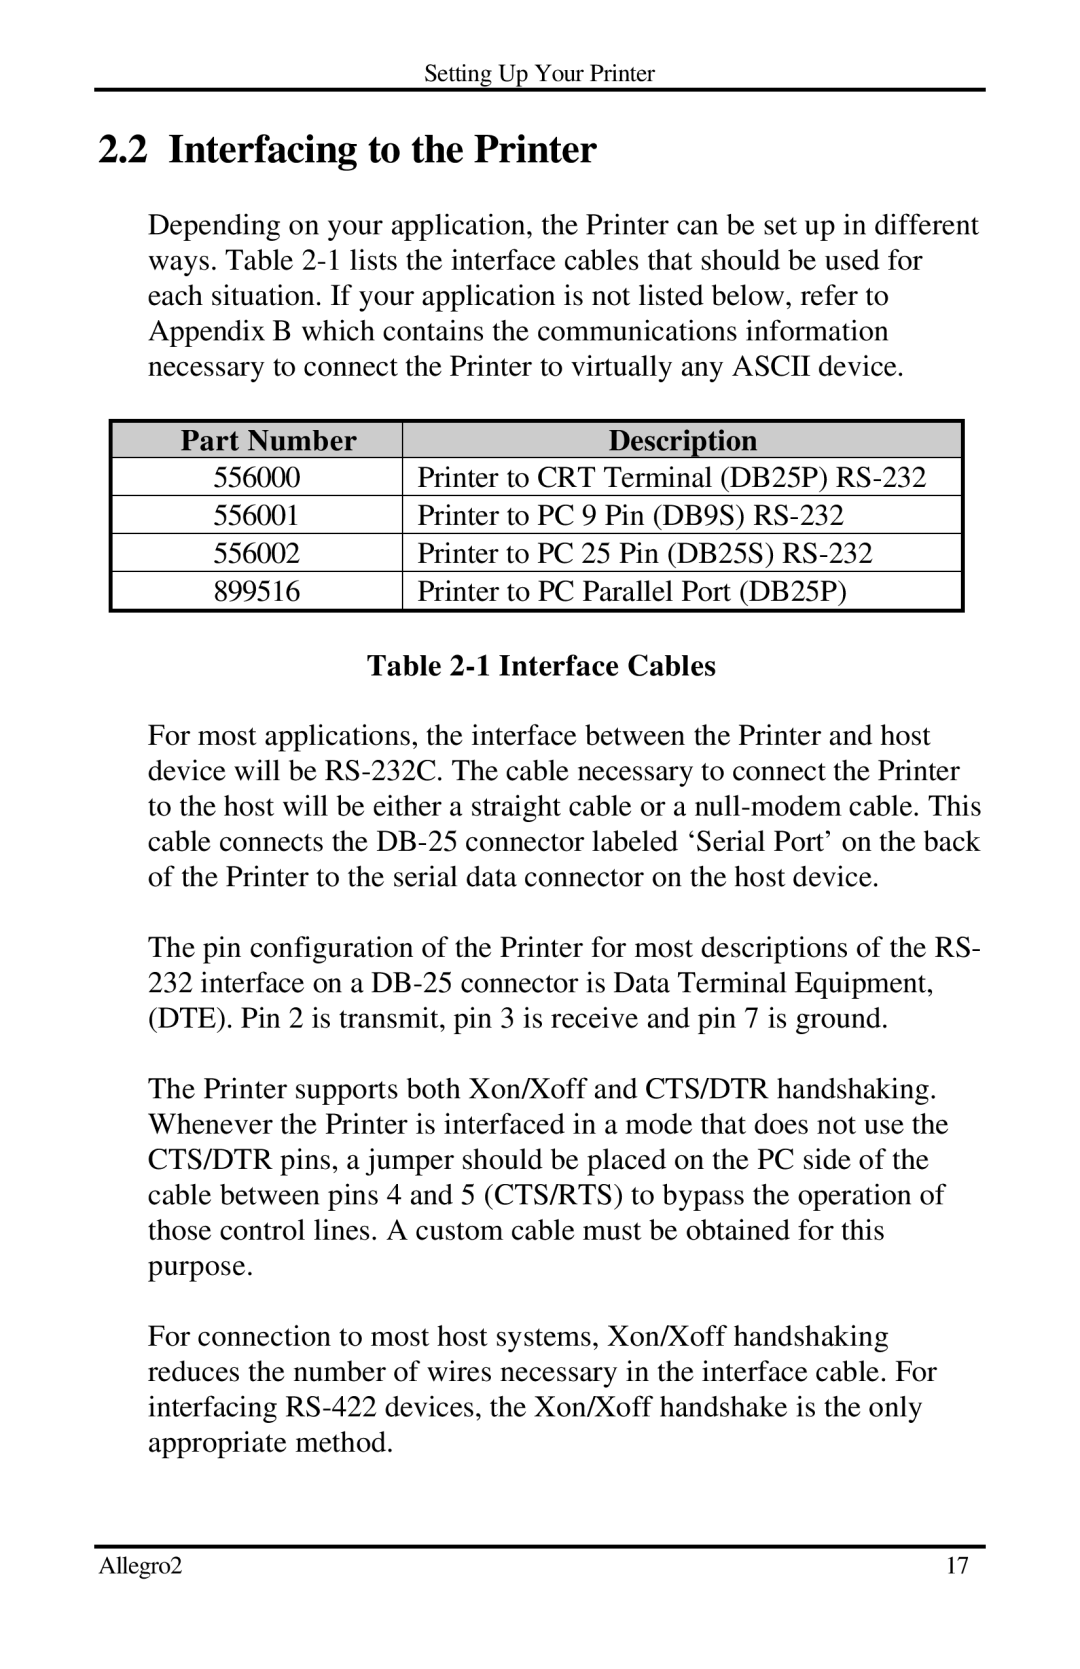
Depending on your application, the Printer can be set up in different ways. Table
Part Number | Description |
556000 | Printer to CRT Terminal (DB25P) |
556001 | Printer to PC 9 Pin (DB9S) |
556002 | Printer to PC 25 Pin (DB25S) |
899516 | Printer to PC Parallel Port (DB25P) |
Table 2-1 Interface Cables
For most applications, the interface between the Printer and host device will be
The pin configuration of the Printer for most descriptions of the RS- 232 interface on a
The Printer supports both Xon/Xoff and CTS/DTR handshaking. Whenever the Printer is interfaced in a mode that does not use the CTS/DTR pins, a jumper should be placed on the PC side of the cable between pins 4 and 5 (CTS/RTS) to bypass the operation of those control lines. A custom cable must be obtained for this purpose.
For connection to most host systems, Xon/Xoff handshaking reduces the number of wires necessary in the interface cable. For interfacing
Allegro2 | 17 |