w w w . d e l l . c o m s u p p o r t . d e l l . c o m
Printing Photos From a PictBridge-Compatible Camera
Your printer supports
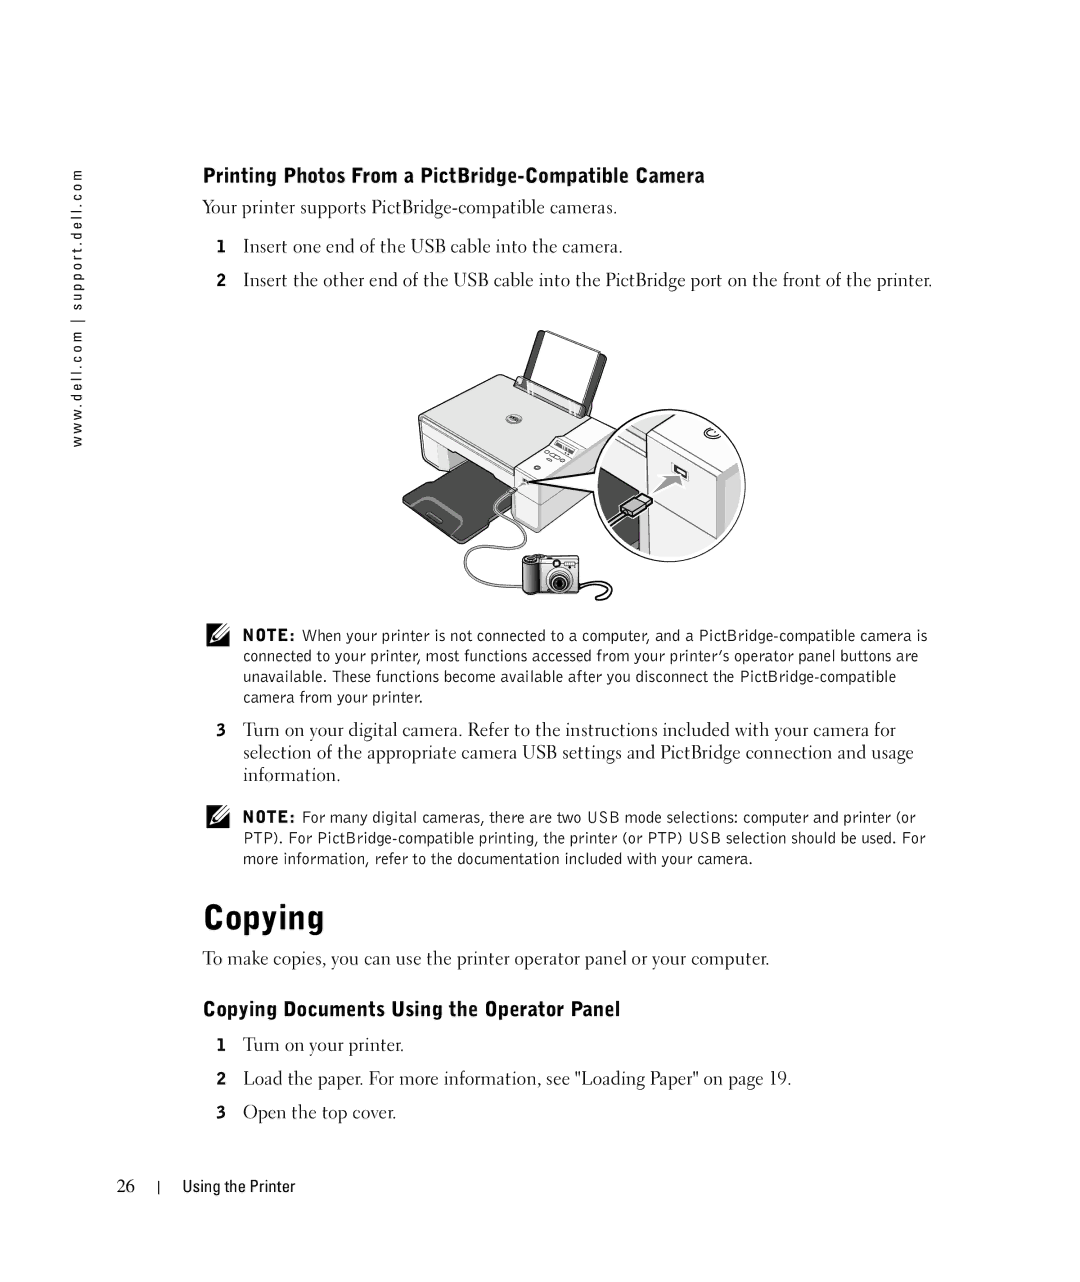
1Insert one end of the USB cable into the camera.
2Insert the other end of the USB cable into the PictBridge port on the front of the printer.
NOTE: When your printer is not connected to a computer, and a
3Turn on your digital camera. Refer to the instructions included with your camera for selection of the appropriate camera USB settings and PictBridge connection and usage information.
NOTE: For many digital cameras, there are two USB mode selections: computer and printer (or PTP). For
Copying
To make copies, you can use the printer operator panel or your computer.
Copying Documents Using the Operator Panel
1Turn on your printer.
2Load the paper. For more information, see "Loading Paper" on page 19.
3Open the top cover.
26
Using the Printer