DECATHLON SERIES GAS FRYERS

CHAPTER 1: SERVICE PROCEDURES

1.7.8 Replacing the Frypot (cont.)

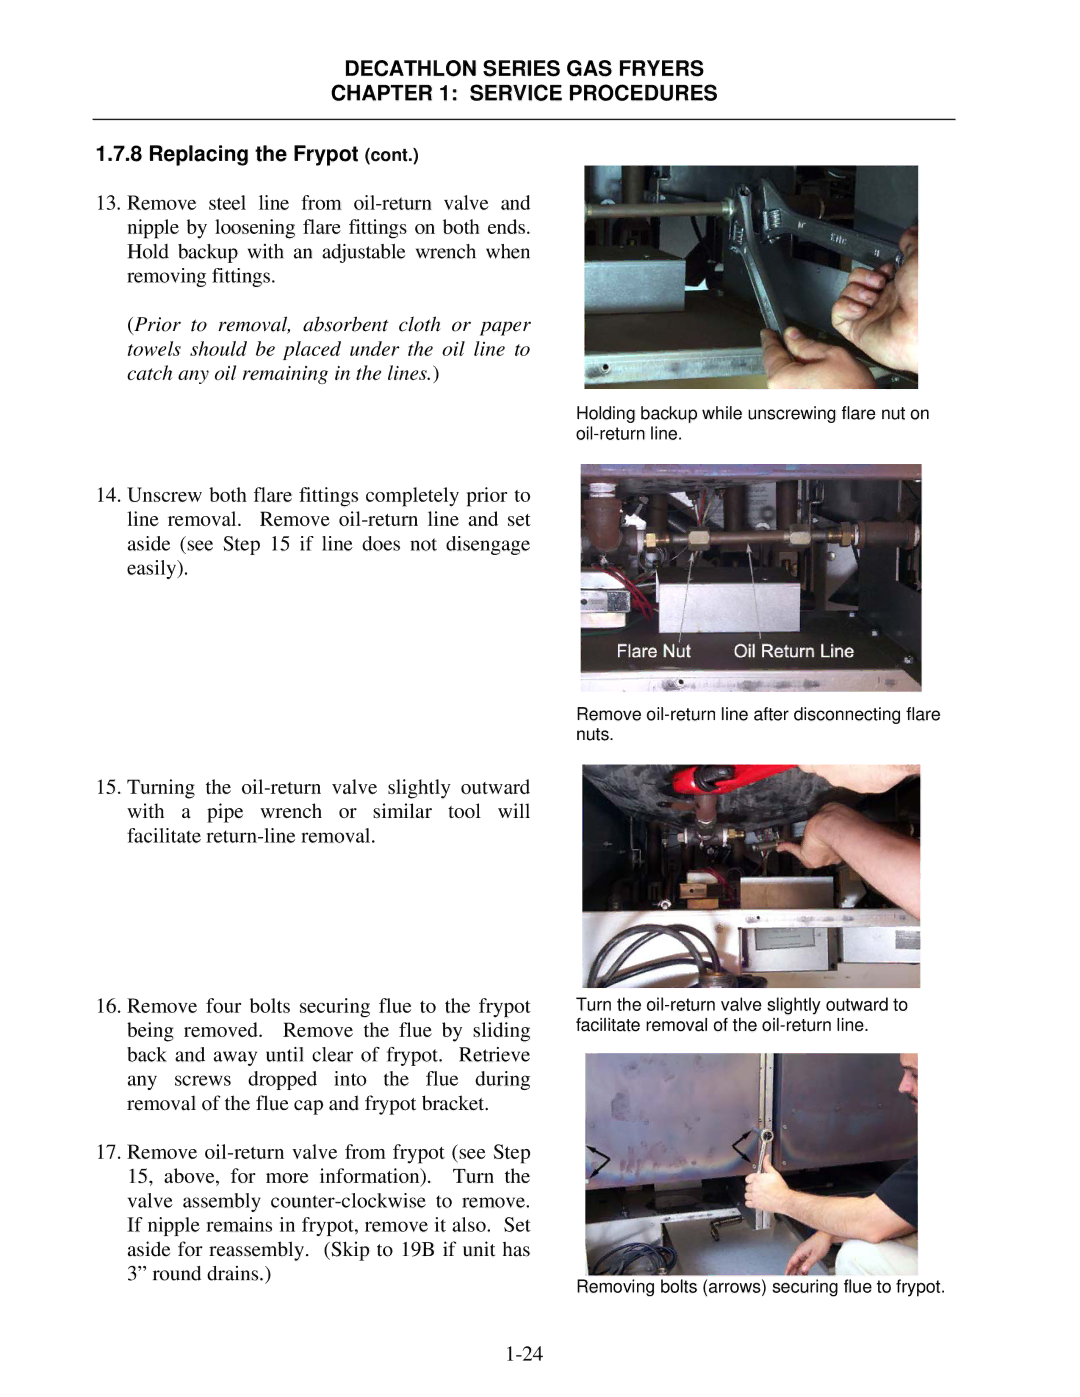
13.Remove steel line from oil-return valve and nipple by loosening flare fittings on both ends. Hold backup with an adjustable wrench when removing fittings.

(Prior to removal, absorbent cloth or paper towels should be placed under the oil line to catch any oil remaining in the lines.)

Holding backup while unscrewing flare nut on oil-return line.

14.Unscrew both flare fittings completely prior to line removal. Remove oil-return line and set aside (see Step 15 if line does not disengage easily).

Remove oil-return line after disconnecting flare nuts.

15.Turning the oil-return valve slightly outward with a pipe wrench or similar tool will facilitate return-line removal.

16.Remove four bolts securing flue to the frypot being removed. Remove the flue by sliding back and away until clear of frypot. Retrieve any screws dropped into the flue during removal of the flue cap and frypot bracket.

17.Remove oil-return valve from frypot (see Step 15, above, for more information). Turn the valve assembly counter-clockwise to remove. If nipple remains in frypot, remove it also. Set aside for reassembly. (Skip to 19B if unit has 3” round drains.)

Turn the oil-return valve slightly outward to facilitate removal of the oil-return line.

Removing bolts (arrows) securing flue to frypot.
1-24

Page 29
Image 29
Frymaster SCFD, FPD manual Holding backup while unscrewing flare nut on oil-return line