DECATHLON SERIES GAS FRYERS
CHAPTER 1: SERVICE PROCEDURES
1.7.3 Replacing the Temperature Probe; Computer-equipped Fryers (cont.)
9.The temperature probe can be removed through the bottom of the frypot as follows: Ensure the
10.Carefully remove the probe from the frypot. As the probe is removed, tilt the probe at an angle to facilitate removal (curved probes only).
IMPORTANT: When installing new probe, ensure probe is positioned properly with the mounting hardware installed prior to tightening the compression nut. Once tightened, the probe
cannot be repositioned.
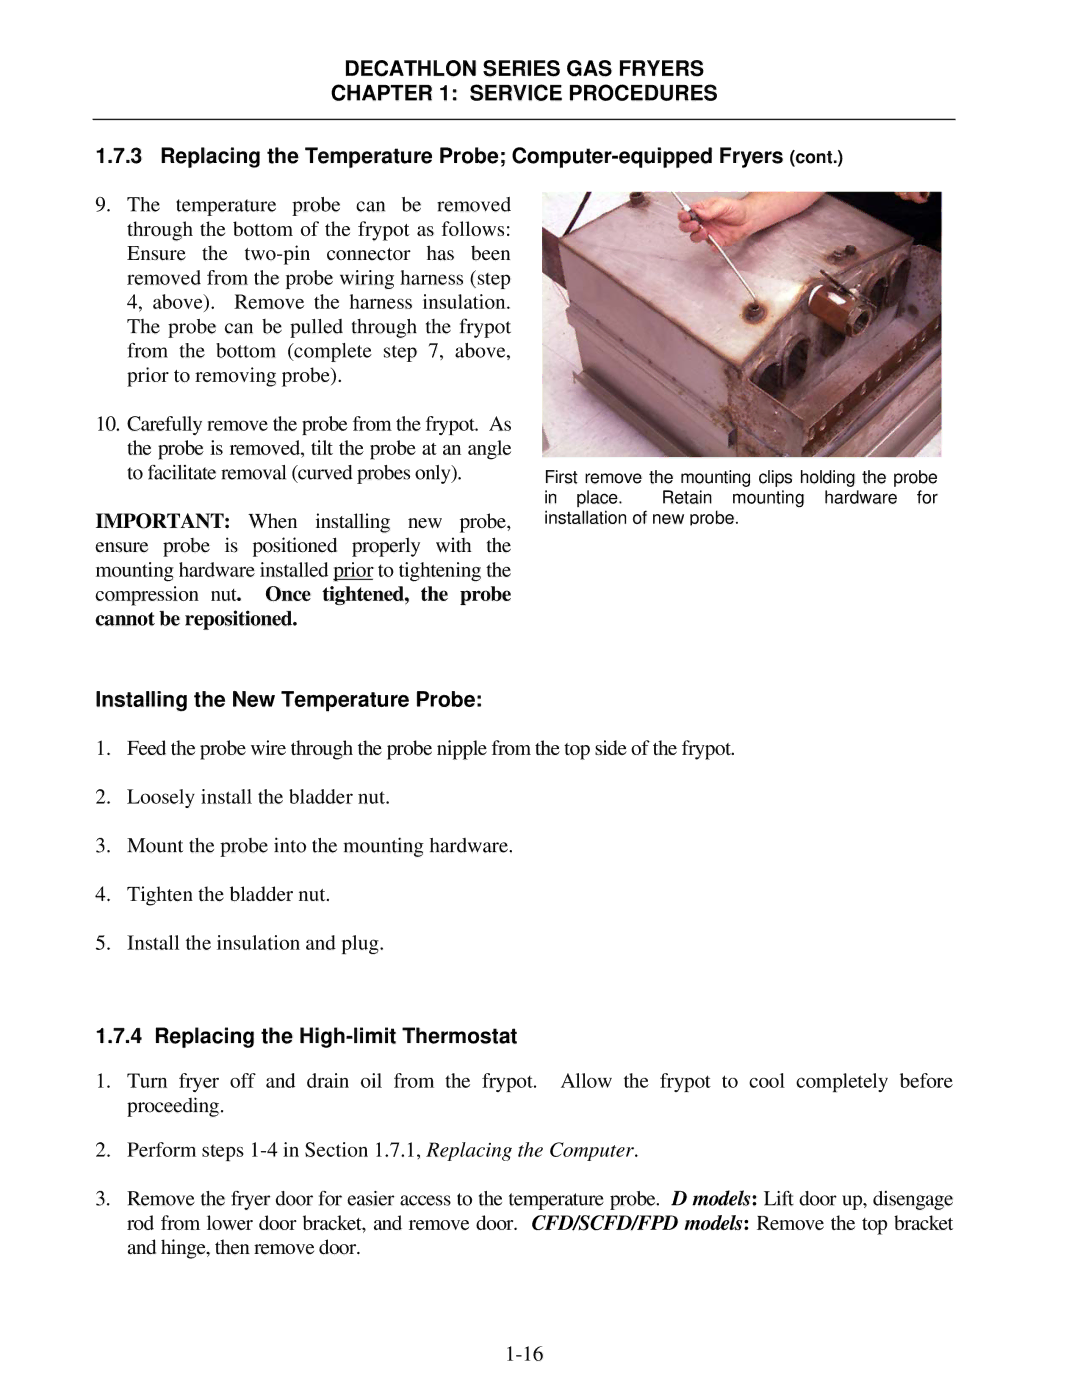
First remove the mounting clips holding the probe
in place. Retain mounting hardware for installation of new probe.
Installing the New Temperature Probe:
1.Feed the probe wire through the probe nipple from the top side of the frypot.
2.Loosely install the bladder nut.
3.Mount the probe into the mounting hardware.
4.Tighten the bladder nut.
5.Install the insulation and plug.
1.7.4 Replacing the High-limit Thermostat
1.Turn fryer off and drain oil from the frypot. Allow the frypot to cool completely before proceeding.
2.Perform steps
3.Remove the fryer door for easier access to the temperature probe. D models: Lift door up, disengage
rod from lower door bracket, and remove door. CFD/SCFD/FPD models: Remove the top bracket and hinge, then remove door.