DECATHLON SERIES GAS FRYERS
CHAPTER 1: SERVICE PROCEDURES
1.7.8 Replacing the Frypot (cont.)
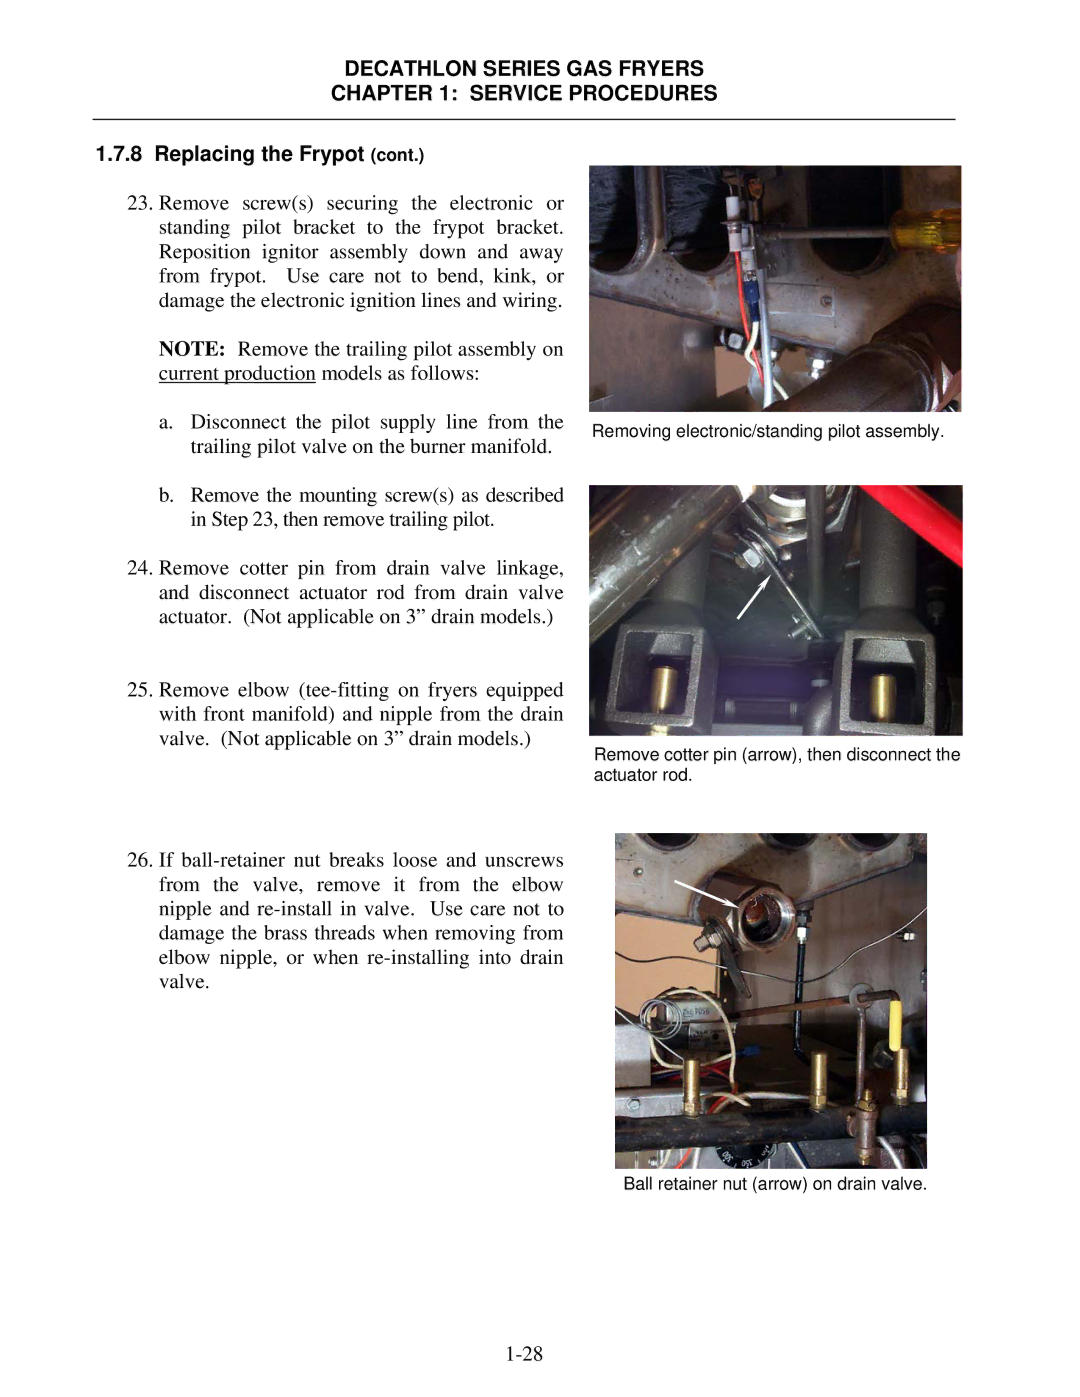
23.Remove screw(s) securing the electronic or standing pilot bracket to the frypot bracket. Reposition ignitor assembly down and away from frypot. Use care not to bend, kink, or damage the electronic ignition lines and wiring.
NOTE: Remove the trailing pilot assembly on current production models as follows:
a.Disconnect the pilot supply line from the trailing pilot valve on the burner manifold.
b.Remove the mounting screw(s) as described in Step 23, then remove trailing pilot.
24.Remove cotter pin from drain valve linkage, and disconnect actuator rod from drain valve actuator. (Not applicable on 3” drain models.)
25.Remove elbow
26.If
Removing electronic/standing pilot assembly.
Remove cotter pin (arrow), then disconnect the actuator rod.
Ball retainer nut (arrow) on drain valve.
