S t y l i s t i c S T 5 1 0 0 S e r i e s T a b l e t P C U s e r ’ s G u i d e – S e c t i o n T w o
Figure 2-6. Inserting a PC Card
Removing a PC Card
To remove a PC Card, first click the Safely Remove Hardware icon in the system tray in the bottom right- hand corner of the display. Select PC Card from the list, and click [Stop].
Press the PC Card eject button so that it pops out. Once the button has popped out, press it firmly to eject the card. (See Figure
PC Card Eject Button
Figure 2-7. Removing a PC Card
REMOVING AND INSTALLING MEMORY
There are two DIMM slots in your Tablet PC. 256 MB, 512 MB, 1 GB, and 2 GB modules are available, so you can install a combination of up to 4 GB in the system.
■Do not remove any screws from the memory upgrade module compartment except the ones specifically shown in the directions for installing and removing the memory upgrade module.
■The memory upgrade module can be severely damaged by electrostatic dis- charge (ESD). To minimize risk, observe the following precautions:
■Before handling a memory module, touch a grounded metal object to discharge static electricity built up in your body.
■When installing or removing a memory module, hold it by the edge so as not to touch any contacts or chips. Be careful not to touch any computer terminals or components; the oil from your fingers could cause a short.
■Be sure to power down your system before adding or removing memory modules. Even if the system is in hiber- nate or standby, data could be lost or memory could be damaged if power is still available to the system.
Installing a Memory Module
To install a DIMM module in the Tablet PC:
1.Ensure that the Tablet PC is off. To do so, carry out the Shut Down command in the Start menu. (Do not attempt to remove or install a DIMM module when the system is in Standby mode or running.)
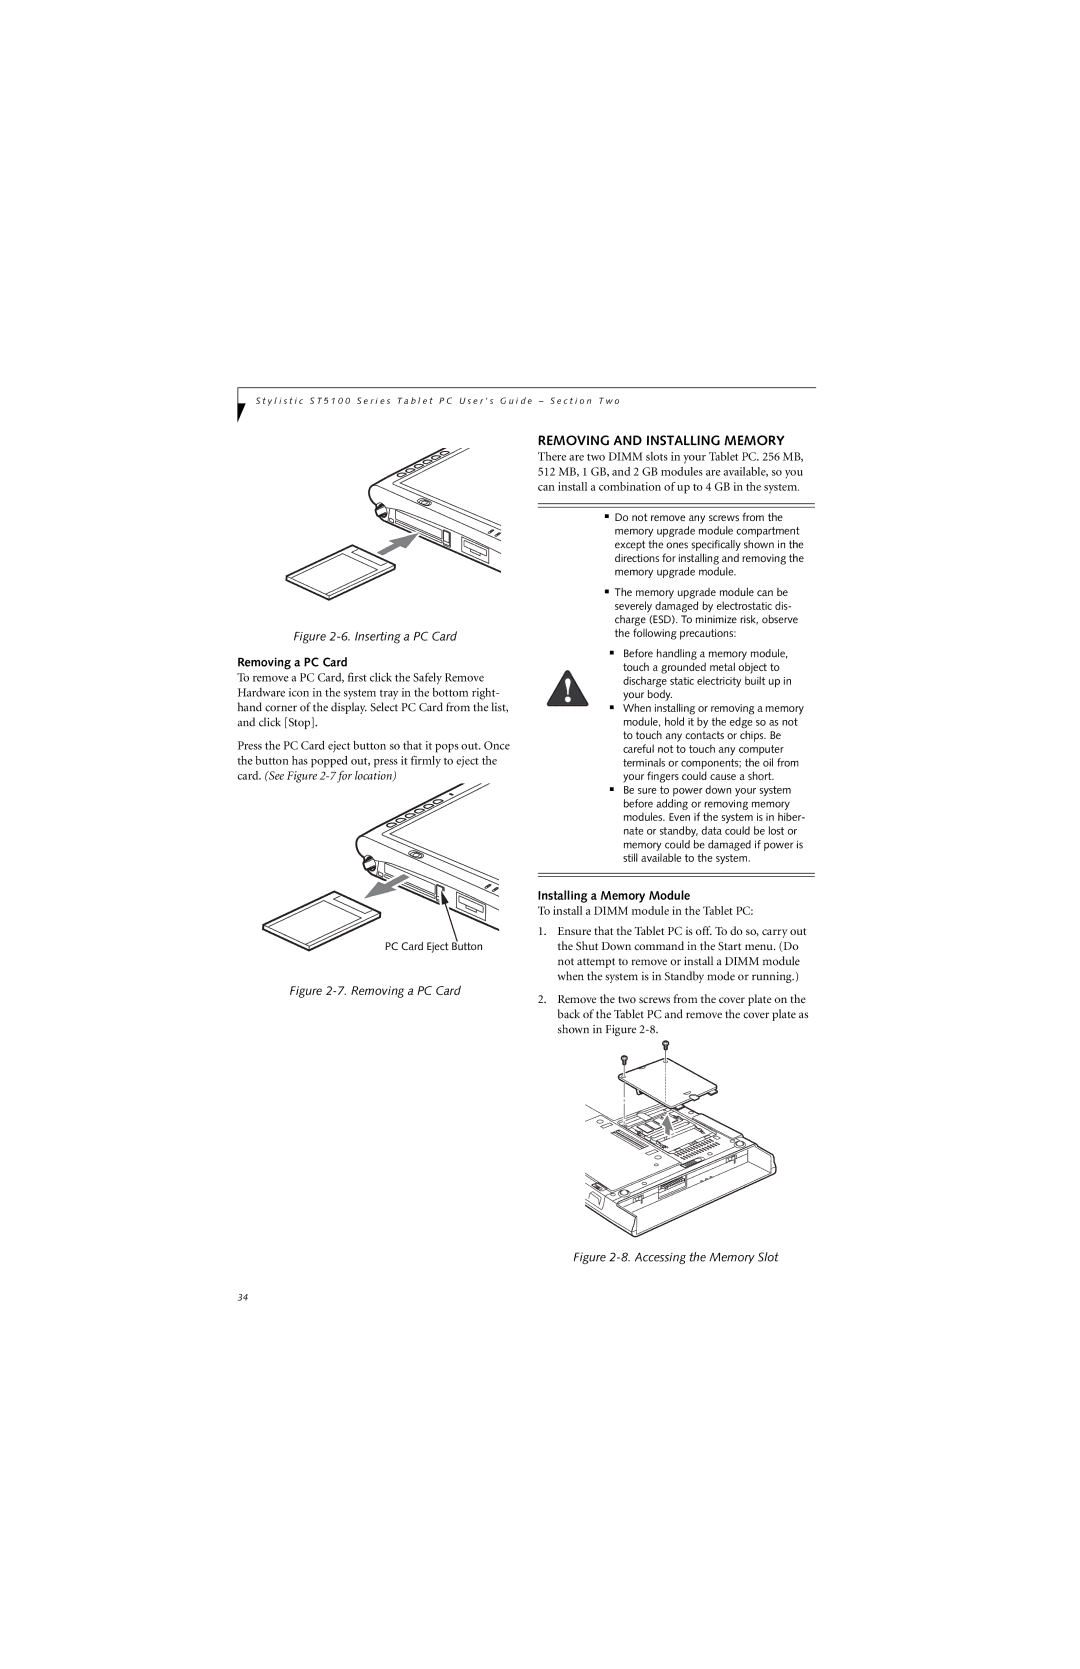
2.Remove the two screws from the cover plate on the back of the Tablet PC and remove the cover plate as shown in Figure
Figure 2-8. Accessing the Memory Slot
34