Installation |
|
|
|
☞A NOTE ABOUT RECYCLING
The crate components can be reused for shipping the machine again, or can be disassembled and the wood and screws recycled. The shrink wrap is not recyclable, however, so it must be discarded.
14.Level the laminator using the procedure later in 6HWXSthis section.
Once the
Tools required:
•1/8" hex wrench
•7/32" hex wrench
•3/8" hex wrench
•Adjustable wrench
Setup Procedure:
1.Inspect the laminator for any obvious shipping damage.
2.Using a 1/8" hex wrench, remove the screws secur- ing the cabinet panel to the control (electrical) side of the machine.
3.Using a 7/32" hex wrench, remove the pull roll height adjust crank from the drive side of the machine.
4.Using a 1/8" hex wrench, remove the screws secur- ing the cabinet panel to the drive side of the machine.
5.Inspect all the bolts and tighten any that were loos- ened during shipping.
6.Set the nip. (See Maintenance for the procedure.)
7.Replace both cabinet covers.
8.Replace the pull roll height adjust crank.
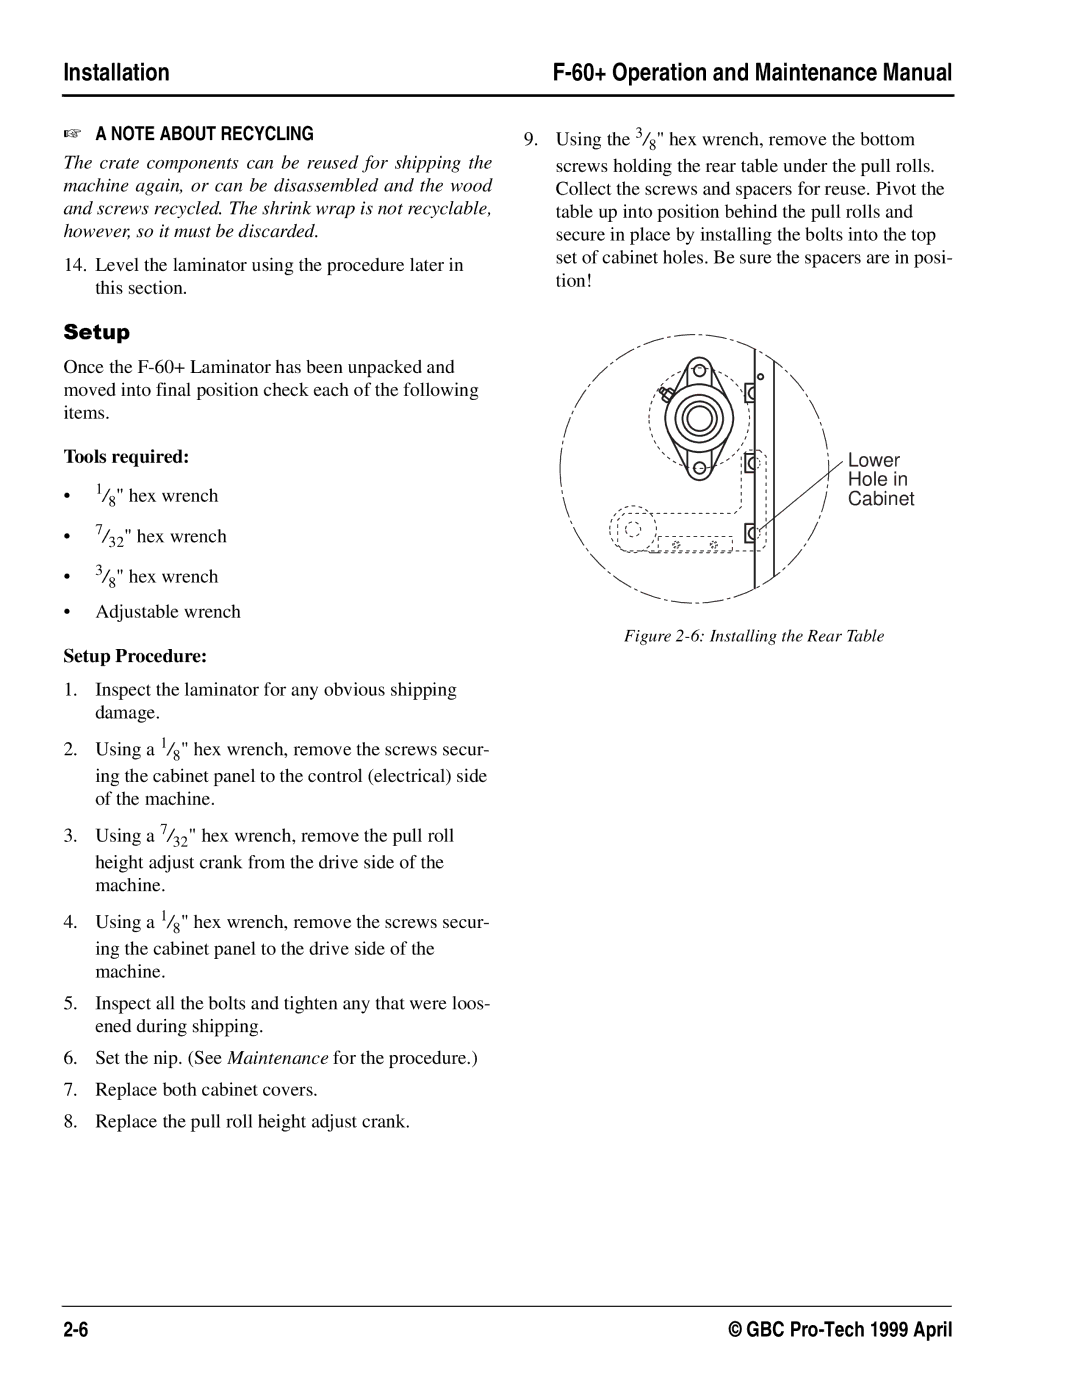
9.Using the 3/8" hex wrench, remove the bottom screws holding the rear table under the pull rolls. Collect the screws and spacers for reuse. Pivot the table up into position behind the pull rolls and secure in place by installing the bolts into the top set of cabinet holes. Be sure the spacers are in posi- tion!
Lower
Hole in
Cabinet
Figure 2-6: Installing the Rear Table
© GBC |