SOLD DISK MOD~E
How to Insert the Module
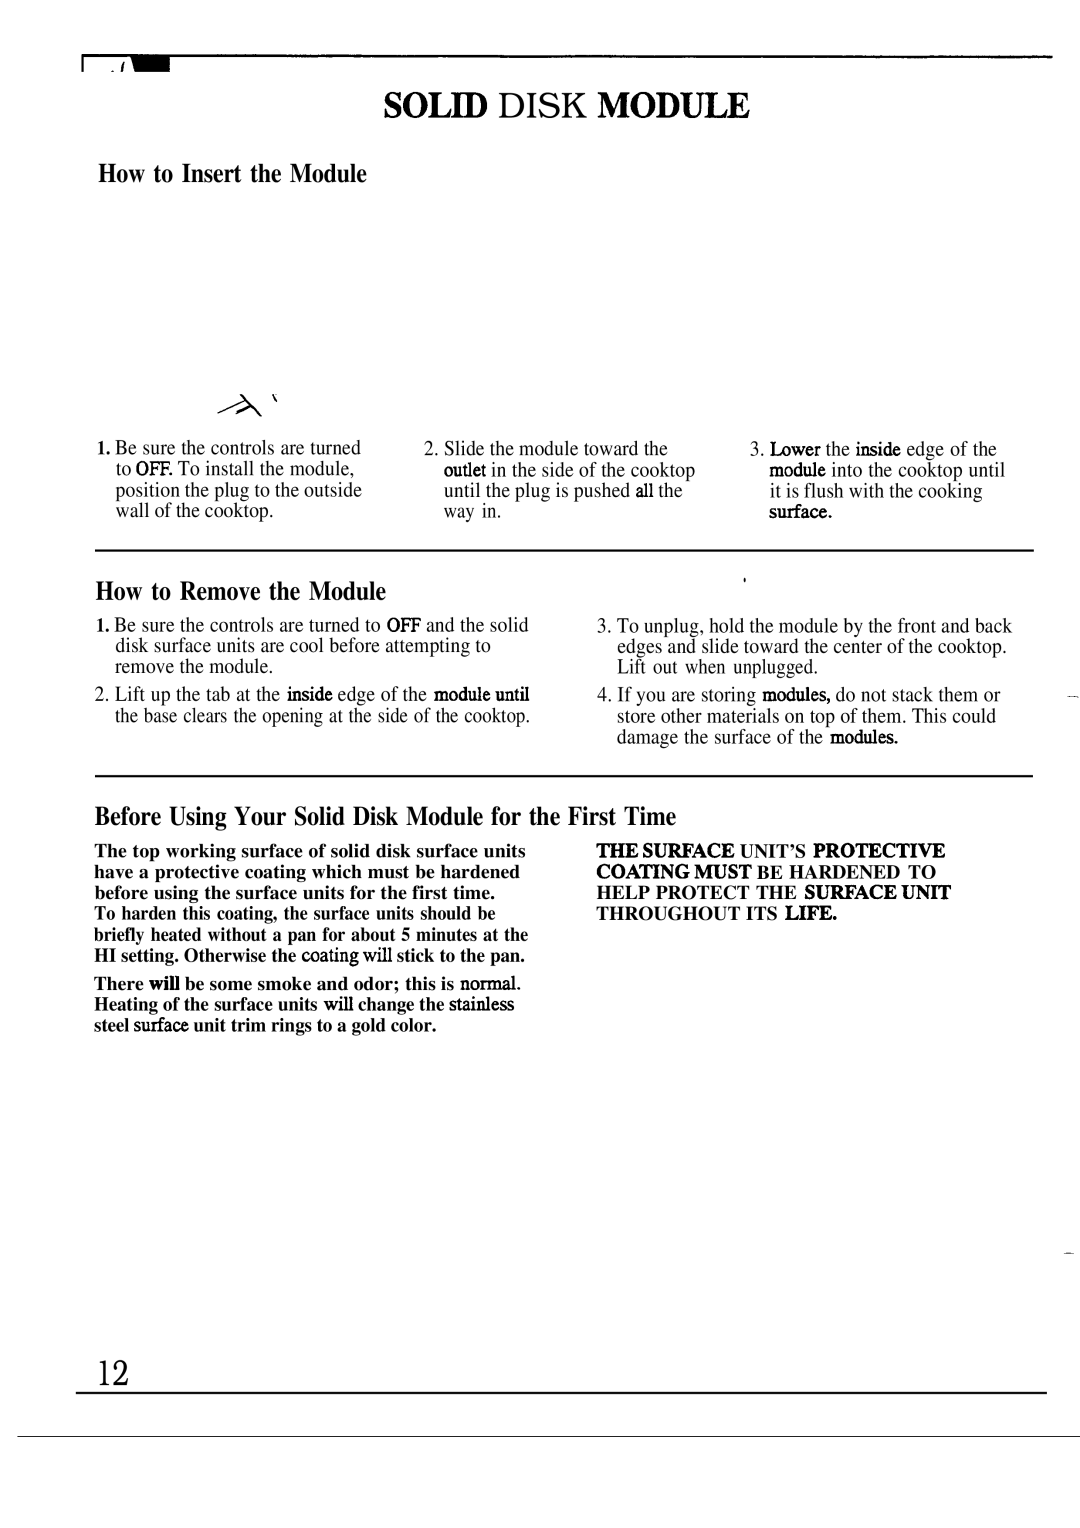
1.Be sure the controls are turned to O=. To install the module, position the plug to the outside wall of the cooktop.
2.Slide the module toward the oudet in the side of the cooktop until the plug is pushed dl the way in.
3.bwer the imide edge of the modde into the cooktop until it is flush with the cooking stiace.
How to Remove the Module
1.Be sure the controls are turned to 0~ and the solid disk surface units are cool before attempting to remove the module.
2.Lift up the tab at the hside edge of the modtie untti the base clears the opening at the side of the cooktop.
.
3.To unplug, hold the module by the front and back edges and slide toward the center of the cooktop. Lift out when unplugged.
4. If you are storing moddes, do not stack them or | — |
store other materials on top of them. This could |
|
damage the surface of the moddes. |
|
Before Using Your Solid Disk Module for the First Time
The top working surface of solid disk surface units have a protective coating which must be hardened before using the surface units for the first time.
To harden this coating, the surface units should be briefly heated without a pan for about 5 minutes at the HI setting. Otherwise the mating wfll stick to the pan.
There wi~ be some smoke and odor; this is
THE S~ACE UNIT’S PROTECTI~ COA~NG WST BE HARDENED TO HELP PROTECT THE SU~ACE UN~ THROUGHOUT ITS LIPE.
—
12