
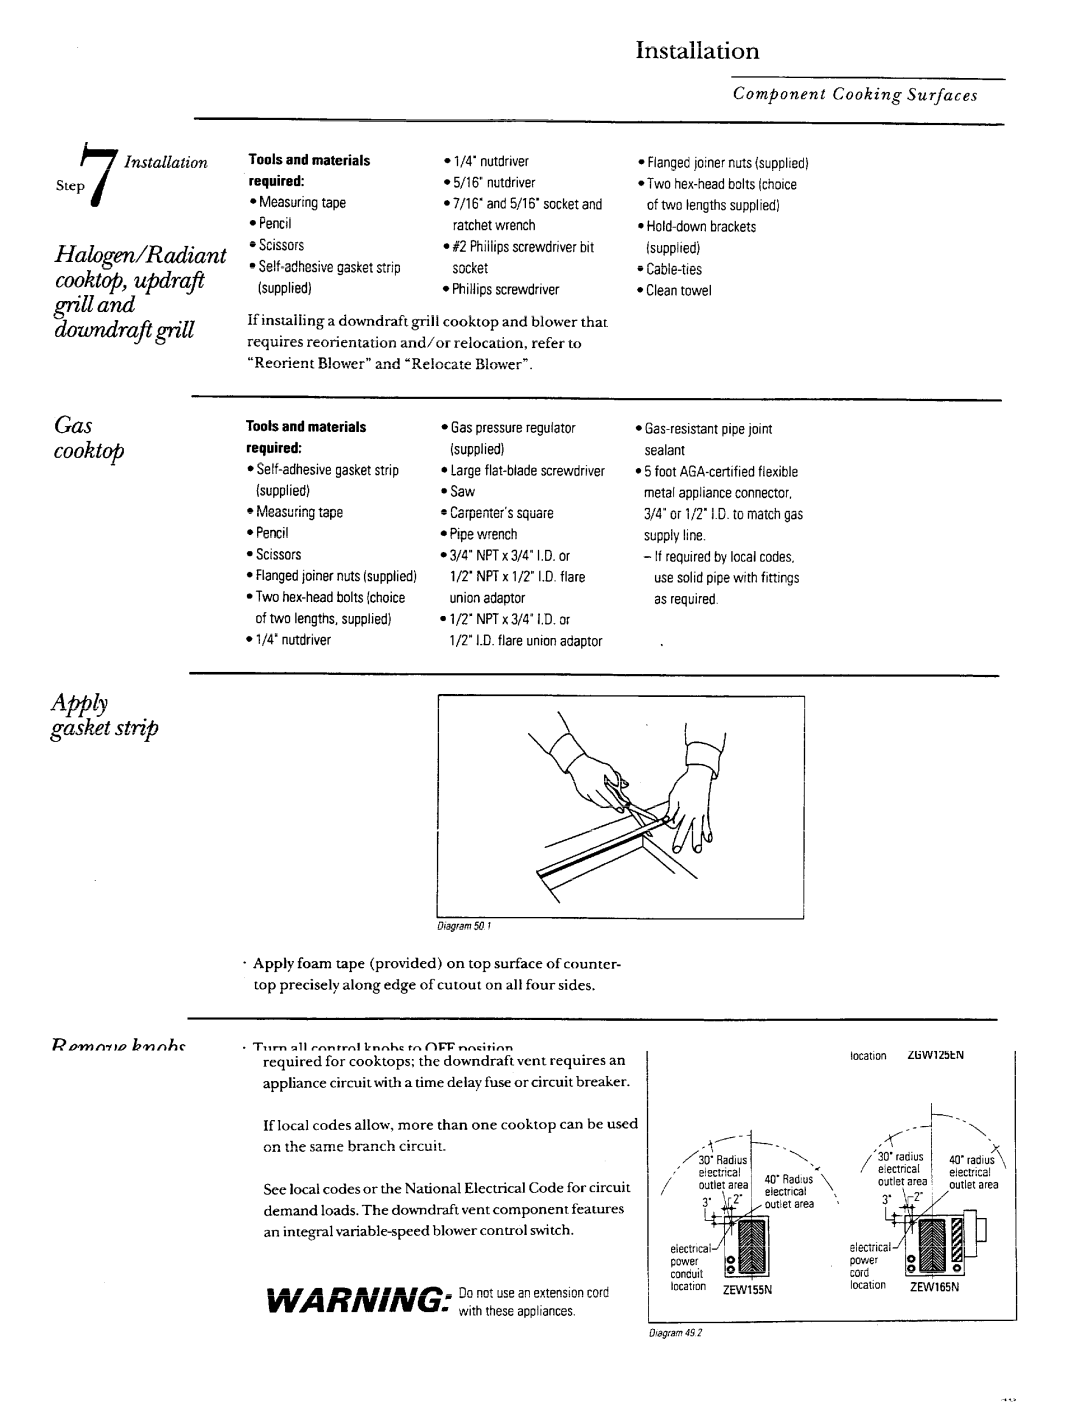
ZEW145, ZEW165, ZEW164, ZEW175, ZGW125 specifications
The GE Monogram line of refrigeration products is known for its blend of innovative technology, luxurious design, and exceptional performance. Among their offerings are the Monogram ZEW155, ZEW154, ZGW124, ZGW125, and ZEW175 models, each providing unique features and characteristics tailored to meet the needs of modern kitchens.The GE Monogram ZEW155 is a built-in under-counter wine cooler that showcases both elegance and functionality. With a capacity for up to 24 bottles, it features dual temperature zones allowing wine enthusiasts to store both red and white wines at the optimal temperatures. The stainless steel construction is not only durable but also blends seamlessly into kitchen cabinetry, while the UV-resistant glass door helps protect wine from harmful light exposure.
Similarly, the ZEW154 offers a sleek design with a capacity to hold up to 33 bottles. Its state-of-the-art temperature management system ensures precise cooling, providing ideal storage conditions to maintain the integrity of the wine. Additionally, the integrated LED lighting illuminates the interior without generating excessive heat, enhancing the display of stored bottles.
Moving onto the ZGW124 and ZGW125, these models exemplify versatility in a compact design. The ZGW124 is an under-counter refrigerator that offers a generous capacity of 5.6 cubic feet, while the ZGW125 provides a slightly larger space of 7 cubic feet. Both models are equipped with adjustable shelves, making it easy to customize storage for various items. The advanced cooling technology ensures even temperature distribution, preventing hotspots and preserving food freshness.
The ZEW175 stands out with its spacious 7.5 cubic feet capacity and dual temperature zones specifically designed for wine. This model is particularly well-suited for those who appreciate the subtleties of wine storage, with advanced features like vibration dampening technology that minimizes disturbances to wine bottles. The lead-free glass door also provides a clear view of stored items while protecting them from UV rays.
Each of these GE Monogram models is designed with the modern consumer in mind, incorporating energy-efficient technologies that reduce energy consumption while maintaining optimal performance. With thoughtful design elements and advanced refrigeration technologies, the GE Monogram ZEW155, ZEW154, ZGW124, ZGW125, and ZEW175 redefine the standards of luxury in home refrigeration solutions, making them quintessential choices for discerning homeowners.