CLOCK SETTING (By using the Remote Control)
_Things to know before starting w
•The clock uses the
•When the VCR and "IV are turned on for the first
time, the clock will read ..... . If the clock
display disappears, press the DISPLAY button to recall it.
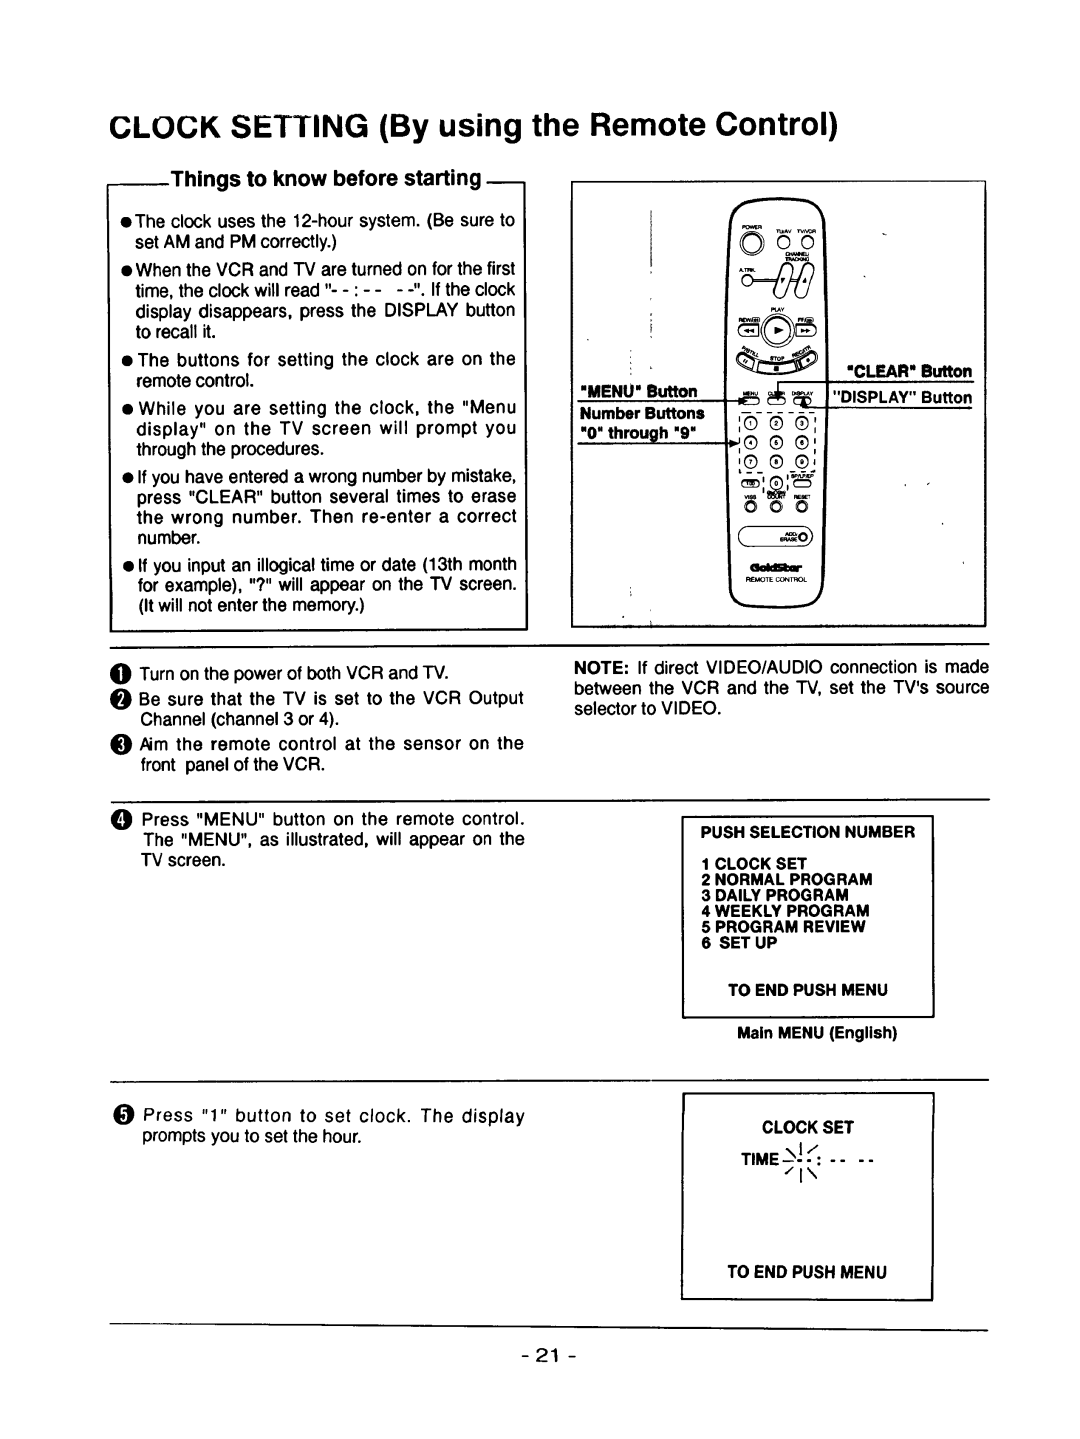
• The buttons for setting the clock are on the |
remote control. |
| "CLEAR" Button |
"MENU" Button | "DISPLAY" Button |
|
• While you are setting the clock, the "Menu |
display" on the TV screen will prompt you |
through the procedures. |
• If you have entered a wrong number by mistake, |
press "CLEAR" button several times to erase |
the wrong number. Then |
number. |
• If you input an illogical time or date (13th month |
for example), "?" will appear on the TV screen. |
(It will not enter the memory.) |
Number Buttons
"O" through "9"
r, i.
o®®:
® o:
OGO
li} | Turn on the power | of both VCR and TV. | |
i_ | Be sure | that the | TV is set to the VCR Output |
| Channel | (channel | 3 or 4). |
i_ Aim the remote control at the sensor on the front panel of the VCR.
i_ Press "MENU" button on the remote control. The "MENU", as illustrated, will appear on the TV screen.
i} Press "1" button to set clock. The display prompts you to set the hour.
NOTE: If direct VIDEO/AUDIO connection is made between the VCR and the
PUSH SELECTION NUMBER
1 CLOCK SET
2 NORMAL PROGRAM
3DALLY PROGRAM
4WEEKLY PROGRAM
5PROGRAM REVIEW
6SET UP
TO END PUSH MENU
Main MENU (English)
CLOCK SET
TIME -_J -'/:....
/1\
