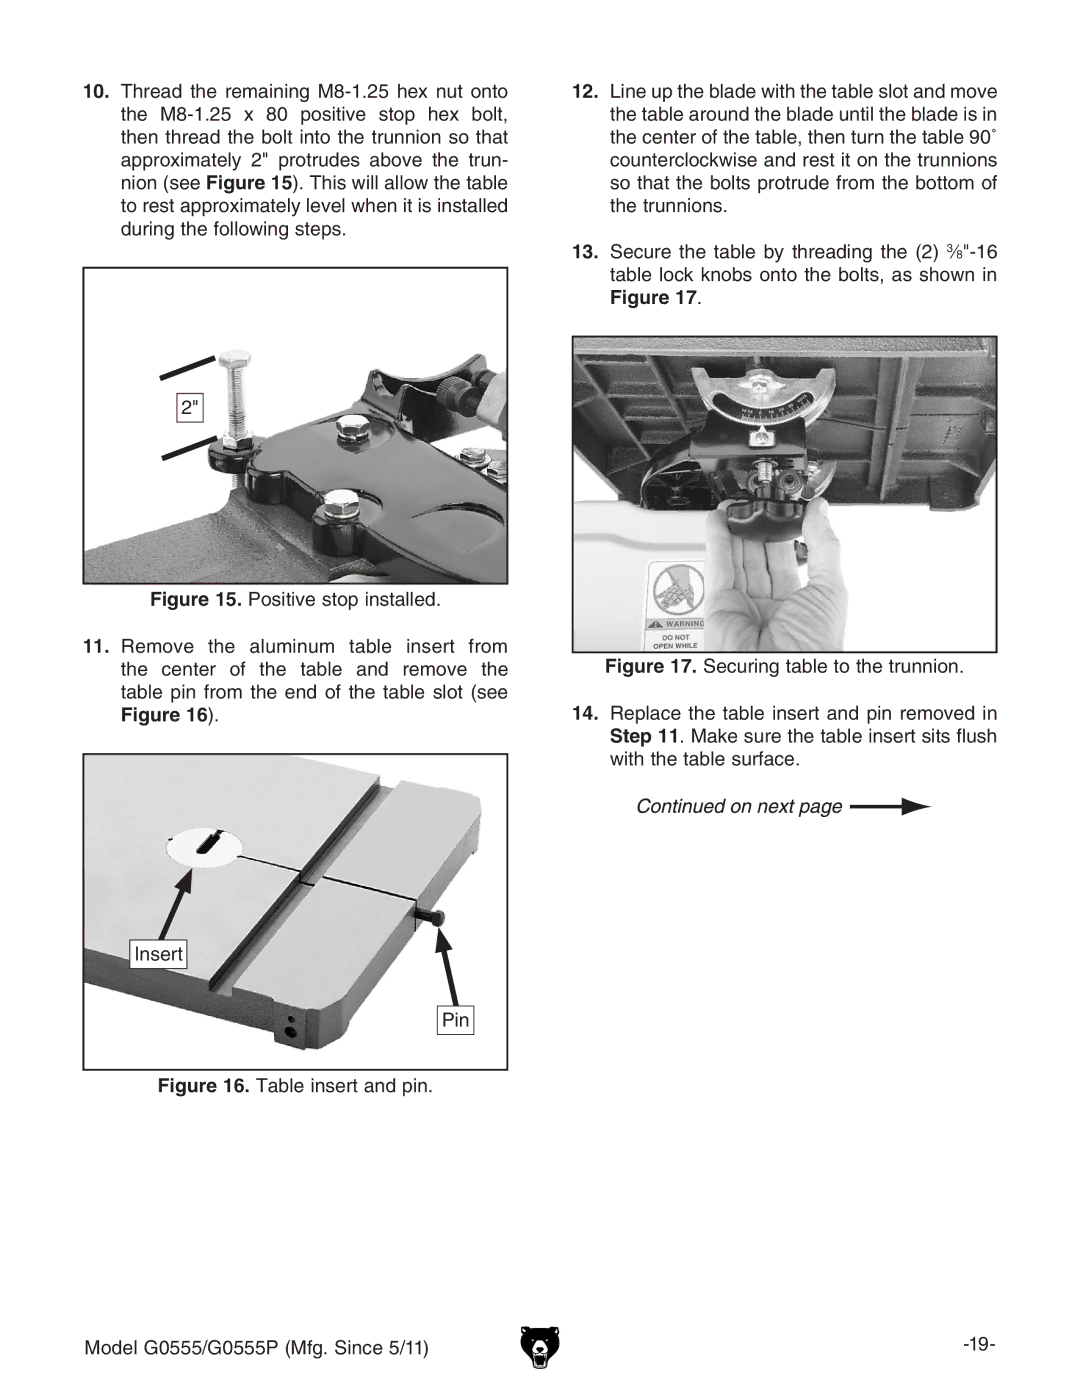
10.Thread the remaining
2"
Figure 15. Positive stop installed.
11.Remove the aluminum table insert from the center of the table and remove the table pin from the end of the table slot (see
Figure 16).
Insert
Pin
Figure 16. Table insert and pin.
12.Line up the blade with the table slot and move the table around the blade until the blade is in the center of the table, then turn the table 90˚ counterclockwise and rest it on the trunnions so that the bolts protrude from the bottom of the trunnions.
13.Secure the table by threading the (2) 3⁄8"-16 table lock knobs onto the bolts, as shown in
Figure 17.
Figure 17. Securing table to the trunnion.
14.Replace the table insert and pin removed in Step 11. Make sure the table insert sits flush with the table surface.
Model G0555/G0555P (Mfg. Since 5/11) |
