4.Turn the machine OFF.
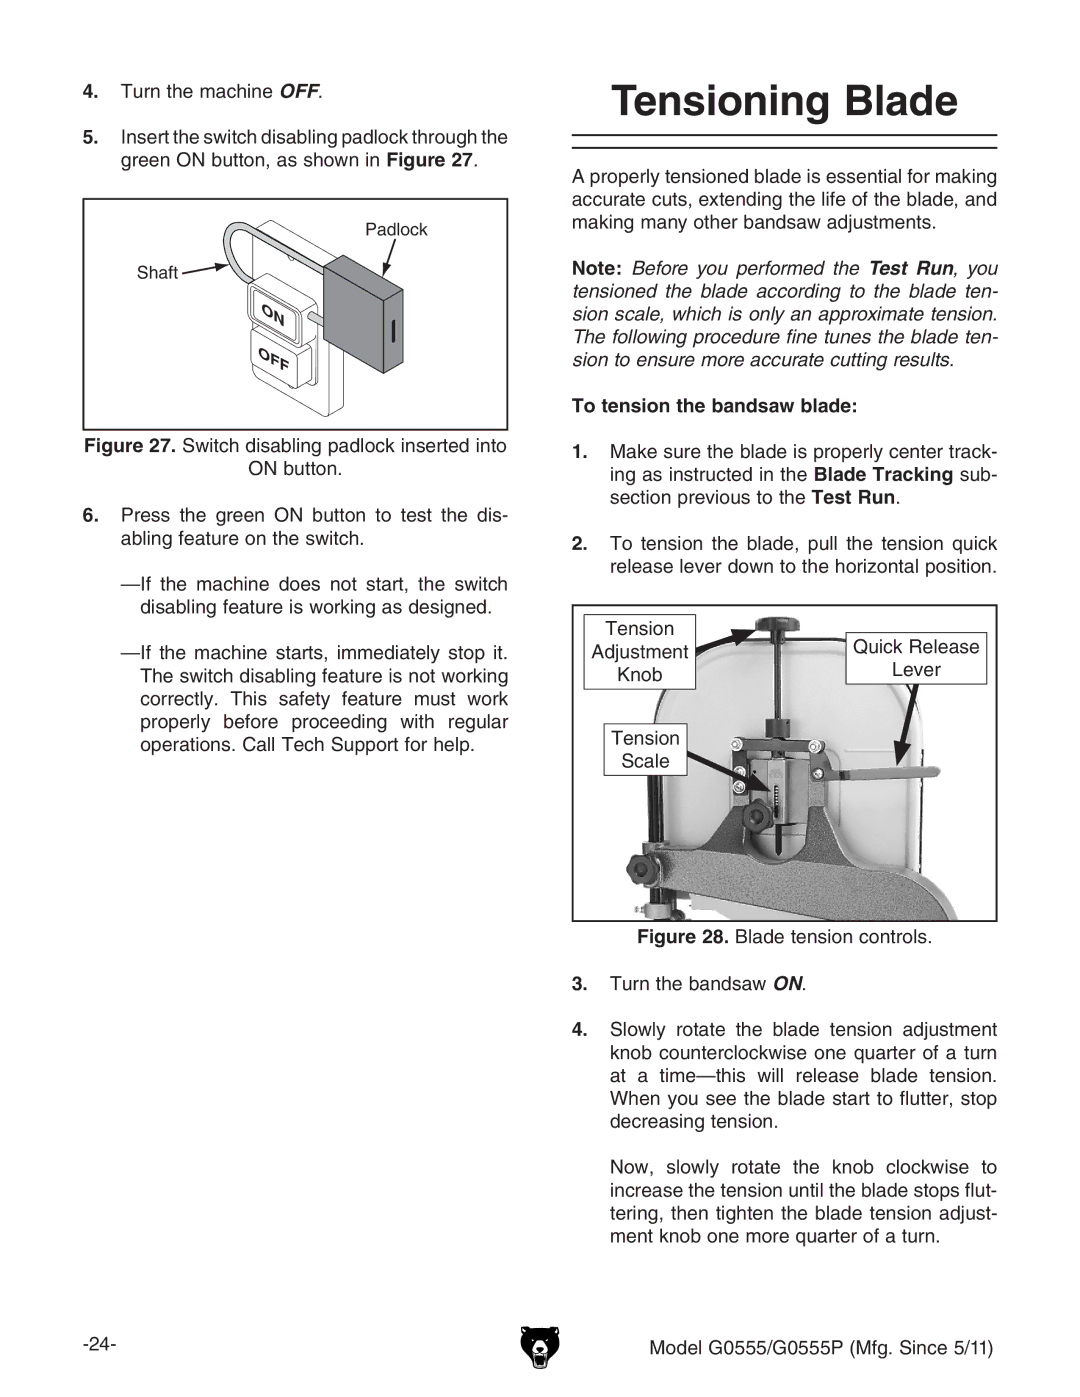
5.Insert the switch disabling padlock through the green ON button, as shown in Figure 27.
Padlock
Shaft ![]()
Figure 27. Switch disabling padlock inserted into
ON button.
6.Press the green ON button to test the dis- abling feature on the switch.
—If the machine does not start, the switch disabling feature is working as designed.
—If the machine starts, immediately stop it. The switch disabling feature is not working correctly. This safety feature must work properly before proceeding with regular operations. Call Tech Support for help.
Tensioning Blade
A properly tensioned blade is essential for making accurate cuts, extending the life of the blade, and making many other bandsaw adjustments.
Note: Before you performed the Test Run, you tensioned the blade according to the blade ten- sion scale, which is only an approximate tension. The following procedure fine tunes the blade ten- sion to ensure more accurate cutting results.
To tension the bandsaw blade:
1.Make sure the blade is properly center track- ing as instructed in the Blade Tracking sub- section previous to the Test Run.
2.To tension the blade, pull the tension quick release lever down to the horizontal position.
Tension | Quick Release |
Adjustment | |
Knob | Lever |
Tension |
|
Scale |
|
Figure 28. Blade tension controls.
3.Turn the bandsaw ON.
4.Slowly rotate the blade tension adjustment knob counterclockwise one quarter of a turn at a time—this will release blade tension. When you see the blade start to flutter, stop decreasing tension.
Now, slowly rotate the knob clockwise to increase the tension until the blade stops flut- tering, then tighten the blade tension adjust- ment knob one more quarter of a turn.
Model G0555/G0555P (Mfg. Since 5/11) |