Table Tilt Calibration
When properly adjusted, the positive stop bolt enables the table to be quickly returned perpen- dicular with the blade.
To tilt the table to the left, the positive stop bolt must be lowered from its correct height, then re- adjusted after the table is returned to 0°.
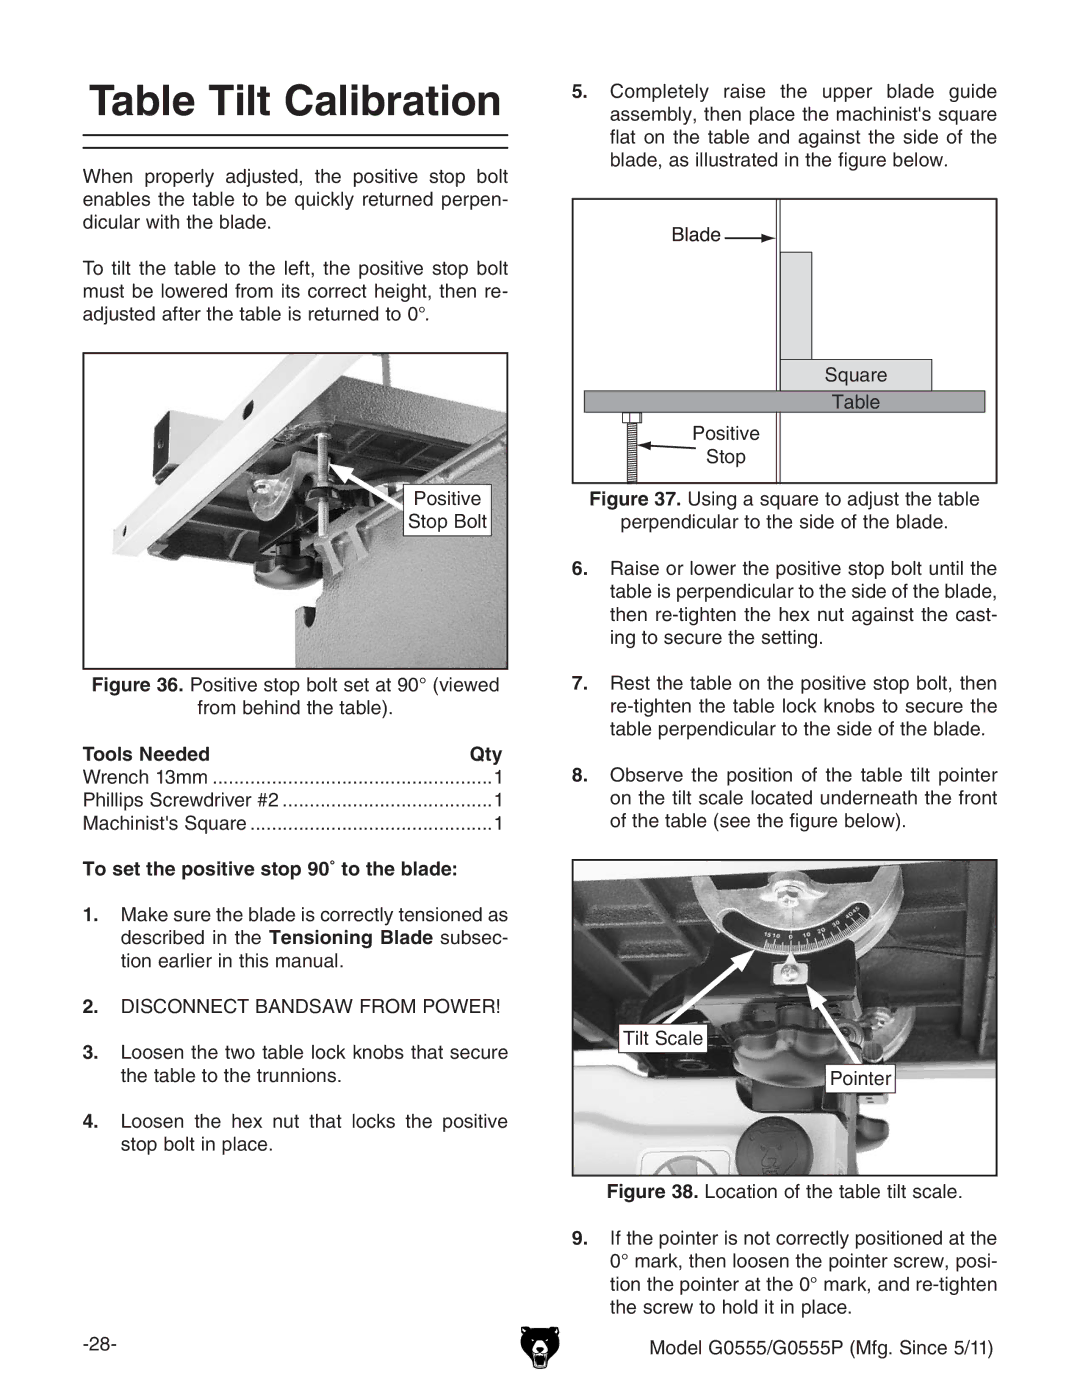
Positive
Stop Bolt
Figure 36. Positive stop bolt set at 90° (viewed
from behind the table).
Tools Needed | Qty |
Wrench 13mm | 1 |
Phillips Screwdriver #2 | 1 |
Machinist's Square | 1 |
To set the positive stop 90˚ to the blade:
1.Make sure the blade is correctly tensioned as described in the Tensioning Blade subsec- tion earlier in this manual.
2.DISCONNECT BANDSAW FROM POWER!
3.Loosen the two table lock knobs that secure the table to the trunnions.
4.Loosen the hex nut that locks the positive stop bolt in place.
5.Completely raise the upper blade guide assembly, then place the machinist's square flat on the table and against the side of the blade, as illustrated in the figure below.
Square
Table
Positive
![]()
![]() Stop
Stop