1
2
3
or
or
4
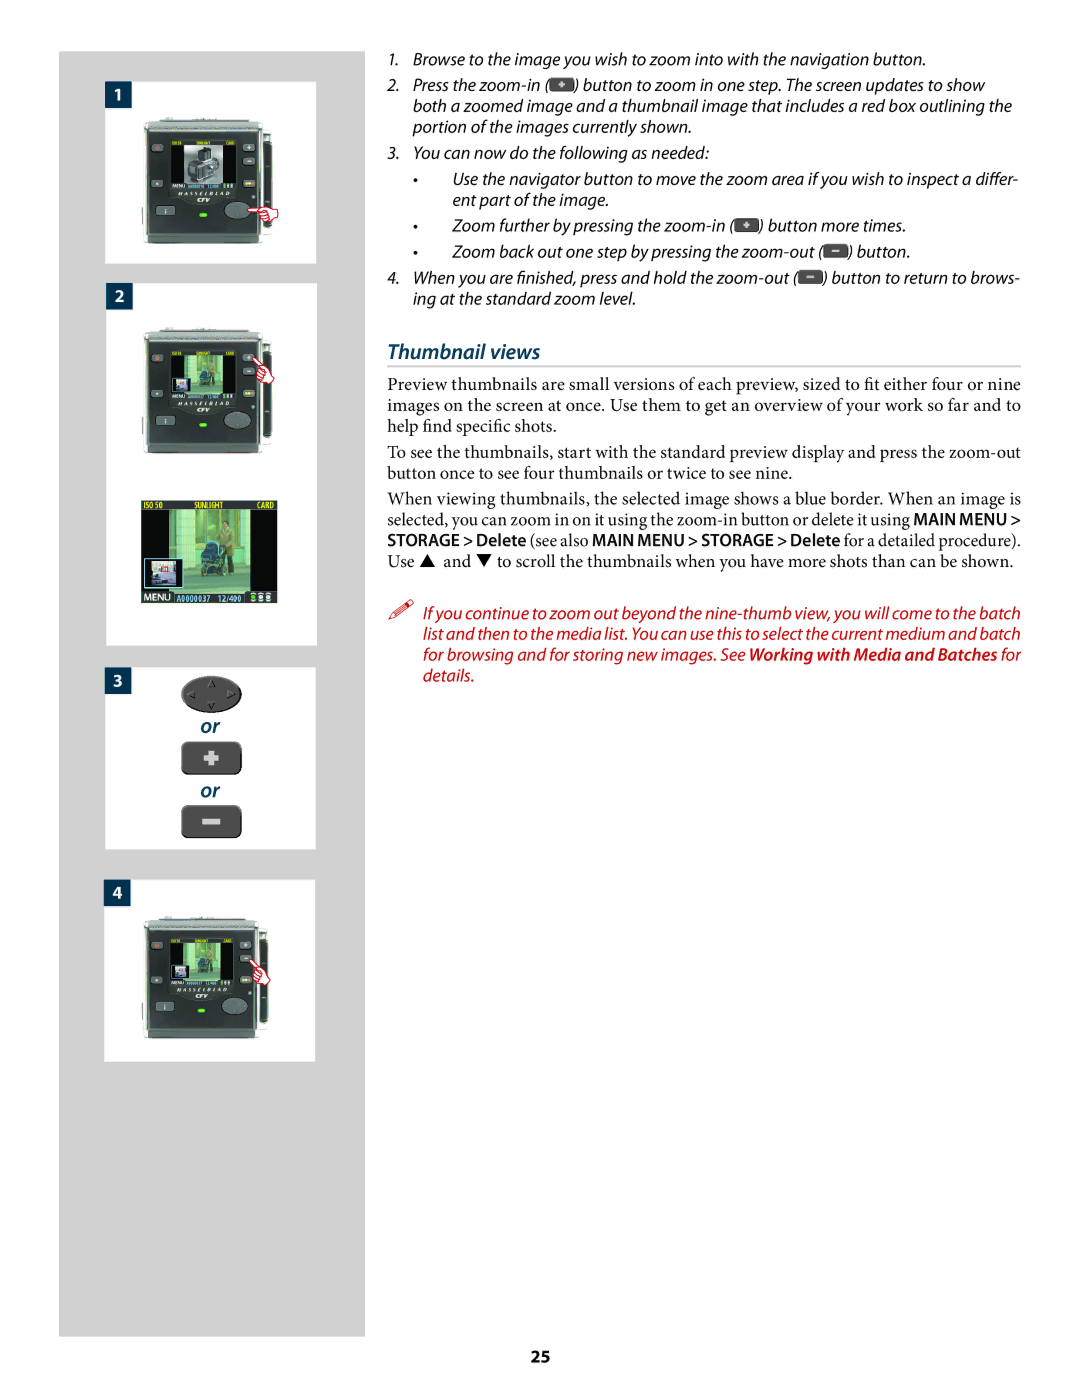
1.Browse to the image you wish to zoom into with the navigation button.
2.Press the ![]() ) button to zoom in one step. The screen updates to show both a zoomed image and a thumbnail image that includes a red box outlining the portion of the images currently shown.
) button to zoom in one step. The screen updates to show both a zoomed image and a thumbnail image that includes a red box outlining the portion of the images currently shown.
3.You can now do the following as needed:
•Use the navigator button to move the zoom area if you wish to inspect a differ- ent part of the image.
•Zoom further by pressing the ![]() ) button more times.
) button more times.
•Zoom back out one step by pressing the ![]() ) button.
) button.
4.When you are finished, press and hold the ![]() ) button to return to brows- ing at the standard zoom level.
) button to return to brows- ing at the standard zoom level.
Thumbnail views
Preview thumbnails are small versions of each preview, sized to fit either four or nine images on the screen at once. Use them to get an overview of your work so far and to help find specific shots.
To see the thumbnails, start with the standard preview display and press the
When viewing thumbnails, the selected image shows a blue border. When an image is selected, you can zoom in on it using the
If you continue to zoom out beyond the
25