2.All QSYSPRT spooled files from the other OUTQs are in the output queue PTR02.
3.The original application SCS spooled files from OUTQ1 are in the output queue SAVE. New AFPDS spooled files have been placed in the output queue PRT01. This new spooled file is the result from APU after applying the print definition.
4.All other original application SCS spooled files from all other OUTQs are placed in the output queue SAVE. New AFPDS spooled files have been placed in the output queue PRT02. These new spooled files result from APU after applying the print definition.
Note: If the processing for one spooled file fails, the original spooled file stays in the output queue in status *HOLD following the FAILURE parameter.
Configuring APU Monitor
Before using APU Monitor, you must configure it. This section describes the APU panels that you use to configure the APU Monitor.
The following configuration steps are needed:
1.Specify the queues that APU Monitor is to monitor. Refer to ªSpecifying the Queues APU is to Monitorº on page 88.
2.Configure the APU Monitor actions. Refer to ªConfiguring APU Monitor Actionº on page 89.
3.Start APU Monitor. Refer to ªStarting APU Monitorº on page 97.
4.Stop APU Monitor when all jobs have been processed. Refer to ªStopping APU Monitorº on page 98.
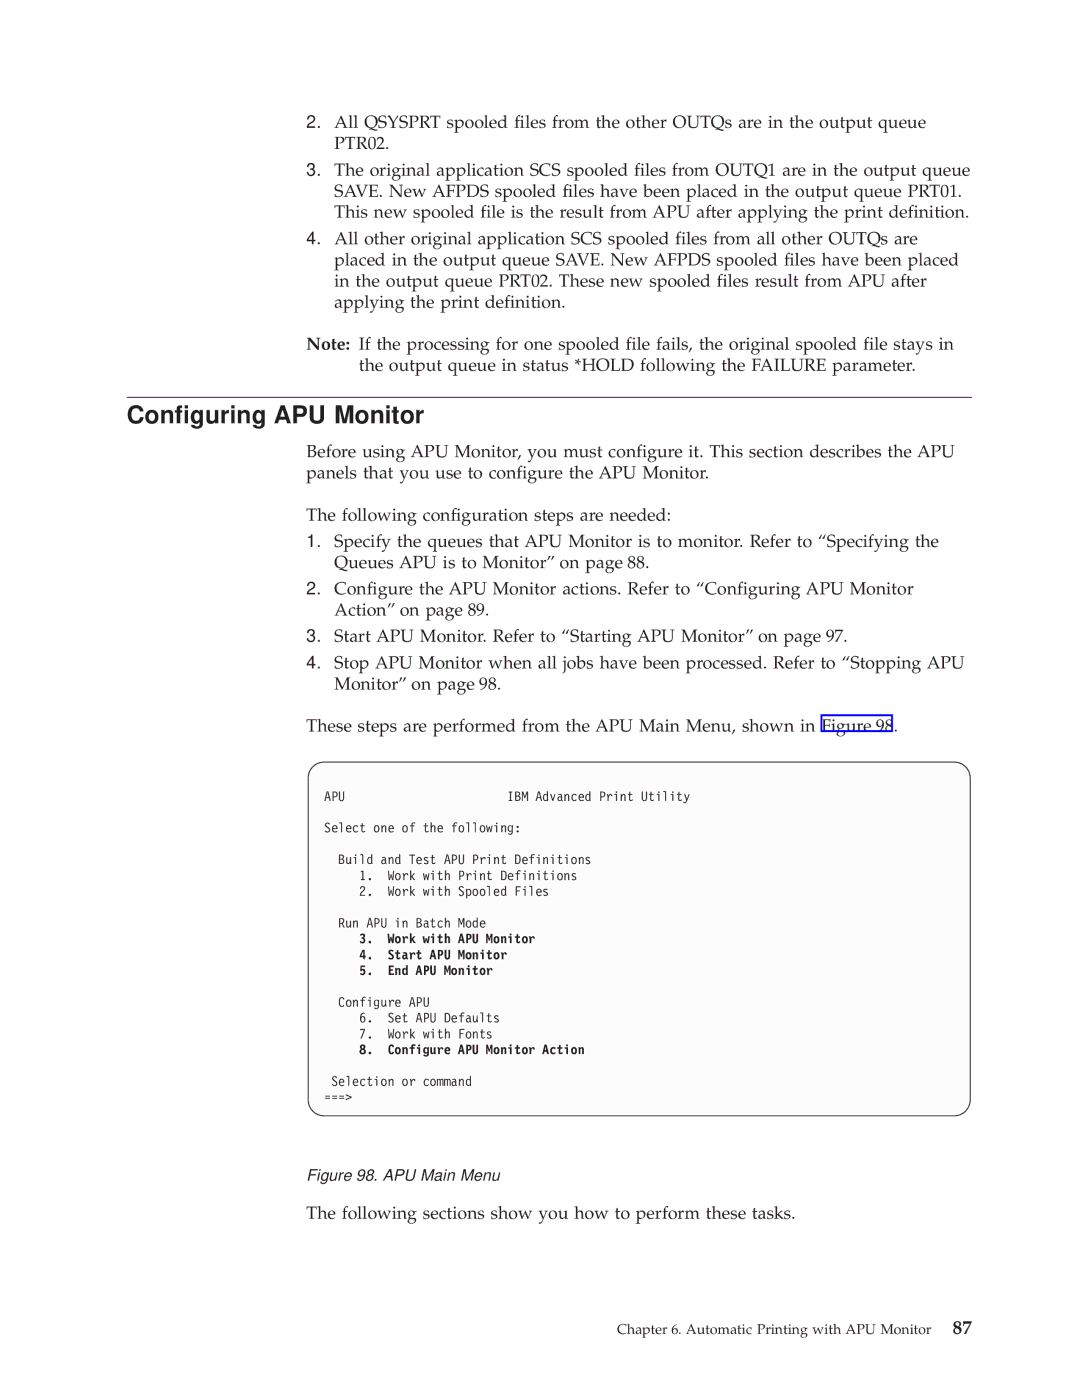
These steps are performed from the APU Main Menu, shown in Figure 98.
APU | IBM Advanced Print Utility |
Select one of the following:
Build and Test APU Print Definitions
1.Work with Print Definitions
2.Work with Spooled Files
Run APU in Batch Mode
3.Work with APU Monitor
4.Start APU Monitor
5.End APU Monitor
Configure APU
6.Set APU Defaults
7.Work with Fonts
8.Configure APU Monitor Action
Selection or command
===>
Figure 98. APU Main Menu
The following sections show you how to perform these tasks.
Chapter 6. Automatic Printing with APU Monitor 87
