Page 18
TM-4200GE Software
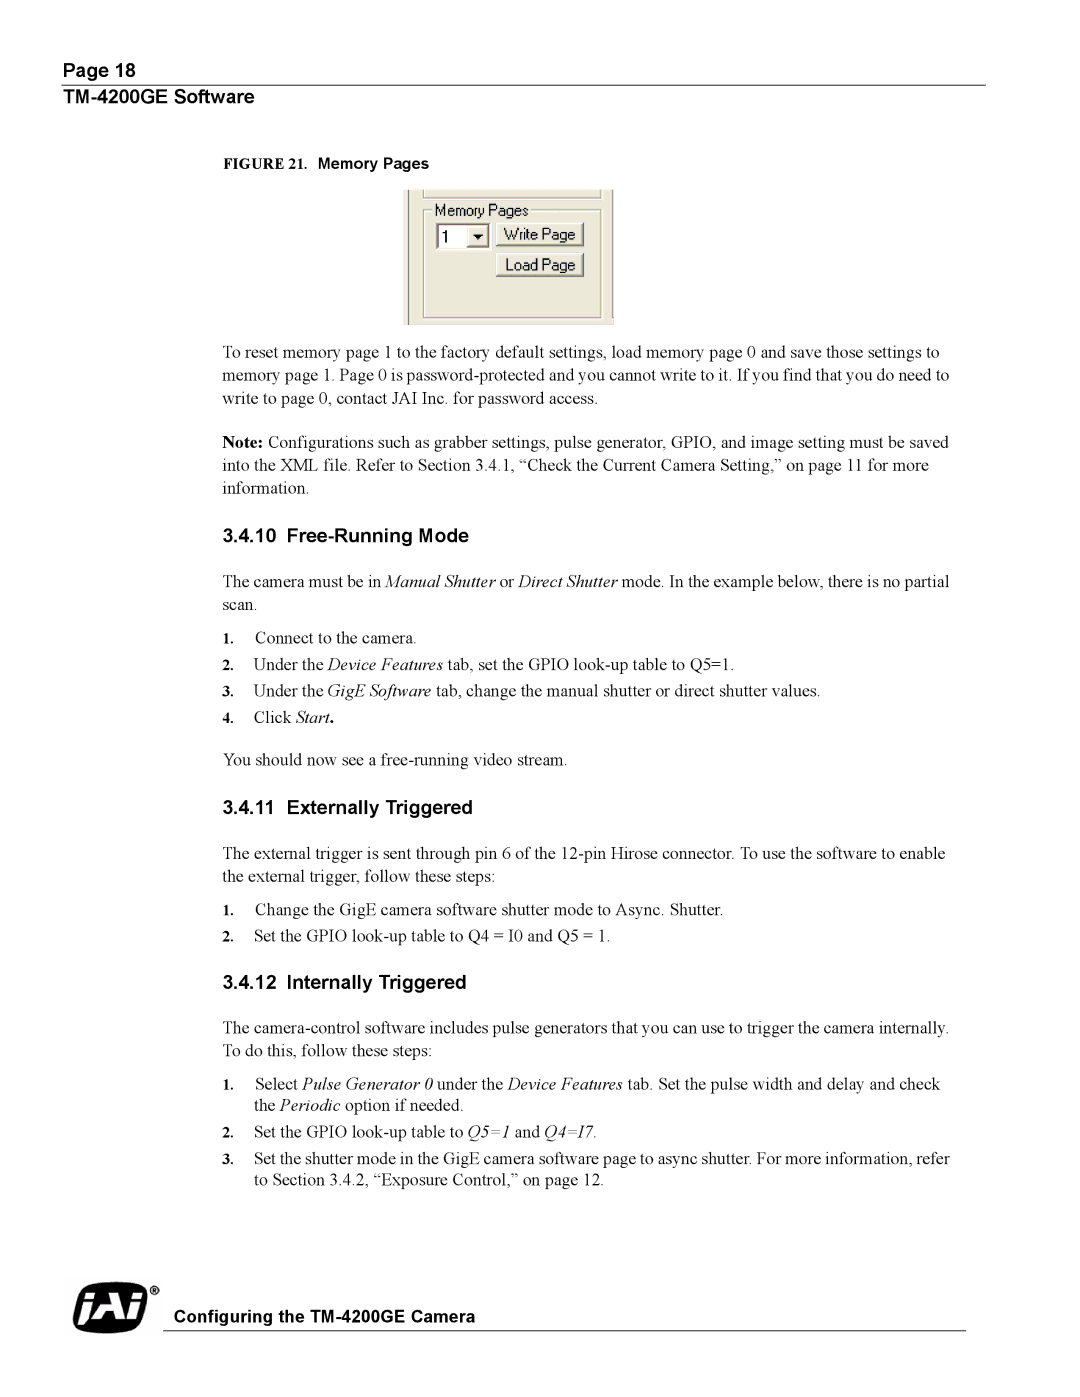
FIGURE 21. Memory Pages
To reset memory page 1 to the factory default settings, load memory page 0 and save those settings to memory page 1. Page 0 is
Note: Configurations such as grabber settings, pulse generator, GPIO, and image setting must be saved into the XML file. Refer to Section 3.4.1, “Check the Current Camera Setting,” on page 11 for more information.
3.4.10 Free-Running Mode
The camera must be in Manual Shutter or Direct Shutter mode. In the example below, there is no partial scan.
1.Connect to the camera.
2.Under the Device Features tab, set the GPIO
3.Under the GigE Software tab, change the manual shutter or direct shutter values.
4.Click Start.
You should now see a
3.4.11 Externally Triggered
The external trigger is sent through pin 6 of the
1.Change the GigE camera software shutter mode to Async. Shutter.
2.Set the GPIO
3.4.12 Internally Triggered
The
1.Select Pulse Generator 0 under the Device Features tab. Set the pulse width and delay and check the Periodic option if needed.
2.Set the GPIO
3.Set the shutter mode in the GigE camera software page to async shutter. For more information, refer to Section 3.4.2, “Exposure Control,” on page 12.