adjust it so that a typical video picture has about the same appearance as the surroundings in the room. That way the eye is relaxed when watching the TV pic- ture. This setting may be reduced when the surrounding light is dimmed, thereby usually improving the sharpness signifi- cantly.

Sharpness: This temperature bar and numerical value (ranging from 0 to 4) reflect the sharpness of the picture. Due to the pixel structure of video images, lowering the sharpness setting will tend to improve the quality of the picture.

Color: This temperature bar and numerical value (ranging from 0 to 31) reflect the saturation of the color. Decreasing this setting to 0 will remove all color and make the picture appear monochrome (black and white). Increasing it will brighten the intensity of the colors. It may be adjusted using a blue filter and color bars. If you do not have access to a test pattern, you may adjust this setting so that red objects are not too bright and fuzzy around the edges.

DNC: This temperature bar and numeri- cal value (ranging from 0 to 15) is used to adjust dynamic noise control. Leave this setting at its factory default, unless you have a video image with interference that is causing video “noise”. This setting may be used to reduce the amount of noise displayed.

The reset line may be used to reset all of the settings in this menu for the current video input.

Display Settings

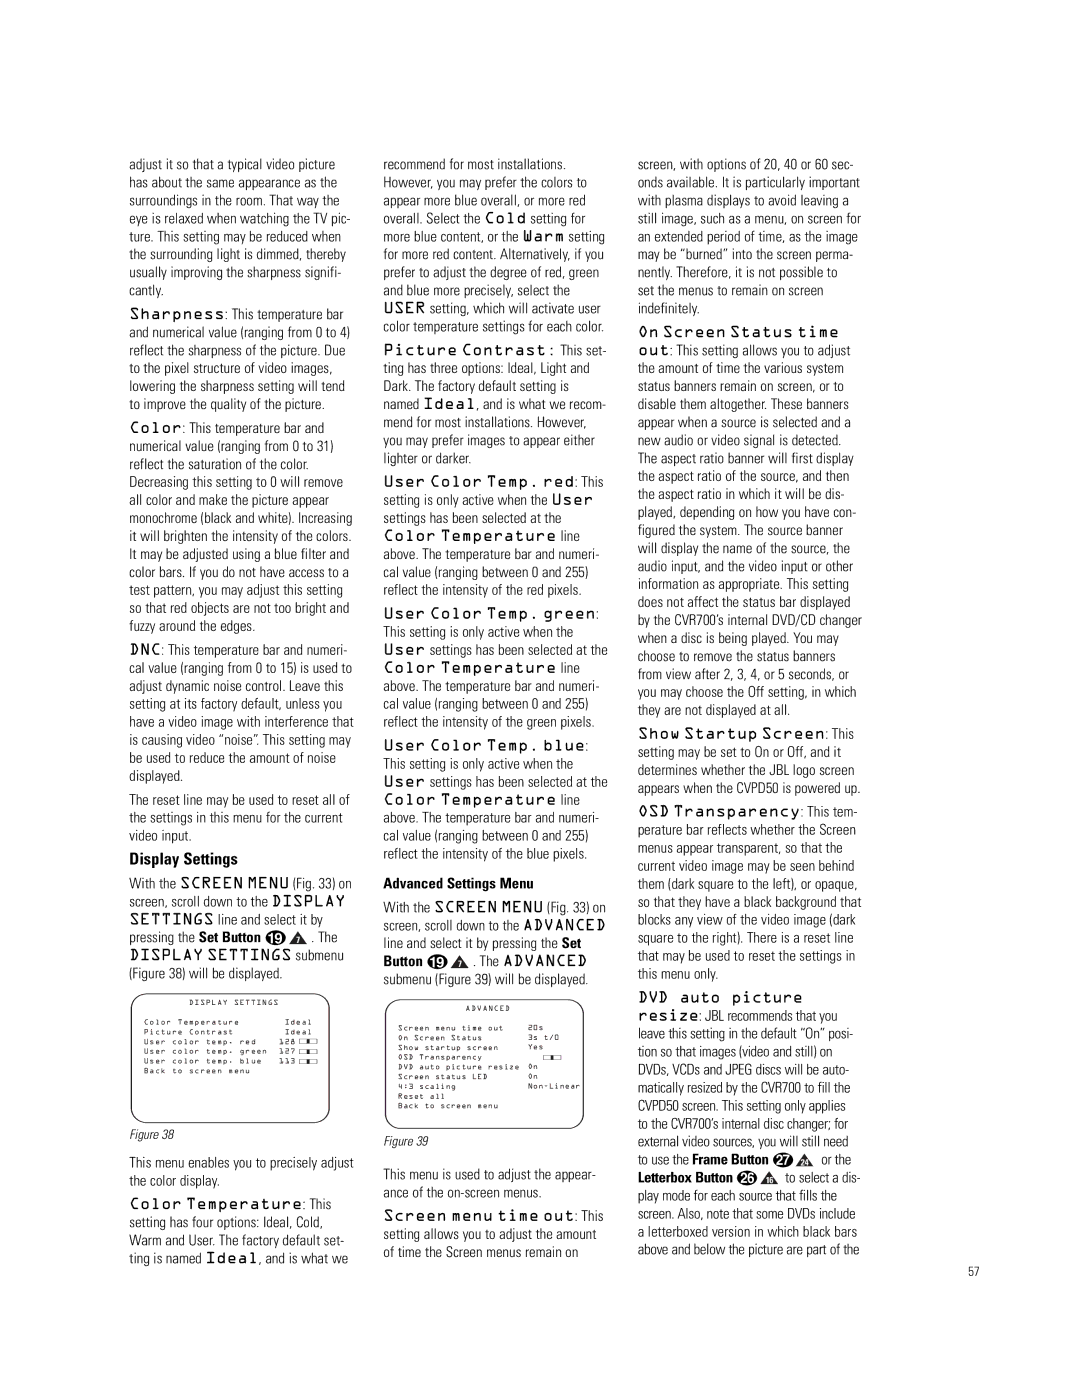
With the SCREEN MENU (Fig. 33) on screen, scroll down to the DISPLAY SETTINGS line and select it by pressing the Set Button s 7 . The

DISPLAY SETTINGS submenu

(Figure 38) will be displayed.


DISPLAY SETTINGS


Color

Temperature

Ideal

Picture

Contrast

Ideal

User

color

temp. red

128


User

color

temp. green

127


User

color

temp. blue

113


Back

to

screen menu


recommend for most installations. However, you may prefer the colors to appear more blue overall, or more red overall. Select the Cold setting for more blue content, or the Warm setting for more red content. Alternatively, if you prefer to adjust the degree of red, green and blue more precisely, select the USER setting, which will activate user color temperature settings for each color.

Picture Contrast: This set-

ting has three options: Ideal, Light and Dark. The factory default setting is named Ideal, and is what we recom- mend for most installations. However, you may prefer images to appear either lighter or darker.

User Color Temp. red: This setting is only active when the User settings has been selected at the Color Temperature line above. The temperature bar and numeri- cal value (ranging between 0 and 255) reflect the intensity of the red pixels.

User Color Temp. green: This setting is only active when the User settings has been selected at the Color Temperature line above. The temperature bar and numeri- cal value (ranging between 0 and 255) reflect the intensity of the green pixels.

User Color Temp. blue: This setting is only active when the User settings has been selected at the Color Temperature line above. The temperature bar and numeri- cal value (ranging between 0 and 255) reflect the intensity of the blue pixels.

Advanced Settings Menu

With the SCREEN MENU (Fig. 33) on screen, scroll down to the ADVANCED line and select it by pressing the Set Button s 7 . The ADVANCED submenu (Figure 39) will be displayed.

ADVANCED


Screen menu time

out

20s


On Screen Status


3s

t/0

Show startup screen

Yes


OSD Transparency


DVD auto picture

resize

On


Screen status LED


On


4:3 scaling


Non-Linear

Reset all


Back to screen menu

screen, with options of 20, 40 or 60 sec- onds available. It is particularly important with plasma displays to avoid leaving a still image, such as a menu, on screen for an extended period of time, as the image may be “burned” into the screen perma- nently. Therefore, it is not possible to set the menus to remain on screen indefinitely.

On Screen Status time out: This setting allows you to adjust the amount of time the various system status banners remain on screen, or to disable them altogether. These banners appear when a source is selected and a new audio or video signal is detected. The aspect ratio banner will first display the aspect ratio of the source, and then the aspect ratio in which it will be dis- played, depending on how you have con- figured the system. The source banner will display the name of the source, the audio input, and the video input or other information as appropriate. This setting does not affect the status bar displayed by the CVR700’s internal DVD/CD changer when a disc is being played. You may choose to remove the status banners from view after 2, 3, 4, or 5 seconds, or you may choose the Off setting, in which they are not displayed at all.

Show Startup Screen: This setting may be set to On or Off, and it determines whether the JBL logo screen appears when the CVPD50 is powered up.

OSD Transparency: This tem- perature bar reflects whether the Screen menus appear transparent, so that the current video image may be seen behind them (dark square to the left), or opaque, so that they have a black background that blocks any view of the video image (dark square to the right). There is a reset line that may be used to reset the settings in this menu only.

DVD auto picture resize: JBL recommends that you leave this setting in the default “On” posi- tion so that images (video and still) on DVDs, VCDs and JPEG discs will be auto- matically resized by the CVR700 to fill the CVPD50 screen. This setting only applies to the CVR700’s internal disc changer; for

Figure 38

This menu enables you to precisely adjust the color display.

Color Temperature: This

setting has four options: Ideal, Cold, Warm and User. The factory default set- ting is named Ideal, and is what we

Figure 39

This menu is used to adjust the appear- ance of the on-screen menus.

Screen menu time out: This setting allows you to adjust the amount of time the Screen menus remain on

external video sources, you will still need to use the Frame Button ` 24 or the Letterbox Button z 16 to select a dis- play mode for each source that fills the screen. Also, note that some DVDs include a letterboxed version in which black bars above and below the picture are part of the

57

Page 57
Image 57
JBL CVR700, CVPD50 manual Advanced Settings Menu, This menu enables you to precisely adjust the color display

CVPD50, CVR700 specifications

The JBL CVR700 and CVPD50 speakers represent a significant advancement in portable sound technology tailored for professionals and audiophiles alike. Both models are part of JBL's commitment to delivering exceptional audio performance, versatility, and durability, making them ideal for various applications.

The JBL CVR700 is a powerful two-way speaker that utilizes advanced audio technology to provide crystal-clear sound reproduction. This model features a robust 700-watt built-in amplifier, ensuring that your audio remains powerful even in larger venues. The CVR700 is equipped with a high-frequency titanium compression driver, which delivers crisp and detailed highs, while its 12-inch woofer produces deep and punchy bass. The combination of these components enables the speaker to handle a wide frequency range, making it suitable for a variety of musical genres and spoken word applications.

One of the key features of the CVR700 is its rugged construction. Designed for the rigors of professional use, the speaker is housed in a durable, lightweight enclosure that is resistant to wear and tear. The integrated carrying handles make transportation simple, while rubber feet ensure stability during operation. Additionally, the CVR700 includes multiple input options, including XLR and ΒΌ" inputs, allowing for easy connectivity with various audio sources.

On the other hand, the JBL CVPD50 serves as a versatile portable sound solution, ideal for smaller performances, presentations, or personal use. Weighing in at an impressively low weight, this model features a compact design without sacrificing audio quality. The CVPD50 incorporates Bluetooth technology, enabling users to stream music wirelessly from their devices. It also features a built-in microphone input, which allows for easy integration of vocal performances, karaoke sessions, or public speaking engagements.

This model also boasts a rechargeable battery, allowing the CVPD50 to be used in locations without accessible power sources, making it a favorite for outdoor events and casual gatherings. With a rugged exterior designed to withstand the elements, the CVPD50 is built to deliver performance that you can rely on.

In conclusion, the JBL CVR700 and CVPD50 speakers showcase a blend of cutting-edge technology and user-friendly features. Whether you require a powerful speaker for large events or a portable solution for casual settings, both models deliver impressive sound quality and reliability, ensuring a superior listening experience for any occasion.