JBL CVPD50, CVR700 Loading Discs, Status Bar, Optical Disc Changer Playback Basics, On/Off Switch

Models: CVPD50 CVR700

1 116
Download 116 pages 13.52 Kb
Page 66
Image 66

OPTICAL DISC CHANGER PLAYBACK BASICS

Loading Discs

To load discs in the CVR700, first turn the

CVR700 on by pressing the Main Power

On/Off Switch 0.

Set the CVR700 to the DVD source input either by slowly rotating the Source Selector &until it engages in the notch and DVD appears in the Information Display Ô, or by pressing the DVD Input Selector d 2 .

Press the Eject Button 6, and you will be prompted to select a disc number by a message in the Lower Display Line E. You must enter a number, either by pressing one of the front-panel Disc Selectors 5, or by entering a number between 1 and 5 using the Numeric Keys l 14 . If you don't enter a num- ber, the CVR700 will cancel the command. The Disc Indicator Dcorresponding to the tray number you selected will flash. The door will drop forward and the maga- zine tray corresponding to the disc posi- tion you have selected will slide forward. Note that the door will open only enough to allow the correct tray to slide forward, so that the door opens wider for the higher numbered trays located further down. This is perfectly normal.

Hold the disc by the edge, and gently place it into the disc drawer, making sure the disc is properly seated in the tray’s insert. If the disc is not correctly centered, you may damage both the disc and the player when the drawer closes. When loading discs, please note the following:

The CVR700 will play discs with the following logos, as well as most WMA and JPEG discs. It will play Kodak Picture CDs, but not Photo CDs. DO NOT attempt to play another type

of disc.

The CVR700 will play discs in the NTSC and PAL video formats.

Playback capability for CD-RW, DVD-RW or DVD+RW discs will vary according to

66

the quality of the disc. On some occa- sions, it is possible that these discs may not play on the CVR700. This does not indicate any problem with the CVR700.

The CVR700 will only play discs that are coded for Region 1 or discs that are open to being played in all regions. Discs that contain any other Region Code will not play.

Both 5-inch (12cm) and 3-inch (8cm) discs may be used.

When loading CD audio discs, load the discs with the label side up.

When loading DVD discs with printed labels, load them label side up.

Some DVD discs are double-sided. The title information for these will be printed on the inner ring of the disc, very close to the center hole. The title for the side you wish to play should be facing up.

Once a disc is properly loaded, press the Eject Button 6to close the disc drawer. After the drawer closes, you will need to instruct the CVR700 to play the disc by pressing the Play Button !e 25 . The Lower Display Line Ewill prompt you for a disc number. You may enter the number of any loaded disc either by pressing its corresponding Disc Selector 5or by using the Numeric Keys

l14 . If you don't select a disc, the CVR700 will load the last disc played.

However, if no other discs are loaded and you press the Play Button !e 25 instead of the Eject Button 6to close the disc drawer, the CVR700 will close the door and begin play of the disc you just loaded.

You will briefly see LOADING in the Information Display K to alert you to the fact that the unit is determining the type of disc (DVD, DVD-Audio, CD, VCD, JPEG, WMA or MP3) and is reading the data for track, chapter, title and other information about the disc.

Status Bar

Once the disc’s data has been read, the type of disc will be displayed by the Disc-Type Indicator Aand the disc will begin playing. The disc’s track timing information and other relevant data will appear in the Upper Display Line H.

While a disc is playing, you may access the Status Bar by pressing the Status Button S 26 to view information on the current title and chapter, to change the current title or chapter, or to view

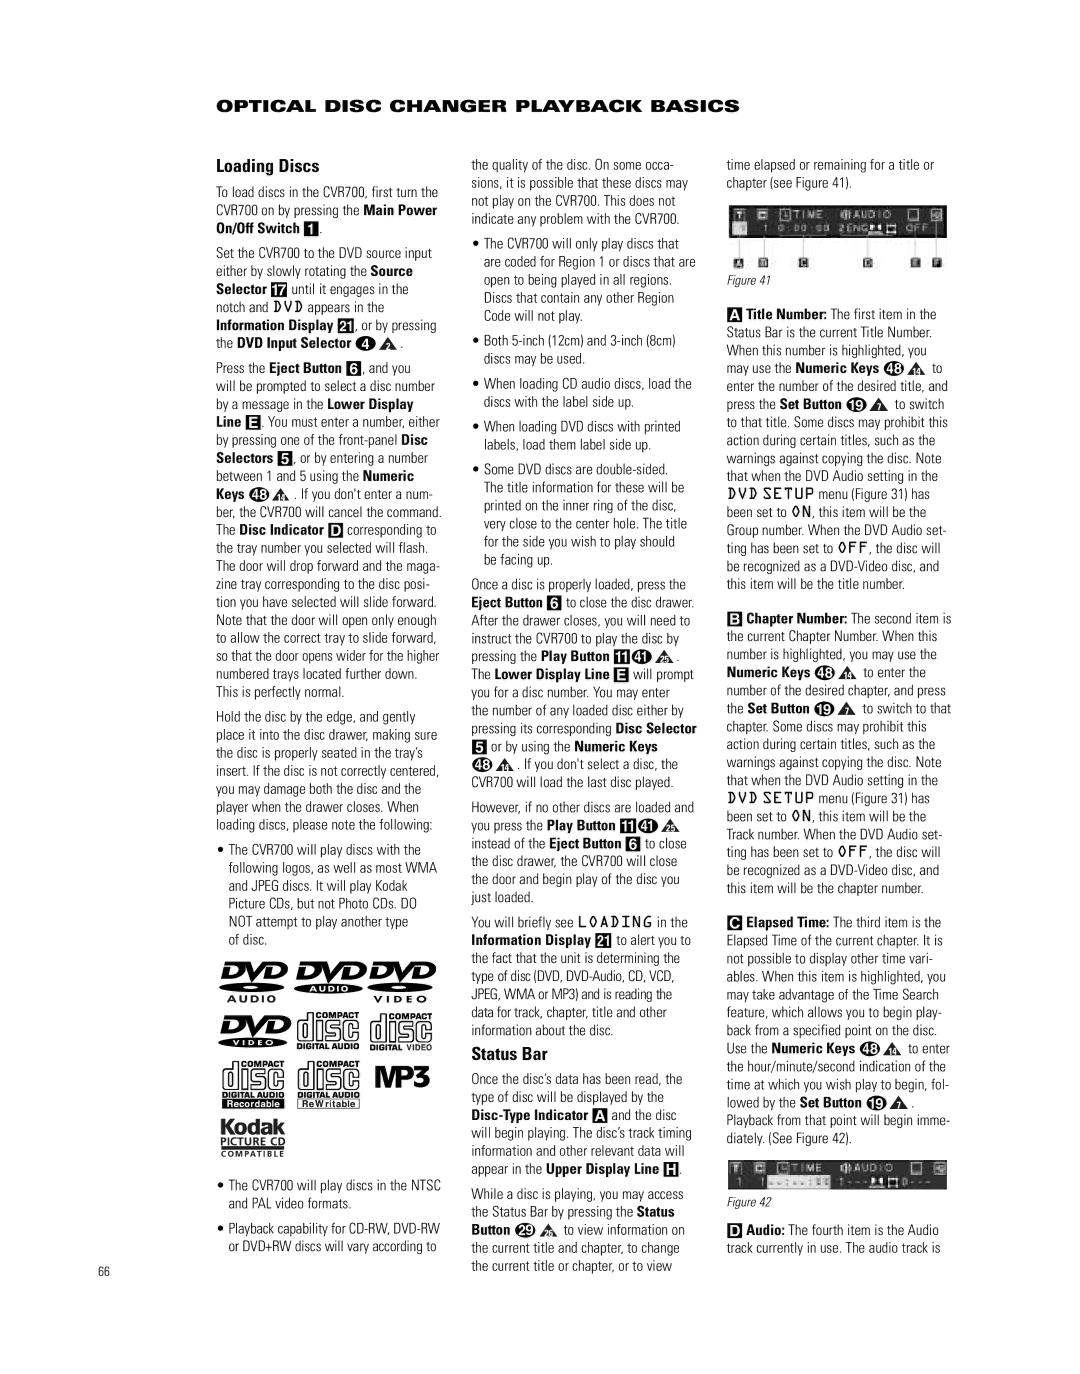
time elapsed or remaining for a title or chapter (see Figure 41).

Figure 41

ATitle Number: The first item in the Status Bar is the current Title Number. When this number is highlighted, you may use the Numeric Keys l 14 to enter the number of the desired title, and press the Set Button I 7 to switch to that title. Some discs may prohibit this action during certain titles, such as the warnings against copying the disc. Note that when the DVD Audio setting in the DVD SETUP menu (Figure 31) has been set to ON, this item will be the Group number. When the DVD Audio set- ting has been set to OFF, the disc will be recognized as a DVD-Video disc, and this item will be the title number.

BChapter Number: The second item is the current Chapter Number. When this number is highlighted, you may use the Numeric Keys l 14 to enter the number of the desired chapter, and press the Set Button I 7 to switch to that chapter. Some discs may prohibit this action during certain titles, such as the warnings against copying the disc. Note that when the DVD Audio setting in the DVD SETUP menu (Figure 31) has been set to ON, this item will be the Track number. When the DVD Audio set- ting has been set to OFF, the disc will be recognized as a DVD-Video disc, and this item will be the chapter number.

CElapsed Time: The third item is the Elapsed Time of the current chapter. It is not possible to display other time vari- ables. When this item is highlighted, you may take advantage of the Time Search feature, which allows you to begin play- back from a specified point on the disc. Use the Numeric Keys l 14 to enter the hour/minute/second indication of the time at which you wish play to begin, fol- lowed by the Set Button I 7 .

Playback from that point will begin imme- diately. (See Figure 42).

Figure 42

DAudio: The fourth item is the Audio track currently in use. The audio track is

Page 66
Image 66
JBL CVPD50, CVR700 manual Loading Discs, Status Bar, Optical Disc Changer Playback Basics, On/Off Switch