![]()
![]()
![]()
![]()
![]()
![]()
![]()
![]()
![]()
![]() EN 29
EN 29
BK BLACK FADER
Fades in/out to a black screen.
C BLUE FADER
Fades in/out to a blue screen.
MOSAIC FADER
Gradually turns/returns the picture into/from a mosaic pattern.
SHUTTER WIPE
A black screen moves in from the top and bottom, closing over the image like a shutter, or a new image pushes open the black screen vertically from the center. *During Auto Select mode, the new image wipes in over the old image, not a black screen.
SLIDE WIPE
A black screen moves in from the left to gradually cover the image, or a new image moves in from right to left. *During Auto Select mode, the new image wipes in over the old image, not a black screen.
CORNER WIPE
A black screen starts in the lower left corner and gradually fills the screen, or a new image starts in the upper right corner and fills the black screen.
*During Auto Select mode, the new image wipes in over the old image, not a black screen.
DISSOLVE
1 Press the RECORDING START/STOP button.
— Recording starts.
2 Press the RECORDING START/STOP button again.
—Recording stops, and the
—Now the last scene is stored in memory.
Before the power turns off...
3 Press the RECORDING START/STOP button to resume recording.
—The stored scene is gradually replaced by the new scene being shot.
SCROLL WIPE (AUTO SELECT only)
A new image scrolls up onto the screen.
WINDOW WIPE (AUTO SELECT only)
A new image enters from the center and moves towards the corners of the screen.
DOOR WIPE (AUTO SELECT only)
A new image opens like a door onto the screen.
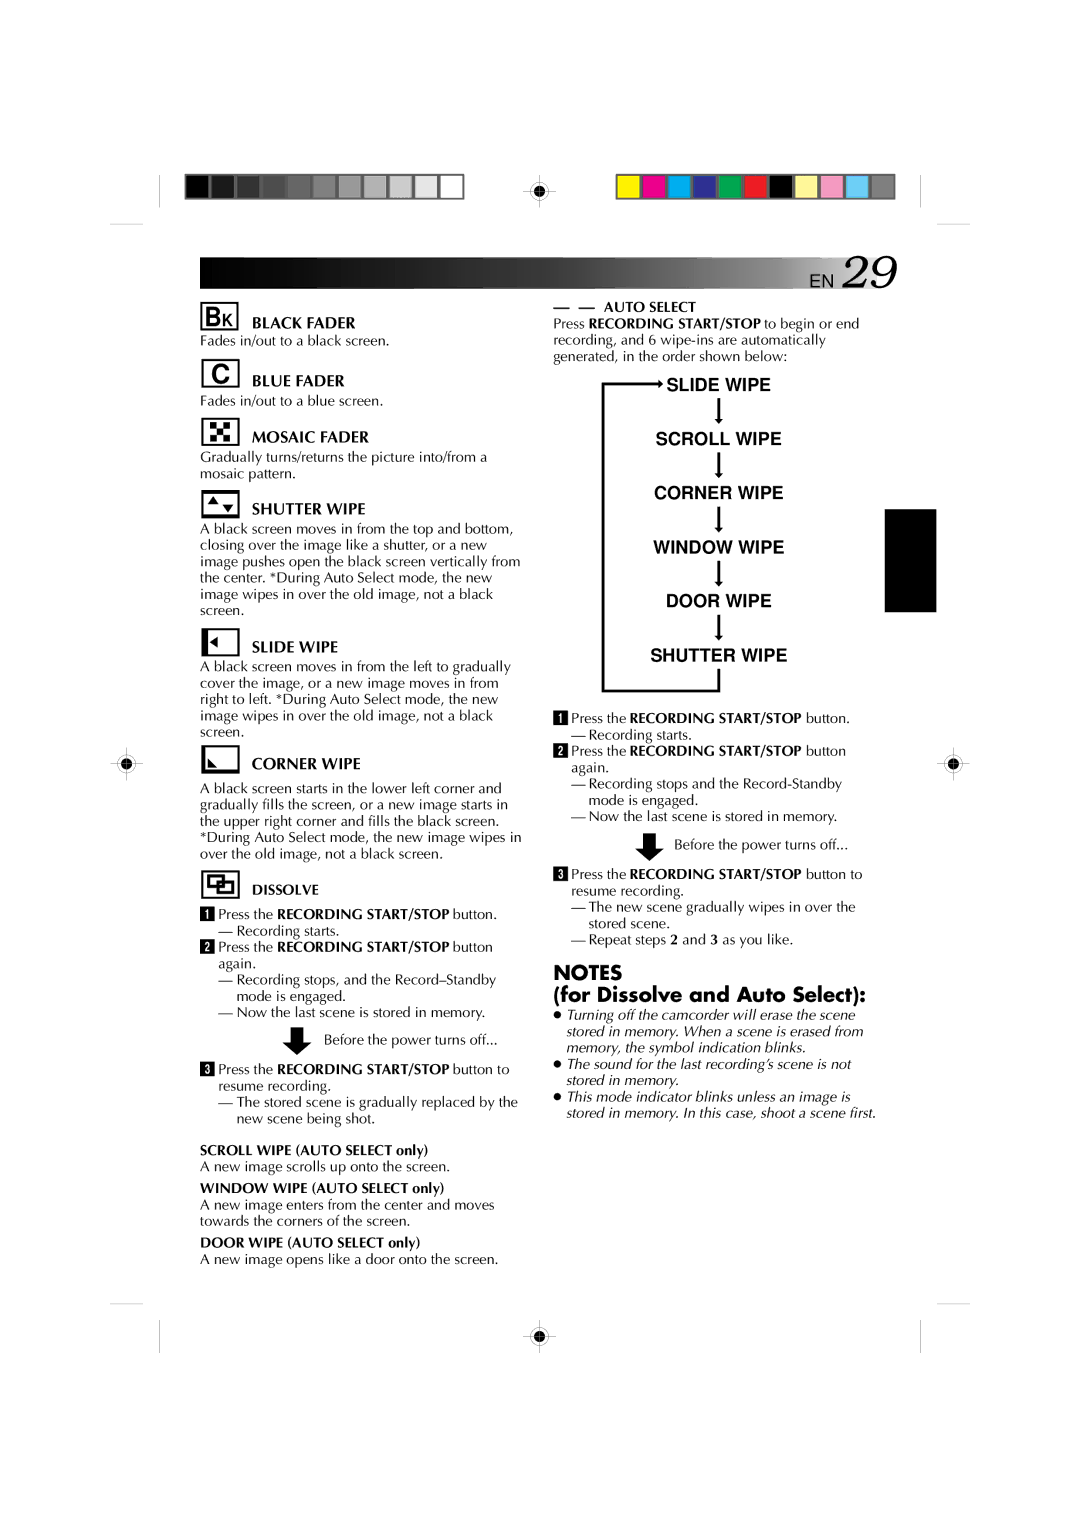
—— AUTO SELECT
Press RECORDING START/STOP to begin or end recording, and 6
![]() SLIDE WIPE
SLIDE WIPE
SCROLL WIPE
CORNER WIPE
WINDOW WIPE
DOOR WIPE
SHUTTER WIPE
1 Press the RECORDING START/STOP button.
— Recording starts.
2 Press the RECORDING START/STOP button again.
—Recording stops and the
—Now the last scene is stored in memory.
![]() Before the power turns off...
Before the power turns off...
3 Press the RECORDING START/STOP button to resume recording.
—The new scene gradually wipes in over the stored scene.
—Repeat steps 2 and 3 as you like.
NOTES
(for Dissolve and Auto Select):
●Turning off the camcorder will erase the scene stored in memory. When a scene is erased from memory, the symbol indication blinks.
●The sound for the last recording’s scene is not stored in memory.
●This mode indicator blinks unless an image is stored in memory. In this case, shoot a scene first.
