WHITE BALANCE
1
2
White balance is the camera’s ability to make different types of lighting appear natural. Any changes are immediately visible on the monitors.
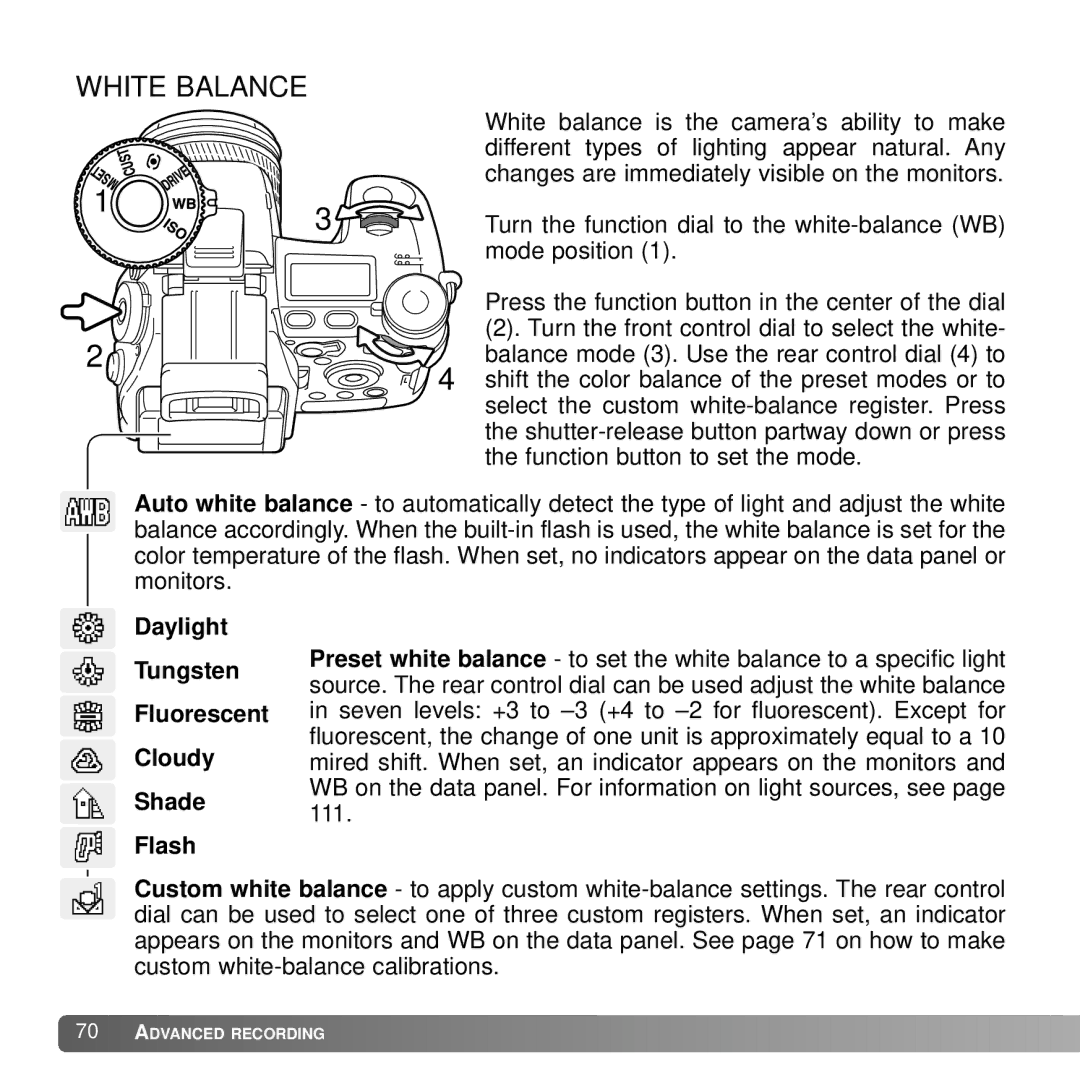
3 | Turn the function dial to the |
| mode position (1). |
Press the function button in the center of the dial
(2). Turn the front control dial to select the white- balance mode (3). Use the rear control dial (4) to
4shift the color balance of the preset modes or to
select the custom
Auto white balance - to automatically detect the type of light and adjust the white balance accordingly. When the
Daylight
Tungsten
Fluorescent
Cloudy
Shade
Flash
Preset white balance - to set the white balance to a specific light source. The rear control dial can be used adjust the white balance in seven levels: +3 to
Custom white balance - to apply custom
![]() 70
70![]()
![]() ADVANCED RECORDING
ADVANCED RECORDING ![]()
![]()
![]()
![]()
![]()
![]()
![]()
![]()
![]()
![]()
![]()
![]()
![]()
![]()
![]()
![]()
![]()
![]()
![]()
![]()
![]()
![]()
![]()
![]()
![]()
![]()
![]()
![]()
![]()
![]()
![]()
![]()
![]()
![]()
![]()
![]()
