User mode
2
Item | Description | |
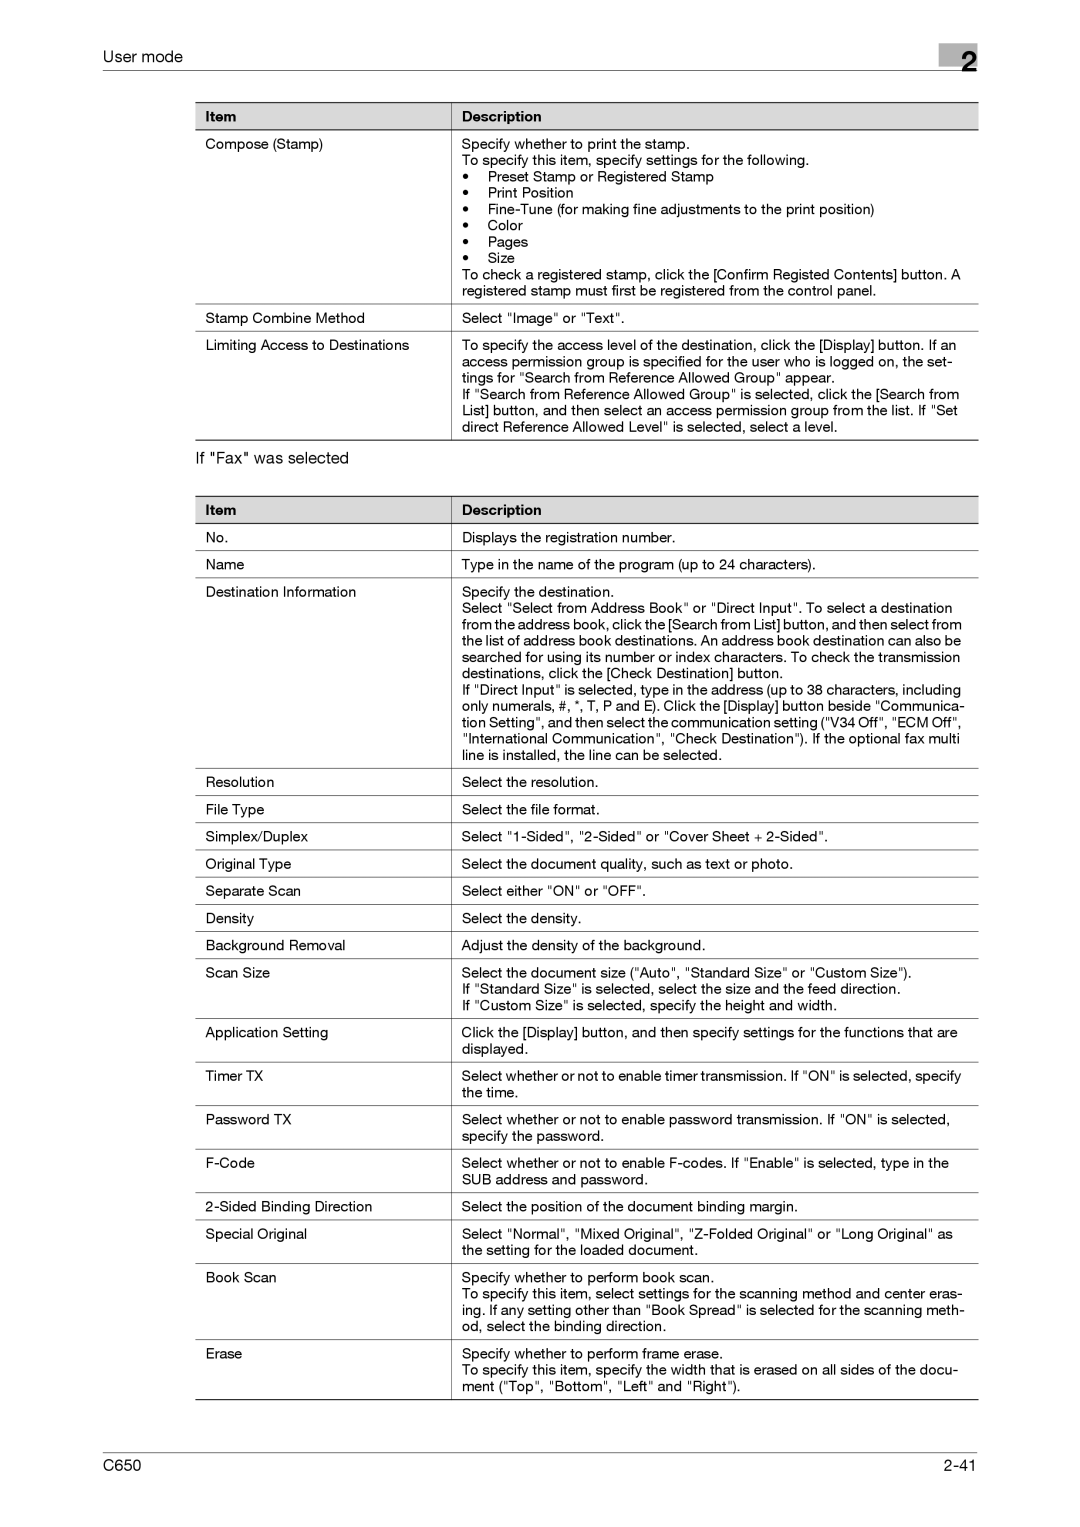
Compose (Stamp) | Specify whether to print the stamp. | |
| To specify this item, specify settings for the following. | |
| • Preset Stamp or Registered Stamp | |
| • | Print Position |
| • | |
| • | Color |
| • | Pages |
| • | Size |
| To check a registered stamp, click the [Confirm Registed Contents] button. A | |
| registered stamp must first be registered from the control panel. | |
|
| |
Stamp Combine Method | Select "Image" or "Text". | |
|
| |
Limiting Access to Destinations | To specify the access level of the destination, click the [Display] button. If an | |
| access permission group is specified for the user who is logged on, the set- | |
| tings for "Search from Reference Allowed Group" appear. | |
| If "Search from Reference Allowed Group" is selected, click the [Search from | |
| List] button, and then select an access permission group from the list. If "Set | |
| direct Reference Allowed Level" is selected, select a level. | |
|
|
|
If "Fax" was selected |
|
|
Item | Description |
No. | Displays the registration number. |
|
|
Name | Type in the name of the program (up to 24 characters). |
|
|
Destination Information | Specify the destination. |
| Select "Select from Address Book" or "Direct Input". To select a destination |
| from the address book, click the [Search from List] button, and then select from |
| the list of address book destinations. An address book destination can also be |
| searched for using its number or index characters. To check the transmission |
| destinations, click the [Check Destination] button. |
| If "Direct Input" is selected, type in the address (up to 38 characters, including |
| only numerals, #, *, T, P and E). Click the [Display] button beside "Communica- |
| tion Setting", and then select the communication setting ("V34 Off", "ECM Off", |
| "International Communication", "Check Destination"). If the optional fax multi |
| line is installed, the line can be selected. |
|
|
Resolution | Select the resolution. |
|
|
File Type | Select the file format. |
|
|
Simplex/Duplex | Select |
|
|
Original Type | Select the document quality, such as text or photo. |
|
|
Separate Scan | Select either "ON" or "OFF". |
|
|
Density | Select the density. |
|
|
Background Removal | Adjust the density of the background. |
|
|
Scan Size | Select the document size ("Auto", "Standard Size" or "Custom Size"). |
| If "Standard Size" is selected, select the size and the feed direction. |
| If "Custom Size" is selected, specify the height and width. |
|
|
Application Setting | Click the [Display] button, and then specify settings for the functions that are |
| displayed. |
|
|
Timer TX | Select whether or not to enable timer transmission. If "ON" is selected, specify |
| the time. |
|
|
Password TX | Select whether or not to enable password transmission. If "ON" is selected, |
| specify the password. |
|
|
Select whether or not to enable | |
| SUB address and password. |
|
|
Select the position of the document binding margin. | |
|
|
Special Original | Select "Normal", "Mixed Original", |
| the setting for the loaded document. |
|
|
Book Scan | Specify whether to perform book scan. |
| To specify this item, select settings for the scanning method and center eras- |
| ing. If any setting other than "Book Spread" is selected for the scanning meth- |
| od, select the binding direction. |
|
|
Erase | Specify whether to perform frame erase. |
| To specify this item, specify the width that is erased on all sides of the docu- |
| ment ("Top", "Bottom", "Left" and "Right"). |
|
|
C650 |
