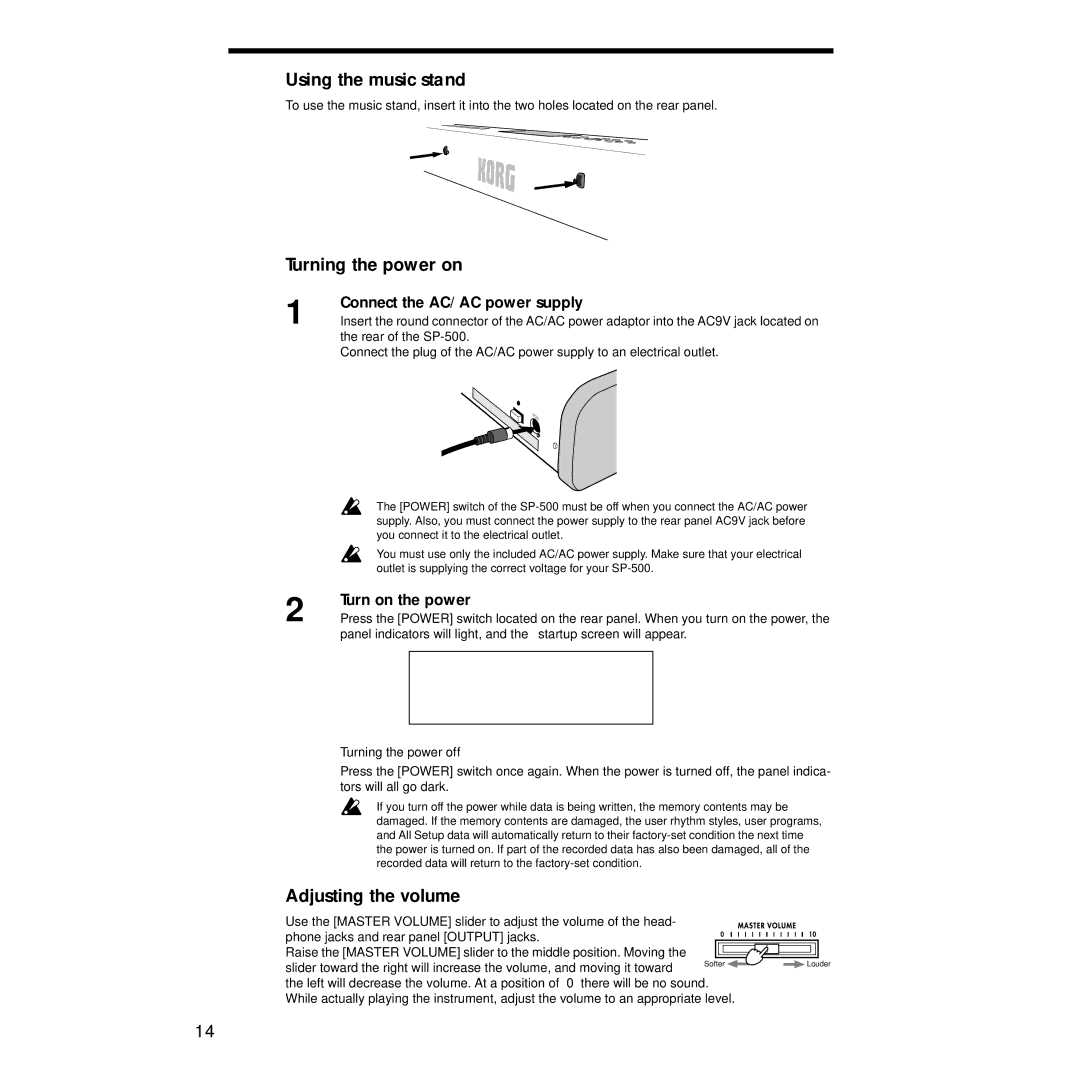
Using the music stand
To use the music stand, insert it into the two holes located on the rear panel.
Turning the power on
1 | Connect the AC/AC power supply |
Insert the round connector of the AC/AC power adaptor into the AC9V jack located on |
the rear of the
Connect the plug of the AC/AC power supply to an electrical outlet.
The [POWER] switch of the
You must use only the included AC/AC power supply. Make sure that your electrical outlet is supplying the correct voltage for your
2 | Turn on the power |
Press the [POWER] switch located on the rear panel. When you turn on the power, the |
panel indicators will light, and the startup screen will appear.
Turning the power off
Press the [POWER] switch once again. When the power is turned off, the panel indica- tors will all go dark.
If you turn off the power while data is being written, the memory contents may be damaged. If the memory contents are damaged, the user rhythm styles, user programs, and All Setup data will automatically return to their
Adjusting the volume
Use the [MASTER VOLUME] slider to adjust the volume of the head- phone jacks and rear panel [OUTPUT] jacks.
Raise the [MASTER VOLUME] slider to the middle position. Moving the
slider toward the right will increase the volume, and moving it toward
Softer ![]()
![]() Louder
Louder
the left will decrease the volume. At a position of “0” there will be no sound. While actually playing the instrument, adjust the volume to an appropriate level.
14
