COMMAND CENTER Pages
Basic > Security > Certificates
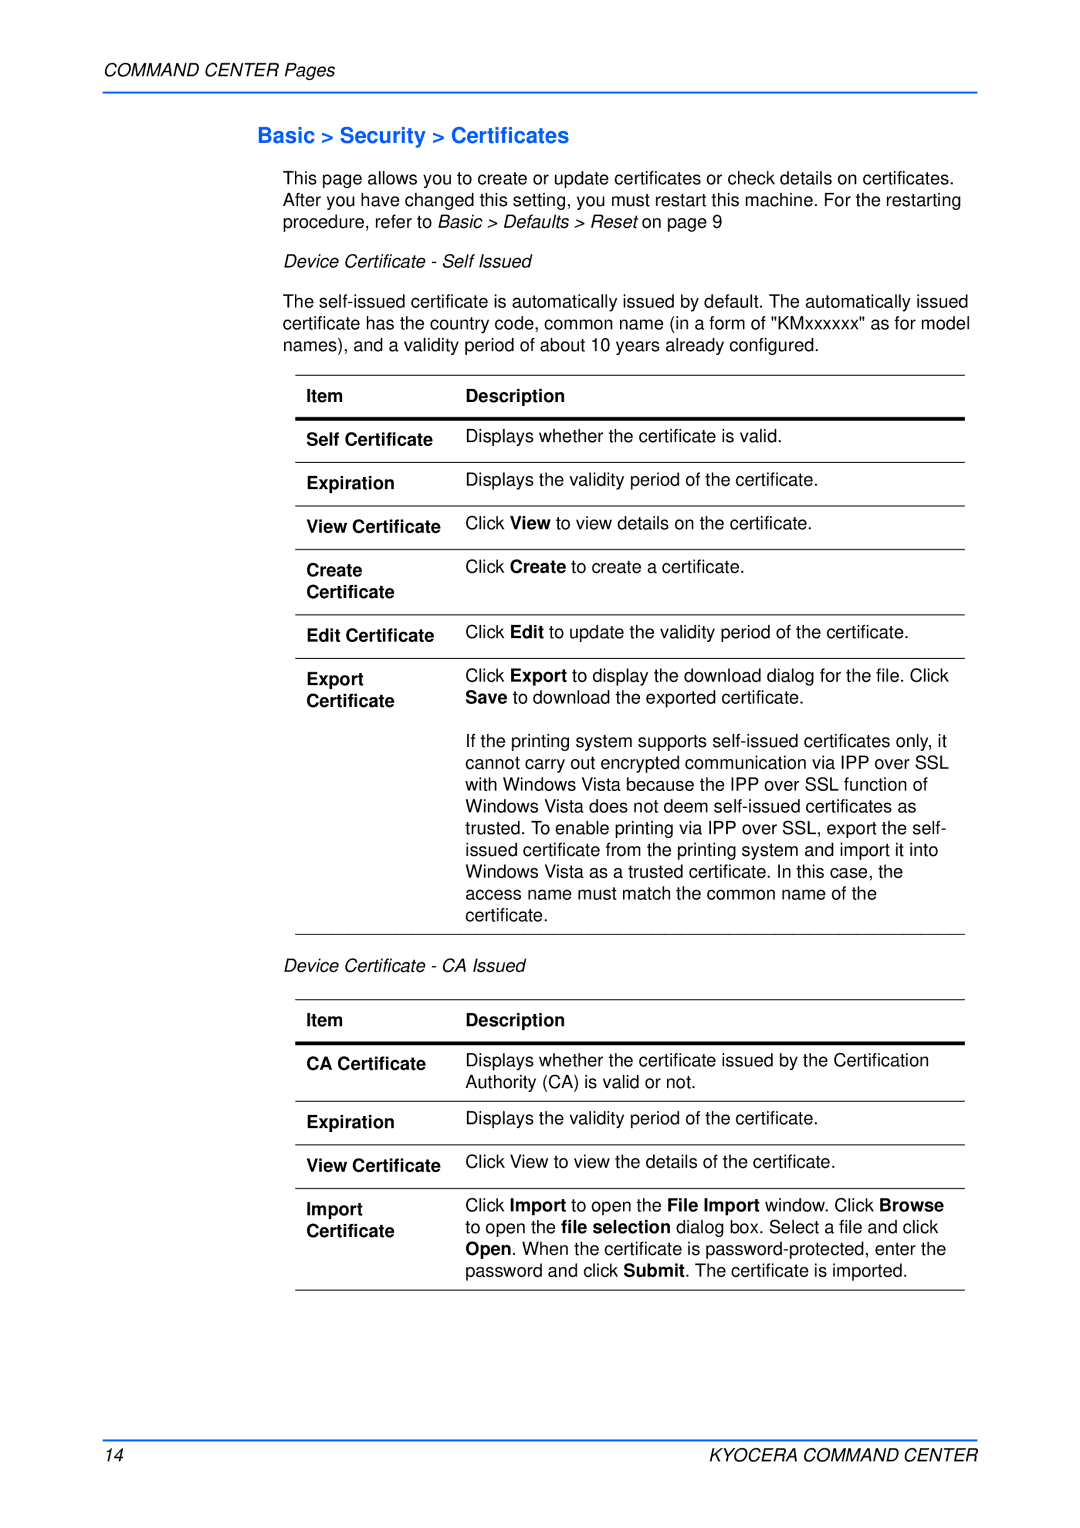
This page allows you to create or update certificates or check details on certificates. After you have changed this setting, you must restart this machine. For the restarting procedure, refer to Basic > Defaults > Reset on page 9
Device Certificate - Self Issued
The
Item | Description |
|
|
Self Certificate | Displays whether the certificate is valid. |
|
|
Expiration | Displays the validity period of the certificate. |
|
|
View Certificate | Click View to view details on the certificate. |
|
|
Create | Click Create to create a certificate. |
Certificate |
|
|
|
Edit Certificate | Click Edit to update the validity period of the certificate. |
|
|
Export | Click Export to display the download dialog for the file. Click |
Certificate | Save to download the exported certificate. |
| If the printing system supports |
| cannot carry out encrypted communication via IPP over SSL |
| with Windows Vista because the IPP over SSL function of |
| Windows Vista does not deem |
| trusted. To enable printing via IPP over SSL, export the self- |
| issued certificate from the printing system and import it into |
| Windows Vista as a trusted certificate. In this case, the |
| access name must match the common name of the |
| certificate. |
|
|
Device Certificate - CA Issued
Item | Description |
|
|
CA Certificate | Displays whether the certificate issued by the Certification |
| Authority (CA) is valid or not. |
|
|
Expiration | Displays the validity period of the certificate. |
|
|
View Certificate | Click View to view the details of the certificate. |
|
|
Import | Click Import to open the File Import window. Click Browse |
Certificate | to open the file selection dialog box. Select a file and click |
| Open. When the certificate is |
| password and click Submit. The certificate is imported. |
|
|
14 | KYOCERA COMMAND CENTER |
