Important
If the metal plate is not aligned correctly when you install the screws, you might damage the system board.
9.Install the screws that secure the system board to the chassis.
10.Reconnect all cables that were disconnected from the system board. See “Identifying parts on the system board” on page 95.
11.Replace any PCI adapters that were removed. See “Removing and replacing a PCI adapter” on page 97.
12.To complete the installation, go to “Closing the cover and connecting cables” on page 113.
Removing and replacing the microprocessor
Important
To allow the thermal interface between the microprocessor and the heat sink time to cool down, turn off the computer at least one hour before removing the microprocessor.
Note: This procedure is also used when replacing a failing system board.
When you receive a new microprocessor, you will also receive a new heat sink and a vacuum pen for handling the microprocessor.
Important
You must install the new heat sink when replacing the microprocessor. If you use the old heat sink with the new microprocessor, the computer might over heat.
1.Remove the cover. See “Removing the cover” on page 92.
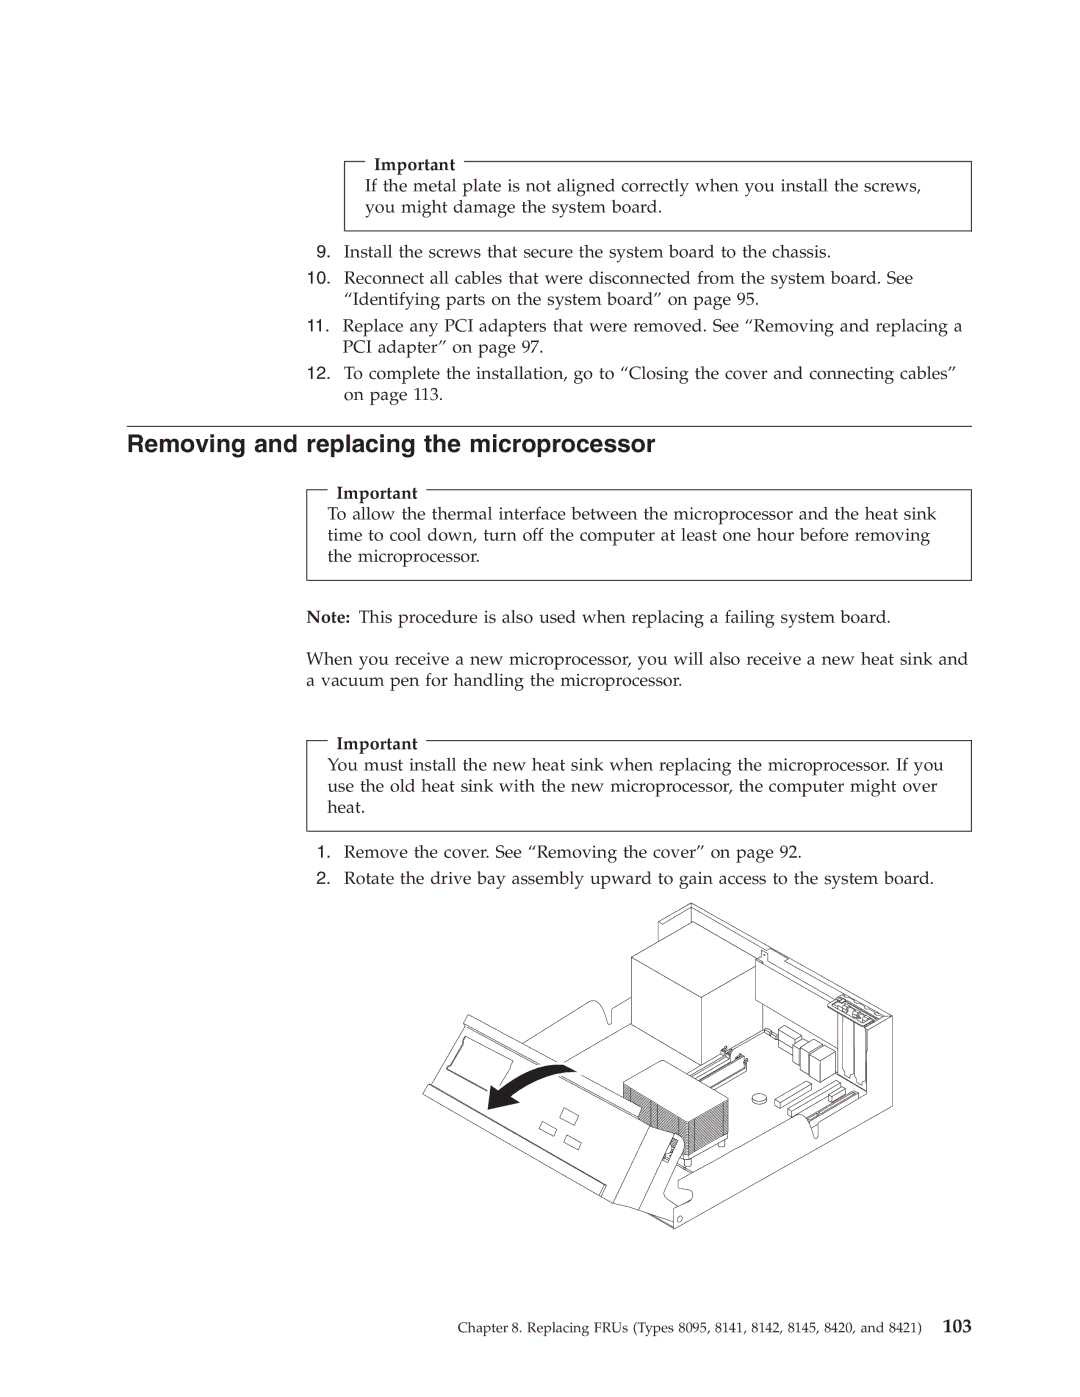
2.Rotate the drive bay assembly upward to gain access to the system board.
