3.Remove the computer cover. See “Removing the computer cover” on page 75.
4.Remove the optical drive. See “Replacing the optical drive” on page 82.
5.Locate the converter board in the computer. See “Locating major FRUs and CRUs” on page 66.
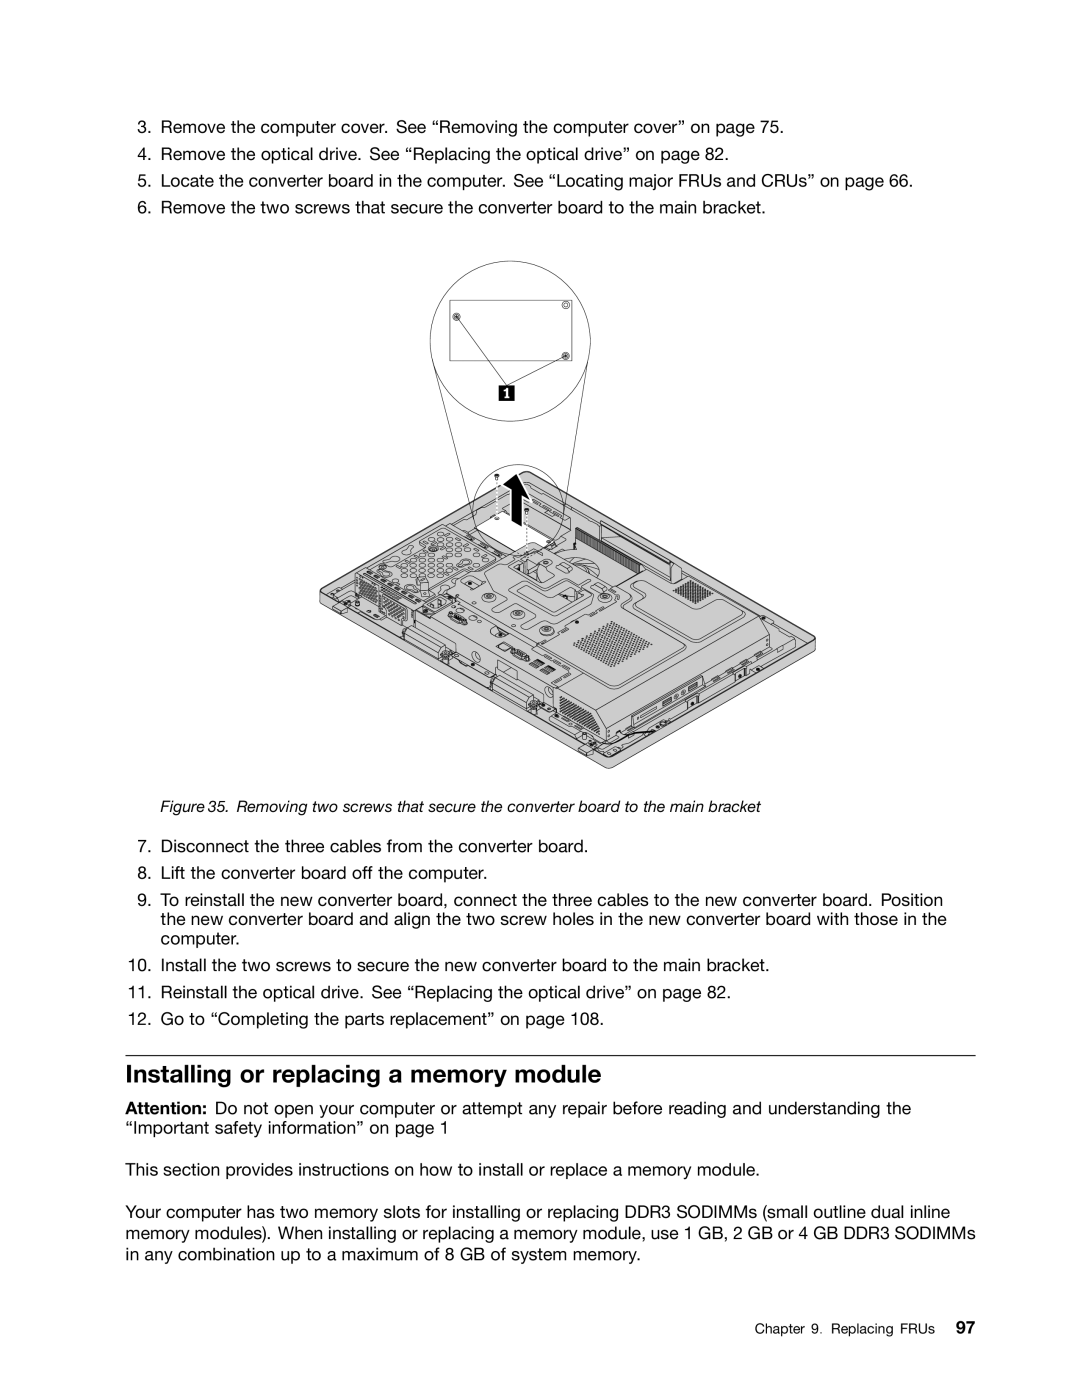
6.Remove the two screws that secure the converter board to the main bracket.
Figure 35. Removing two screws that secure the converter board to the main bracket
7.Disconnect the three cables from the converter board.
8.Lift the converter board off the computer.
9.To reinstall the new converter board, connect the three cables to the new converter board. Position the new converter board and align the two screw holes in the new converter board with those in the computer.
10.Install the two screws to secure the new converter board to the main bracket.
11.Reinstall the optical drive. See “Replacing the optical drive” on page 82.
12.Go to “Completing the parts replacement” on page 108.
Installing or replacing a memory module
Attention: Do not open your computer or attempt any repair before reading and understanding the “Important safety information” on page 1
This section provides instructions on how to install or replace a memory module.
Your computer has two memory slots for installing or replacing DDR3 SODIMMs (small outline dual inline memory modules). When installing or replacing a memory module, use 1 GB, 2 GB or 4 GB DDR3 SODIMMs in any combination up to a maximum of 8 GB of system memory.
Chapter 9. Replacing FRUs 97