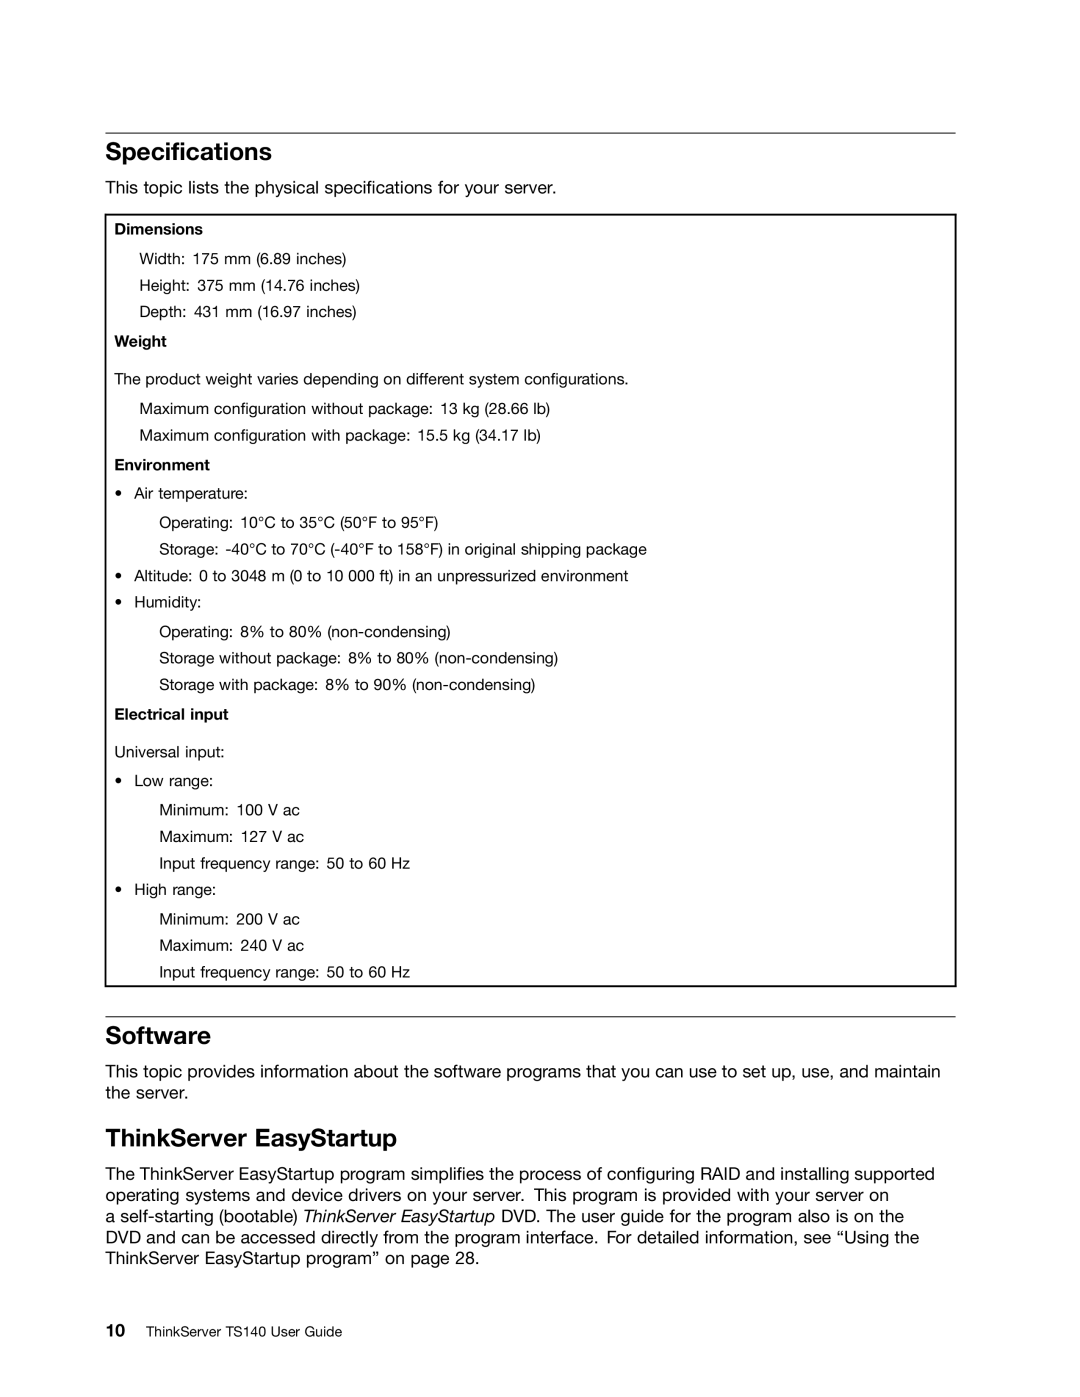
ThinkServer TS140 User Guide
Machine Types 70A0, 70A1, 70A4, and 70A5
The Read Me First that comes with your product
Contents
and service
Chapter 7. Troubleshooting and
diagnostics
Chapter 8. Getting information, help
Safety information
제품을 사용하기 전에 제품과 함께 제공되는 문서 DVD의 다국어 안전 지침을 주의 깊게 읽어보십시오
使用本產品之前,請務必閱讀並瞭解產品隨附的文件 DVD 上的多國語言版本安全資訊。
在使用本产品之前,请务必先阅读和了解产品附带的文档 DVD 中的多语言安全说明。
iv ThinkServer TS140 User Guide
Statement DANGER
Danger of explosion if battery is incorrectly replaced
Dispose of the battery as required by local ordinances or regulations
Statement DANGER
DANGER
Use safe practices when lifting Statement
Statement
Statement
Statement
Statement
Statement
Statement
DANGER
Statement
The following label indicates a potential heat hazard Statement
Statement
Statement
Statement
To reduce the risk of electric shock or energy hazards
Statement
Statement
x ThinkServer TS140 User Guide
Chapter 1. General information
Introduction
Read Me First
Server documentation
Printed document
Documentation DVD
Hardware Maintenance Manual
Safety, Warranty, and Support Information
Document only for trained service personnel
Lenovo License Agreement
4 ThinkServer TS140 User Guide
Chapter 2. Server setup road map
6 ThinkServer TS140 User Guide
Server package
Features
Chapter 3. Product overview
Microprocessor
Memory
Power supply
Input/Output I/O features
Fans
Basic system management features
Reliability, availability, and serviceability
Security features
Ethernet connectivity
Software
Specifications
ThinkServer EasyStartup
RAID configuration utilities
ThinkServer EasyUpdate Firmware Updater
BIOS update utilities
Diagnostic programs
Front view of the server
Figure 2. Machine type, model, and serial number label
Rear view of the server
Connector
Figure 4. Rear connector locations
Description
Locating parts on the system board
Figure 5. System board part locations
Internal components
Internal drives
Optical drive bay Secondary optical drive bay Card reader drive bay
Figure 7. Drive bay locations
Secondary SATA hard disk drive bay
18 ThinkServer TS140 User Guide
Turning off the server
Chapter 4. Turning on and turning off the server
Turning on the server
Statement
20 ThinkServer TS140 User Guide
Starting the Setup Utility program
Chapter 5. Configuring the server
Using the Setup Utility program
Viewing information in the Setup Utility program
Main menu
Setup Utility program interface
Devices menu
Security menu
Advanced menu
Chapter 5. Configuring the server
Startup menu
Setting the system date and time
Power menu
Exit menu
Power-On Password
Using passwords
Password considerations
Administrator Password
Selecting a startup device
Configuring the TPM function
3. Select TCG Security Features. Then, set the TPM Support to Active
Updating or recovering the BIOS
Exiting from the Setup Utility program
Updating flashing the BIOS
Using the ThinkServer EasyStartup program
Recovering from a BIOS update failure
Features of the ThinkServer EasyStartup program
Starting the ThinkServer EasyStartup program
Compatibility notes
Install operating system
Home
User Guide
Configuring RAID
About RAID
Configuring the system BIOS to enable onboard SATA RAID functionality
2. Select Devices ATA Drive Setup
Deleting RAID volumes
Creating RAID volumes
Resetting disks to non-RAID
Updating the firmware
Using the Firmware Updater program
34 ThinkServer TS140 User Guide
Precautions
Chapter 6. Installing, removing, or replacing hardware
Guidelines
Handling static-sensitive devices
System reliability guidelines
Working inside the server with the power on
Removing the server cover
Removing and reinstalling the front bezel
Figure 9. Removing the front bezel
Installing, removing, or replacing hardware
What to do next
Memory module installation rules
Installing or removing the Ethernet card
Installing or removing a memory module
What to do next
Memory slot DIMM2
Memory slot DIMM1
Memory slot DIMM3
Memory slot DIMM4
Installing a memory module
Figure 12. Opening the retaining clips of the memory slots
Figure 13. Installing a memory module
Removing a memory module
What to do next
Installing the tertiary hard disk drive
Installing or removing the tertiary hard disk drive
What to do next
5. Install the retainer on the side of the bracket
Figure 18. Connecting cables to the hard disk drive
What to do next
Removing the tertiary hard disk drive
48 ThinkServer TS140 User Guide
Figure 20. Removing the drive conversion bracket
Figure 22. Installing the slim optical drive conversion board
Installing the slim optical drive and the fourth hard disk drive
What to do next
6. Install the slim optical drive with the retainer into the cage
Figure 28. Installing the cage retainer
9. Install the four screws to secure the hard disk drive in the cage
10. Install the cage retainer on the side of the cage
8. Slide the hard disk drive into the cage from the rear of the cage
14. Install the plastic bezel for the cage onto the front bezel
What to do next
Removing the slim optical drive and the fourth hard disk drive
54 ThinkServer TS140 User Guide
that secures the slim optical drive. Then, slide the slim
What to do next
Installing or replacing a PCI card
Figure 34. Removing the hard disk drive from the cage
to open the PCI card latch
3. At the rear of the server, press the release button
Figure 35. Opening the PCI card latch
as shown. Grasp the
Figure 38. Installing a PCI card
Figure 39. Closing the PCI card retaining clip
What to do next
Installing or replacing the optical drive
Figure 40. Removing the optical drive
Figure 42. Connecting a SATA optical drive
Installing or replacing the secondary hard disk drive
Figure 41. Installing the optical drive
What to do next
Figure 43. Removing the secondary hard disk drive
62 ThinkServer TS140 User Guide
Figure 44. Installing the hard disk drive into the bracket
Figure 45. Installing the secondary hard disk drive
Replacing the primary hard disk drive
Figure 46. Connecting a SATA hard disk drive
Chapter 6. Installing, removing, or replacing hardware
Figure 48. Installing the hard disk drive into the bracket
Figure 47. Removing the primary hard disk drive
Figure 50. Connecting a SATA hard disk drive
Replacing the power supply assembly
Figure 49. Installing the primary hard disk drive
What to do next
DANGER Hazardous moving parts. Keep fingers and other body parts away
Figure 52. Removing the power supply assembly
Figure 51. Removing the screws that secure the power supply assembly
68 ThinkServer TS140 User Guide
Replacing the heat sink and fan assembly
What to do next
What to do next
Figure 53. Removing the heat sink and fan assembly
70 ThinkServer TS140 User Guide
Replacing the front audio and USB assembly
Figure 54. Removing the front audio and USB assembly
Figure 55. Removing the front fan assembly
Replacing the front fan assembly
What to do next
Figure 56. Installing the front fan assembly
Replacing the rear fan assembly
What to do next
Figure 57. Removing the rear fan assembly
74 ThinkServer TS140 User Guide
Figure 58. Installing the rear fan assembly
Replacing the microprocessor
What to do next
Figure 60. Removing the microprocessor
Figure 59. Accessing the microprocessor
76 ThinkServer TS140 User Guide
Figure 61. Installing the microprocessor
Dispose of the battery as required by local ordinances or regulations
Replacing the system board battery
DANGER Danger of explosion if battery is incorrectly replaced
What to do next
Figure 63. Installing the new system board battery
Completing the parts replacement
Figure 62. Removing the old system board battery
What to do next
Connecting the cables
Installing security features
Connecting external devices
Updating the server configuration
Password protection
82 ThinkServer TS140 User Guide
Troubleshooting procedure
Chapter 7. Troubleshooting and diagnostics
Using a diagnostic program
Optical drive problems
Basic troubleshooting tables
ThinkServer EasyStartup program problems
Symptom
Hard disk drive problems
Chapter 7. Troubleshooting and diagnostics
Memory module problems
86 ThinkServer TS140 User Guide
Keyboard, mouse, or USB device problems
2. Restart the server 3. Replace the USB device
88 ThinkServer TS140 User Guide
Information resources
Chapter 8. Getting information, help, and service
Using the documentation
ThinkServer Web site
Calling for service
Help and service
Before you call
Using other services
Purchasing additional services
92 ThinkServer TS140 User Guide
Lenovo United States, Inc 1009 Think Place - Building One
Appendix A. Notices
Morrisville, NC U.S.A Attention Lenovo Director of Licensing
Particulate contamination
Trademarks
Important notes
94 ThinkServer TS140 User Guide
Recycling information
Battery return program
Polyvinyl Chloride PVC cable and cord notice
Battery recycling information for the United States and Canada
Requirements for Batteries Containing Perchlorate
Battery recycling information for Taiwan
Battery recycling information for the European Union
Important WEEE information
Restriction of Hazardous Substances Directive RoHS
China RoHS Turkish RoHS
98 ThinkServer TS140 User Guide
German Ordinance for Work gloss statement
India RoHS
European Union RoHS
Export classification notice
German Class A compliance statement Deutschsprachiger EU Hinweis
United Kingdom telecommunications safety requirement
Industry Canada Class A emission compliance statement
Deutschland
Korea Class A compliance statement
Lenovo product service information for Taiwan
Japan VCCI Class A compliance statement
Eurasian compliance mark ENERGY STAR model information
Index
features
Power-On Password
passwords
rear connectors
Page
106 ThinkServer TS140 User Guide