2.Remove the server cover. See “Removing the server cover” on page 37.
3.Locate the system board battery. See “Locations” on page 11.
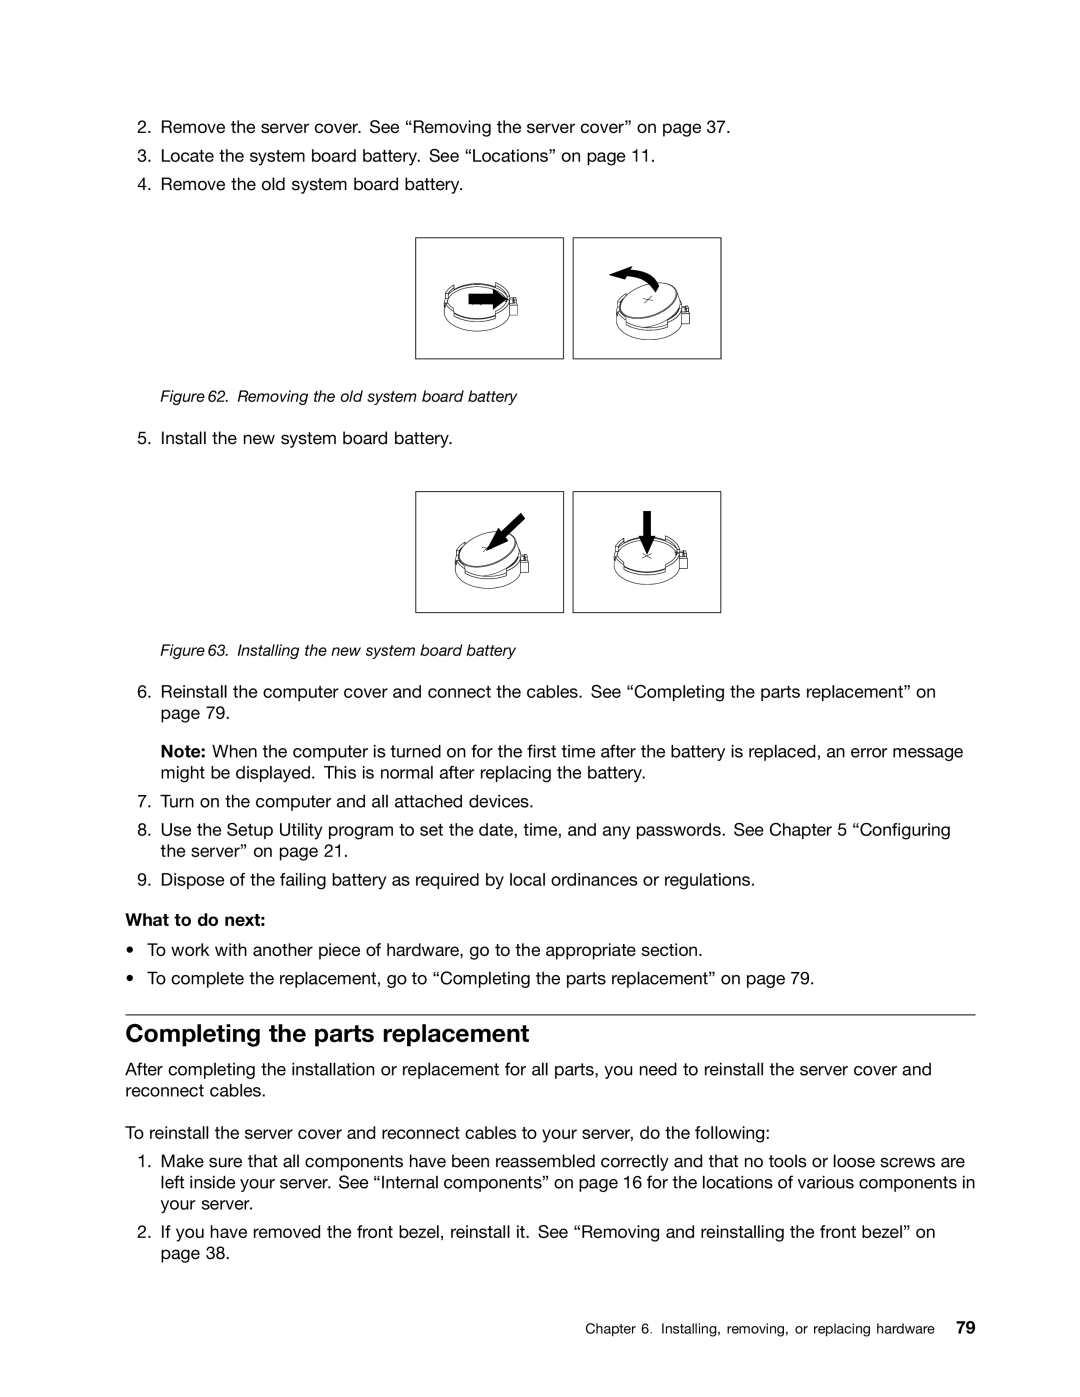
4.Remove the old system board battery.
Figure 62. Removing the old system board battery
5. Install the new system board battery.
Figure 63. Installing the new system board battery
6.Reinstall the computer cover and connect the cables. See “Completing the parts replacement” on page 79.
Note: When the computer is turned on for the first time after the battery is replaced, an error message might be displayed. This is normal after replacing the battery.
7.Turn on the computer and all attached devices.
8.Use the Setup Utility program to set the date, time, and any passwords. See Chapter 5 “Configuring the server” on page 21.
9.Dispose of the failing battery as required by local ordinances or regulations.
What to do next:
•To work with another piece of hardware, go to the appropriate section.
•To complete the replacement, go to “Completing the parts replacement” on page 79.
Completing the parts replacement
After completing the installation or replacement for all parts, you need to reinstall the server cover and reconnect cables.
To reinstall the server cover and reconnect cables to your server, do the following:
1.Make sure that all components have been reassembled correctly and that no tools or loose screws are left inside your server. See “Internal components” on page 16 for the locations of various components in your server.
2.If you have removed the front bezel, reinstall it. See “Removing and reinstalling the front bezel” on page 38.