1.3.2 In-band management through Ethernet
In addition to terminal mode configuration, the 24 + 2 Giga SNMP Ethernet Switch also supports
Before you can access the switch through
IP Address: 192.168.1.1
Subnet Mask: 255.255.255.0
Gateway: 192.168.1.254
Modify Switch’s IP address via Out-of-Band method
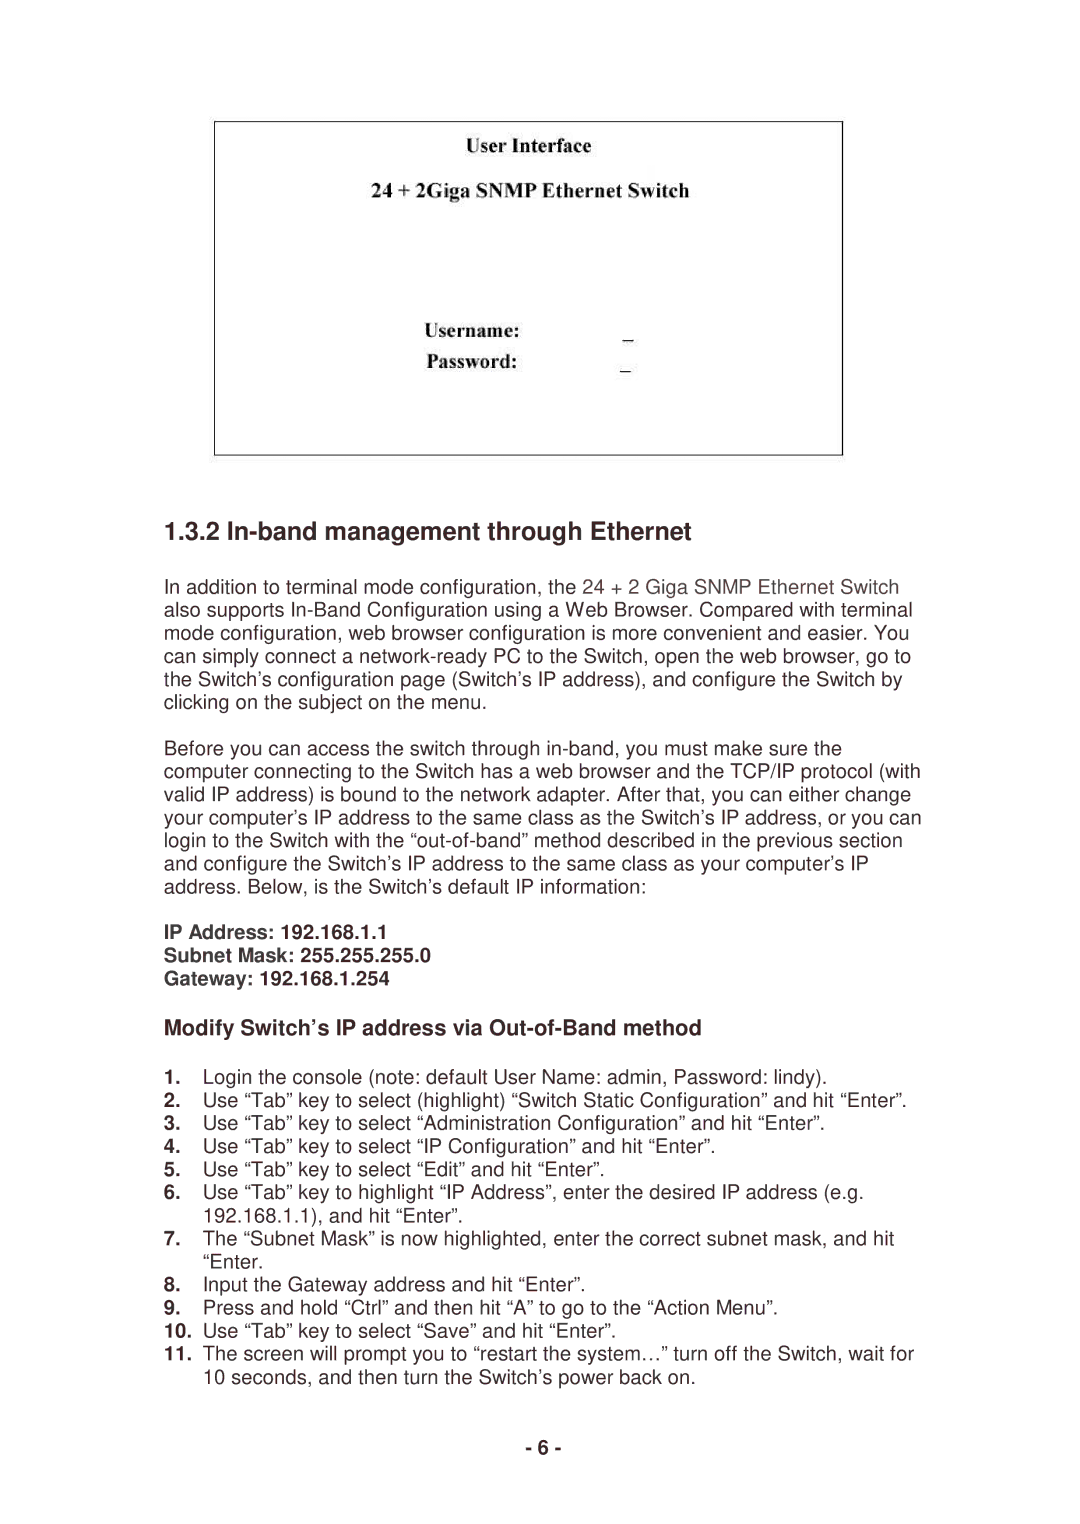
1.Login the console (note: default User Name: admin, Password: lindy).
2.Use “Tab” key to select (highlight) “Switch Static Configuration” and hit “Enter”.
3.Use “Tab” key to select “Administration Configuration” and hit “Enter”.
4.Use “Tab” key to select “IP Configuration” and hit “Enter”.
5.Use “Tab” key to select “Edit” and hit “Enter”.
6.Use “Tab” key to highlight “IP Address”, enter the desired IP address (e.g. 192.168.1.1), and hit “Enter”.
7.The “Subnet Mask” is now highlighted, enter the correct subnet mask, and hit “Enter.
8.Input the Gateway address and hit “Enter”.
9.Press and hold “Ctrl” and then hit “A” to go to the “Action Menu”.
10.Use “Tab” key to select “Save” and hit “Enter”.
11.The screen will prompt you to “restart the system…” turn off the Switch, wait for 10 seconds, and then turn the Switch’s power back on.
-6 -