WH 55-399 specifications
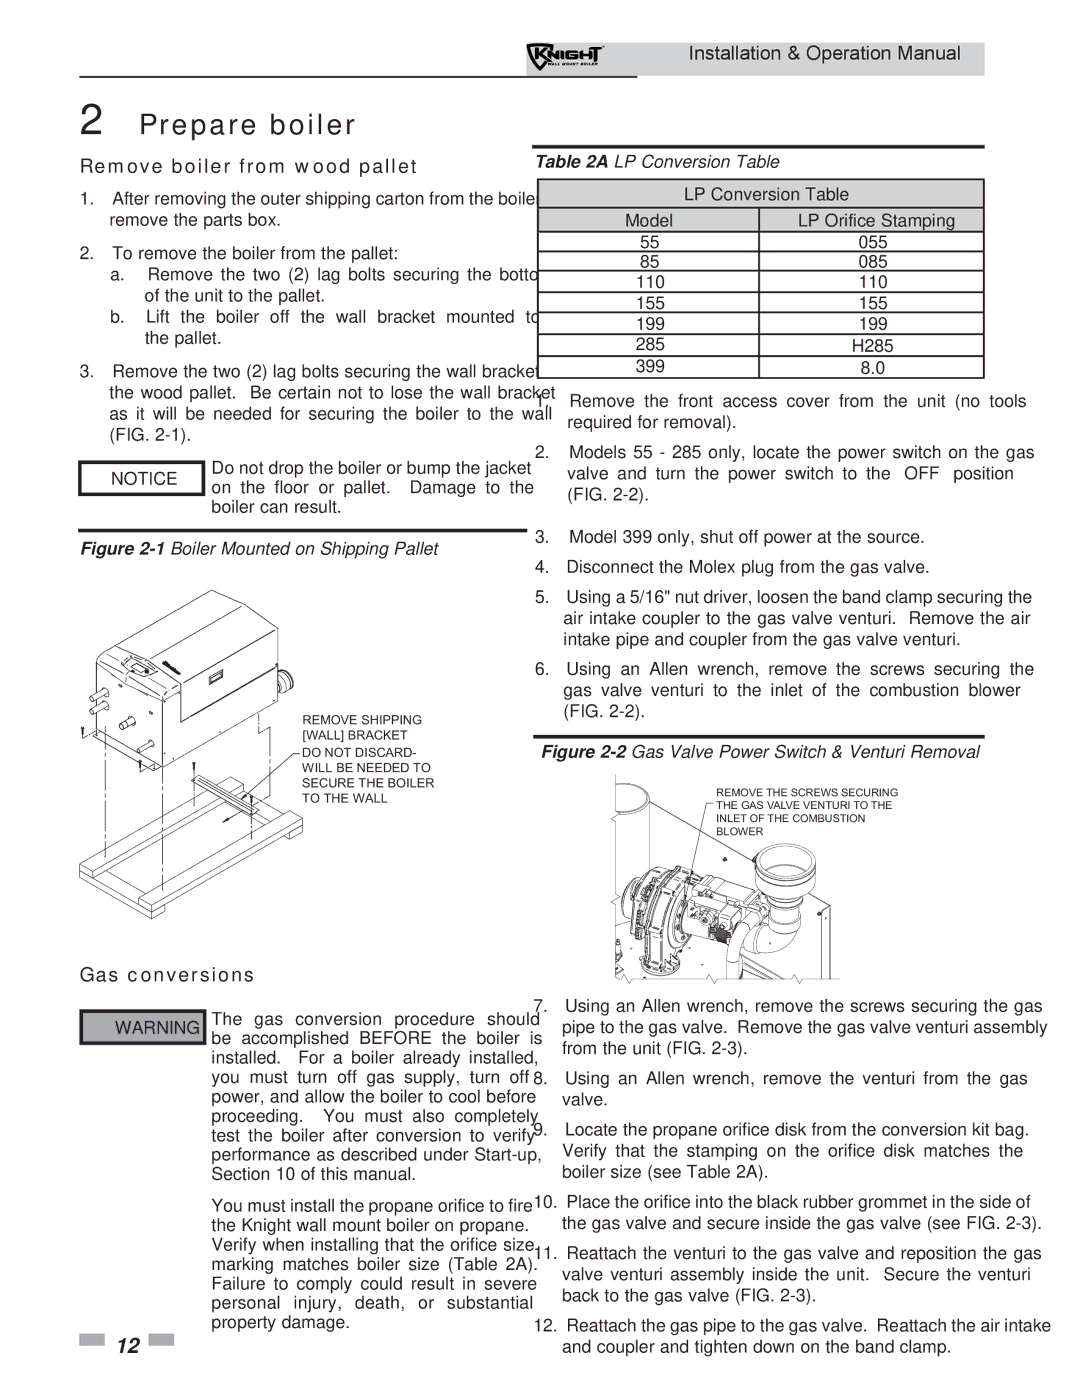
The Lochinvar WH 55-399 is a high-efficiency water heater designed for residential and commercial applications, offering a reliable solution for hot water needs. This model represents an advanced approach to water heating, combining cutting-edge technologies and features that ensure optimal performance and energy efficiency.One of the standout features of the Lochinvar WH 55-399 is its high thermal efficiency, which is a key factor in reducing energy consumption and operating costs. With an efficiency rating exceeding 90%, this water heater ensures that more energy is converted into usable hot water, making it an environmentally friendly choice.
The WH 55-399 utilizes advanced condensing technology, which allows it to extract additional heat from the exhaust gases before they are expelled. This process not only increases efficiency but also significantly decreases greenhouse gas emissions. The unit is also equipped with an intelligent control system that allows for precise temperature adjustments, ensuring that the user has an optimal supply of hot water while maintaining energy savings.
Another important aspect of this model is its impressive recovery rate. The ability to quickly heat water after a significant draw ensures that users will not experience interruptions in their hot water supply, making it ideal for busy households or commercial environments. This is particularly beneficial in applications requiring consistent hot water availability, such as restaurants or athletic facilities.
The Lochinvar WH 55-399 is designed with durability in mind. Constructed from high-quality materials, this water heater boasts a robust tank lined with corrosion-resistant coatings, extending the lifespan of the unit and reducing maintenance needs. Additionally, it features a reliable gas burner and a well-insulated tank, contributing to its overall efficiency and performance.
Safety is also a priority with the WH 55-399. The unit incorporates multiple safety features, including a flame sensor, automatic shut-off valve, and over-temperature protection, ensuring peace of mind for users.
In summary, the Lochinvar WH 55-399 stands out with its combination of high efficiency, advanced technology, and durable construction. Whether for residential or commercial use, this water heater provides a dependable and cost-effective solution for all hot water needs. Its innovative design and performance characteristics make it a top choice for anyone seeking a premium water heating option.

