You can change this to the distance and bearing from one point to the next (leg), travel time to each point, or arrival time for each point. To change this data, select “Display Data”, then press the ENT key. Select the de- sired data from the list and press the EXIT key.
If you select the “Navigate” button, the unit will return to the mapping screen showing navigation data to the first point on the list. Selecting “Reverse” before navigating inverts the list of points so that the last point on the list is the first one that will be navigated to.
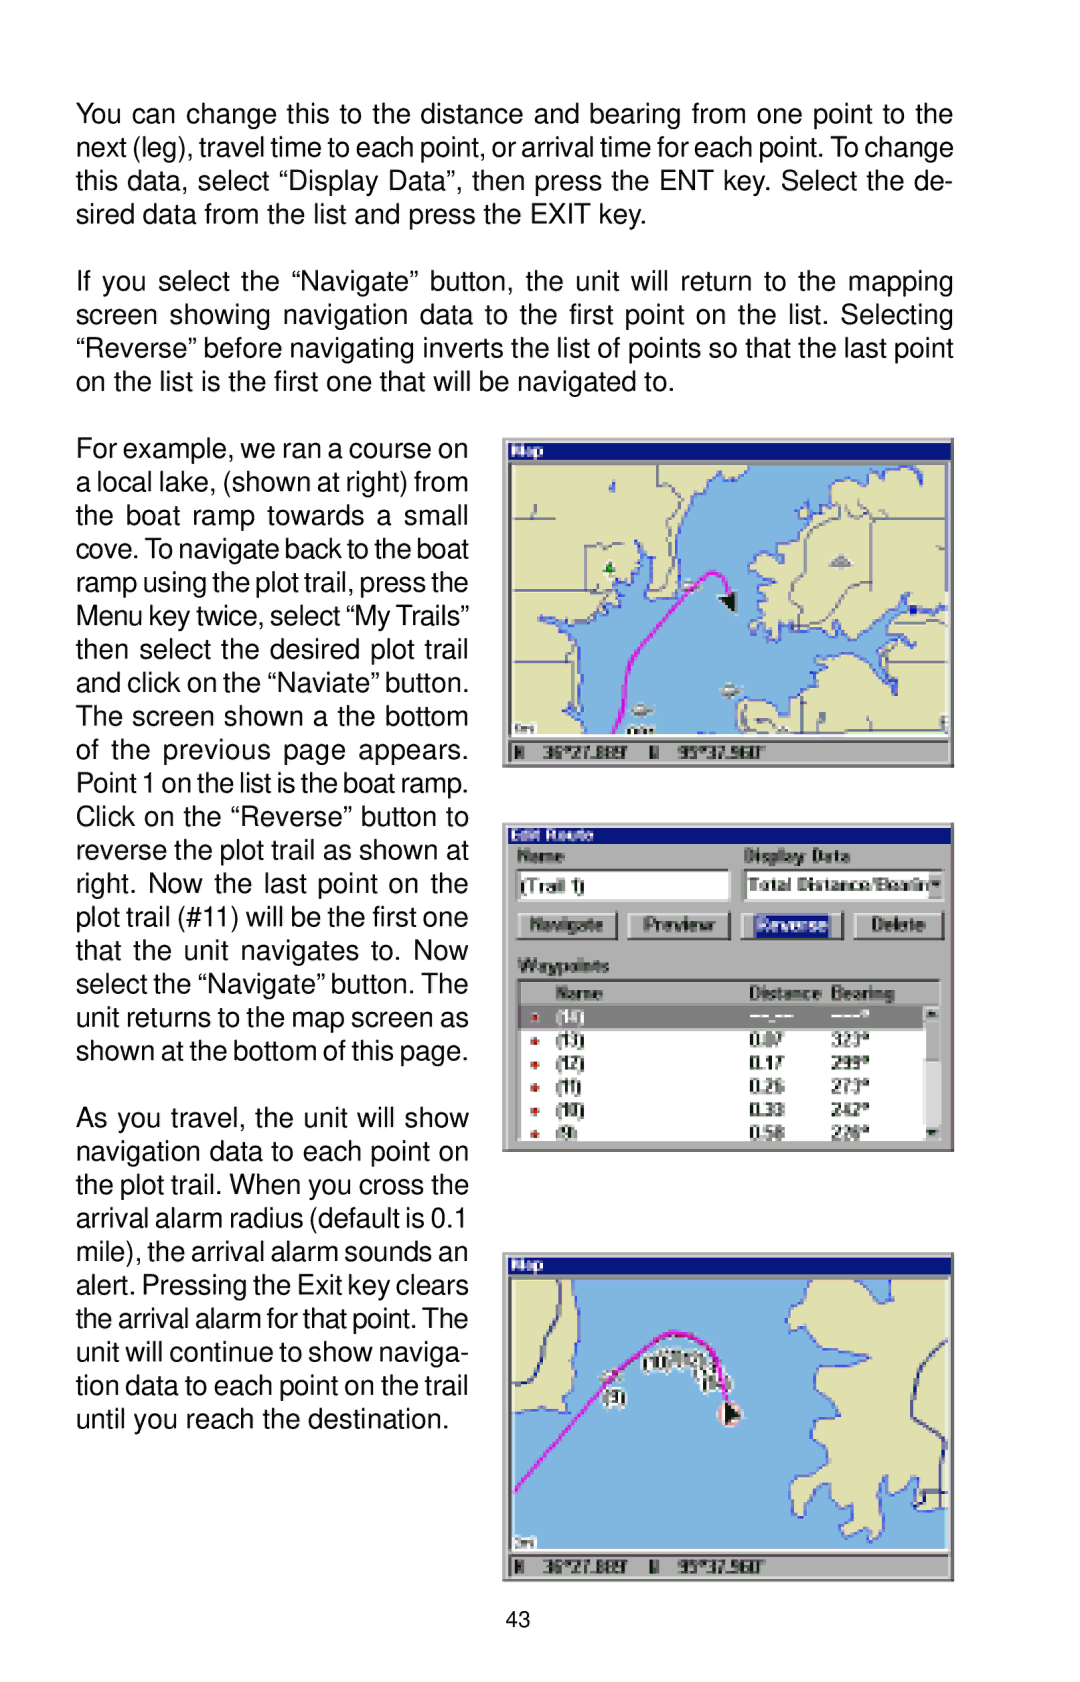
For example, we ran a course on a local lake, (shown at right) from the boat ramp towards a small cove. To navigate back to the boat ramp using the plot trail, press the Menu key twice, select “My Trails” then select the desired plot trail and click on the “Naviate” button. The screen shown a the bottom of the previous page appears. Point 1 on the list is the boat ramp. Click on the “Reverse” button to reverse the plot trail as shown at right. Now the last point on the plot trail (#11) will be the first one that the unit navigates to. Now select the “Navigate” button. The unit returns to the map screen as shown at the bottom of this page.
As you travel, the unit will show navigation data to each point on the plot trail. When you cross the arrival alarm radius (default is 0.1 mile), the arrival alarm sounds an alert. Pressing the Exit key clears the arrival alarm for that point. The unit will continue to show naviga- tion data to each point on the trail until you reach the destination.
43
