SecurStor 16i Installation and Hardware Reference Manual
![]() Step 5. Secure the module by fastening the screws you previously removed.
Step 5. Secure the module by fastening the screws you previously removed.
![]() Step 6. Reinstall the PSU module into chassis. When powered on, check if the cooling fan LEDs are lit. If not, that means your cooling fans are operating properly.
Step 6. Reinstall the PSU module into chassis. When powered on, check if the cooling fan LEDs are lit. If not, that means your cooling fans are operating properly.
5.7Replacing a Failed Hard Drive
5.7.1Hard Drive Maintenance Overview
•
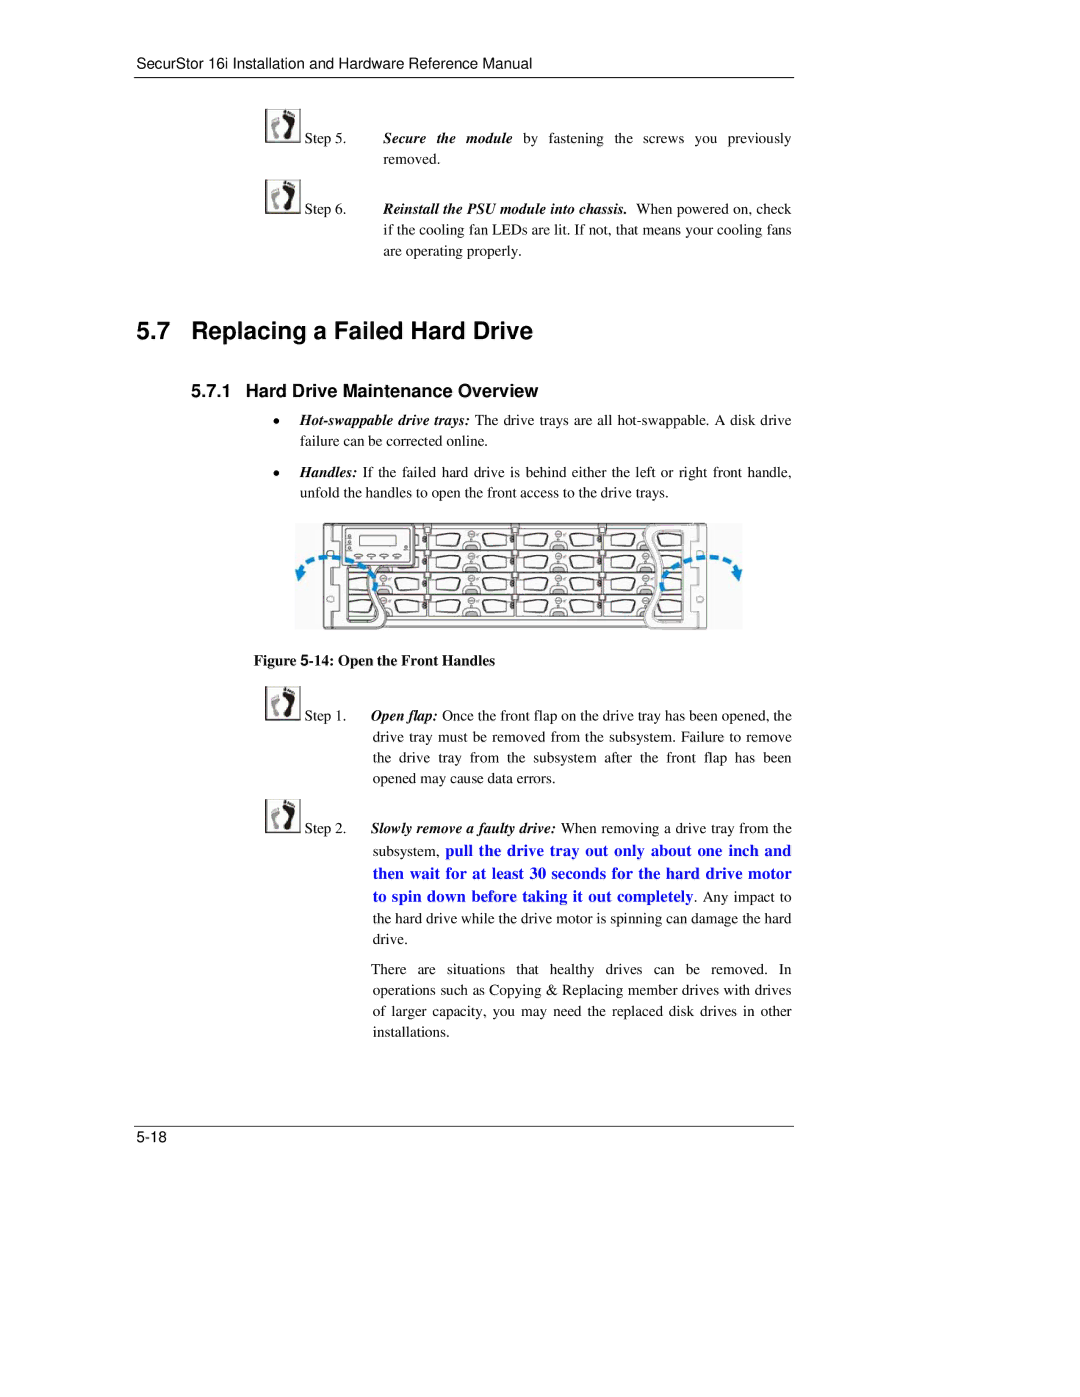
•Handles: If the failed hard drive is behind either the left or right front handle, unfold the handles to open the front access to the drive trays.
Figure 5-14: Open the Front Handles
![]() Step 1. Open flap: Once the front flap on the drive tray has been opened, the drive tray must be removed from the subsystem. Failure to remove the drive tray from the subsystem after the front flap has been opened may cause data errors.
Step 1. Open flap: Once the front flap on the drive tray has been opened, the drive tray must be removed from the subsystem. Failure to remove the drive tray from the subsystem after the front flap has been opened may cause data errors.
![]() Step 2. Slowly remove a faulty drive: When removing a drive tray from the
Step 2. Slowly remove a faulty drive: When removing a drive tray from the
subsystem, pull the drive tray out only about one inch and then wait for at least 30 seconds for the hard drive motor to spin down before taking it out completely. Any impact to the hard drive while the drive motor is spinning can damage the hard drive.
There are situations that healthy drives can be removed. In operations such as Copying & Replacing member drives with drives of larger capacity, you may need the replaced disk drives in other installations.