5. Setting the Contrast
MAIN MENU
|
|
|
|
| SETUP |
|
| DIAG. |
| ||||
|
|
| MODE |
|
|
|
|
| |||||
|
|
|
|
|
|
|
|
|
|
|
| ||
|
|
|
|
|
|
|
|
|
|
|
|
|
|
|
|
|
|
|
|
|
|
|
|
|
|
|
|
|
|
|
|
|
|
|
|
|
|
|
|
|
|
SUPPLY |
| CONTRAST |
| DEFAULTS |
| PORT | |||||||
|
|
| SETTINGS | ||||||||||
|
|
|
|
|
|
|
|
|
|
|
| ||
|
|
|
|
|
|
|
|
|
|
|
|
|
|
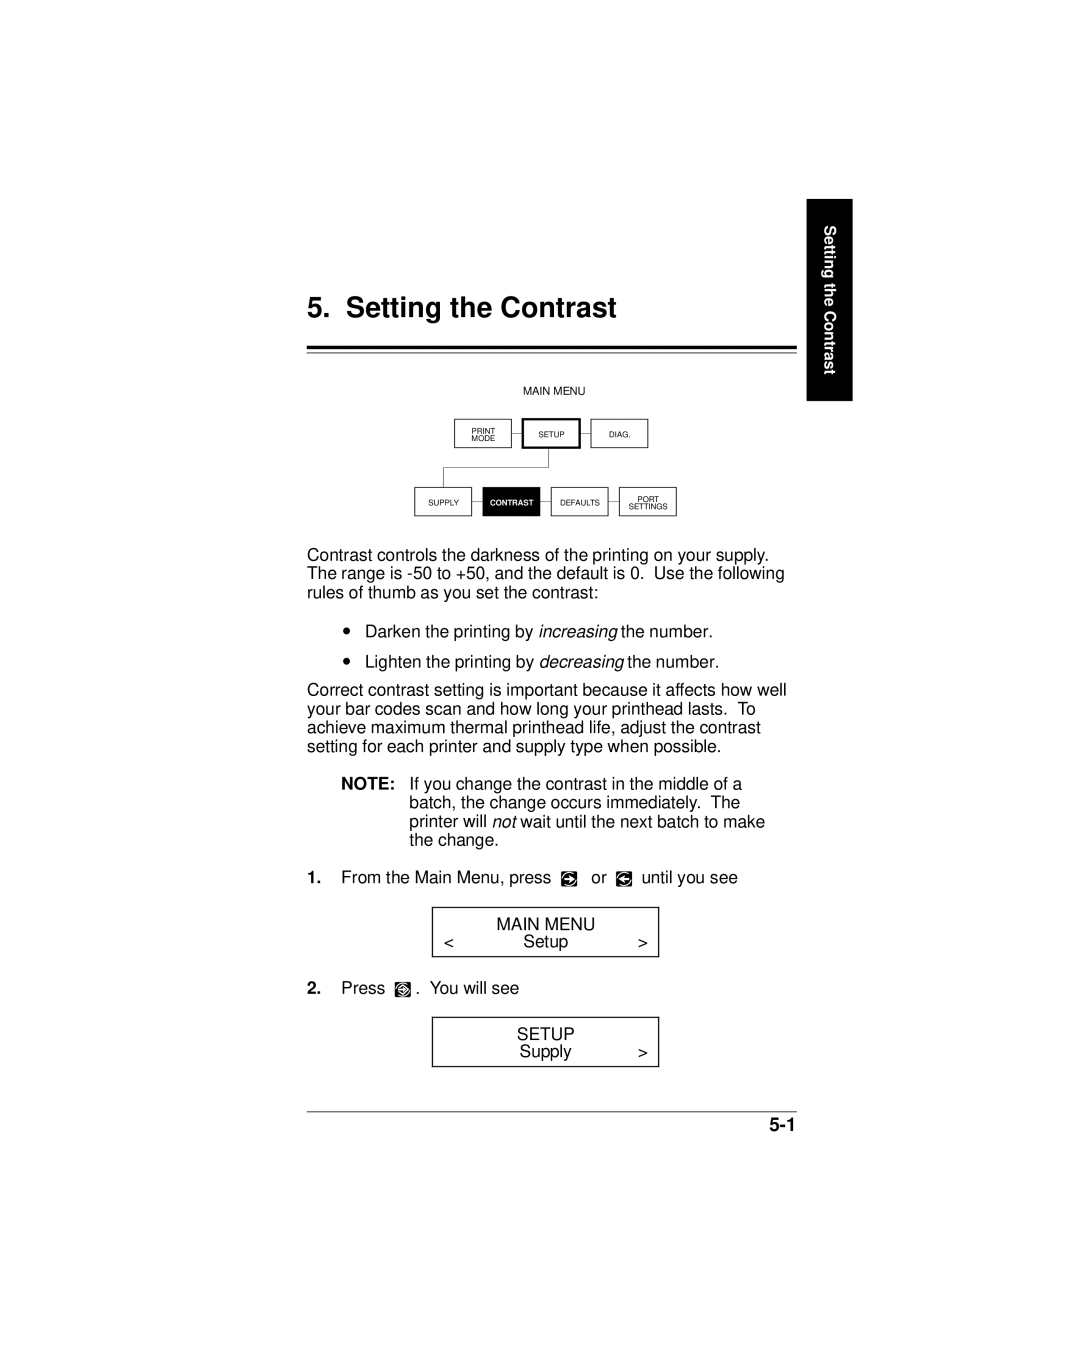
Contrast controls the darkness of the printing on your supply. The range is
∙Darken the printing by increasing the number.
∙Lighten the printing by decreasing the number.
Correct contrast setting is important because it affects how well your bar codes scan and how long your printhead lasts. To achieve maximum thermal printhead life, adjust the contrast setting for each printer and supply type when possible.
NOTE: If you change the contrast in the middle of a batch, the change occurs immediately. The printer will not wait until the next batch to make the change.
1.From the Main Menu, press R or L until you see
MAIN MENU
< Setup >
2.Press E . You will see
SETUP
Supply >
Setting the Contrast
