 Step
Step 8—Scan and Save
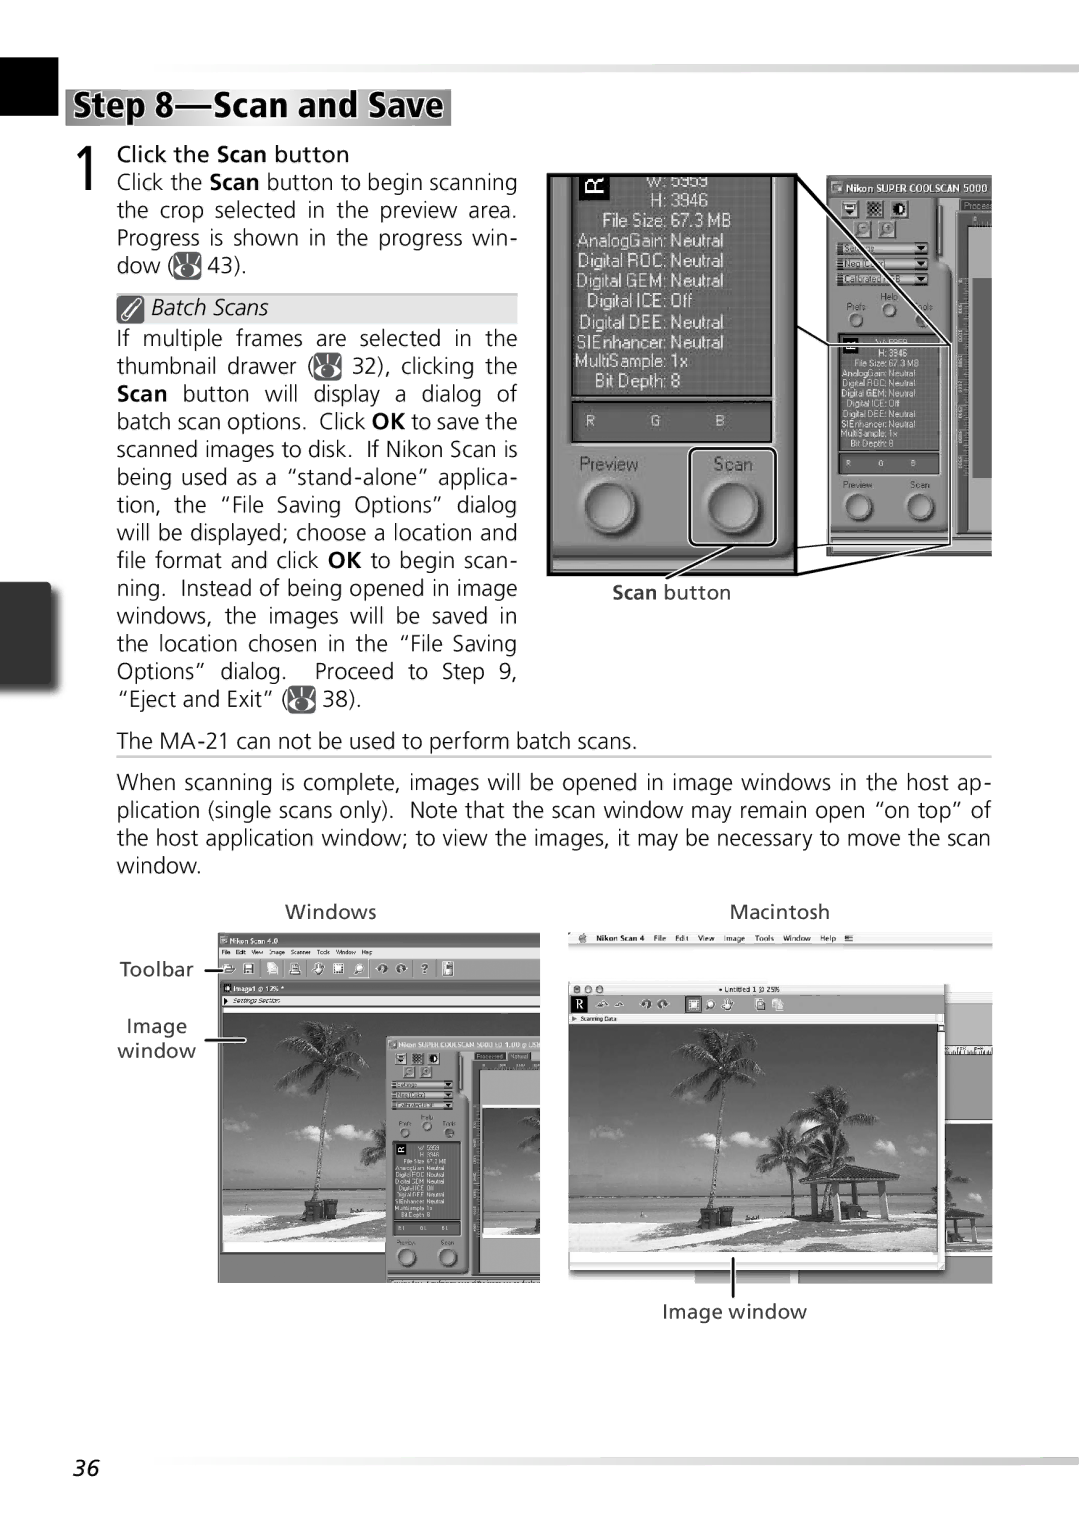
Click the Scan button |
| |||
1 Click the Scan button to begin scanning |
| |||
| ||||
the crop selected in the preview area. |
| |||
Progress is shown in the progress win- |
| |||
dow ( 43). |
|
|
| |
|
|
|
|
|
| Batch Scans |
|
|
|
If multiple frames are selected in the |
| |||
| thumbnail drawer ( | 32), clicking the |
| |
Scan button will display a dialog of |
| |||
batch scan options. Click OK to save the |
| |||
scanned images to disk. If Nikon Scan is |
| |||
being used as a |
| |||
tion, the “File Saving Options” dialog |
| |||
will be displayed; choose a location and |
| |||
| file format and click OK to begin scan- |
| ||
ning. Instead of being opened in image | Scan button | |||
windows, the images will be saved in |
| |||
the location chosen in the “File Saving |
| |||
Options” dialog. Proceed to Step 9, |
| |||
“Eject and Exit” ( | 38). |
|
| |
The
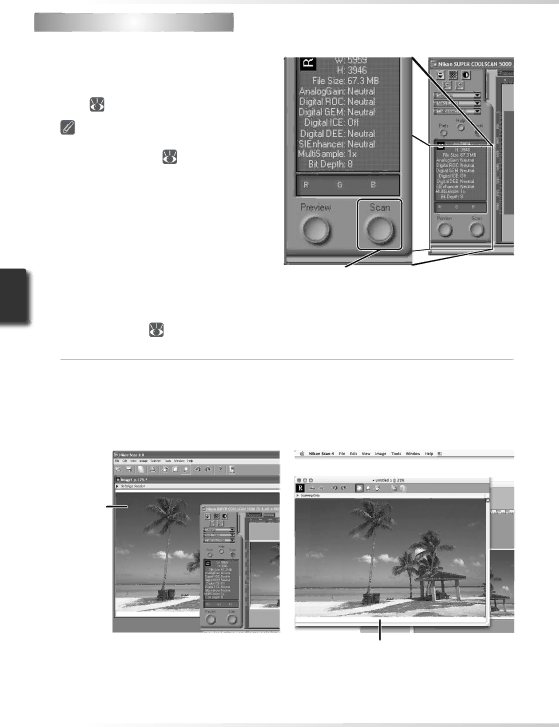
When scanning is complete, images will be opened in image windows in the host ap- plication (single scans only). Note that the scan window may remain open “on top” of the host application window; to view the images, it may be necessary to move the scan window.
Windows | Macintosh |
Toolbar ![]()
Image
window
Image window
36