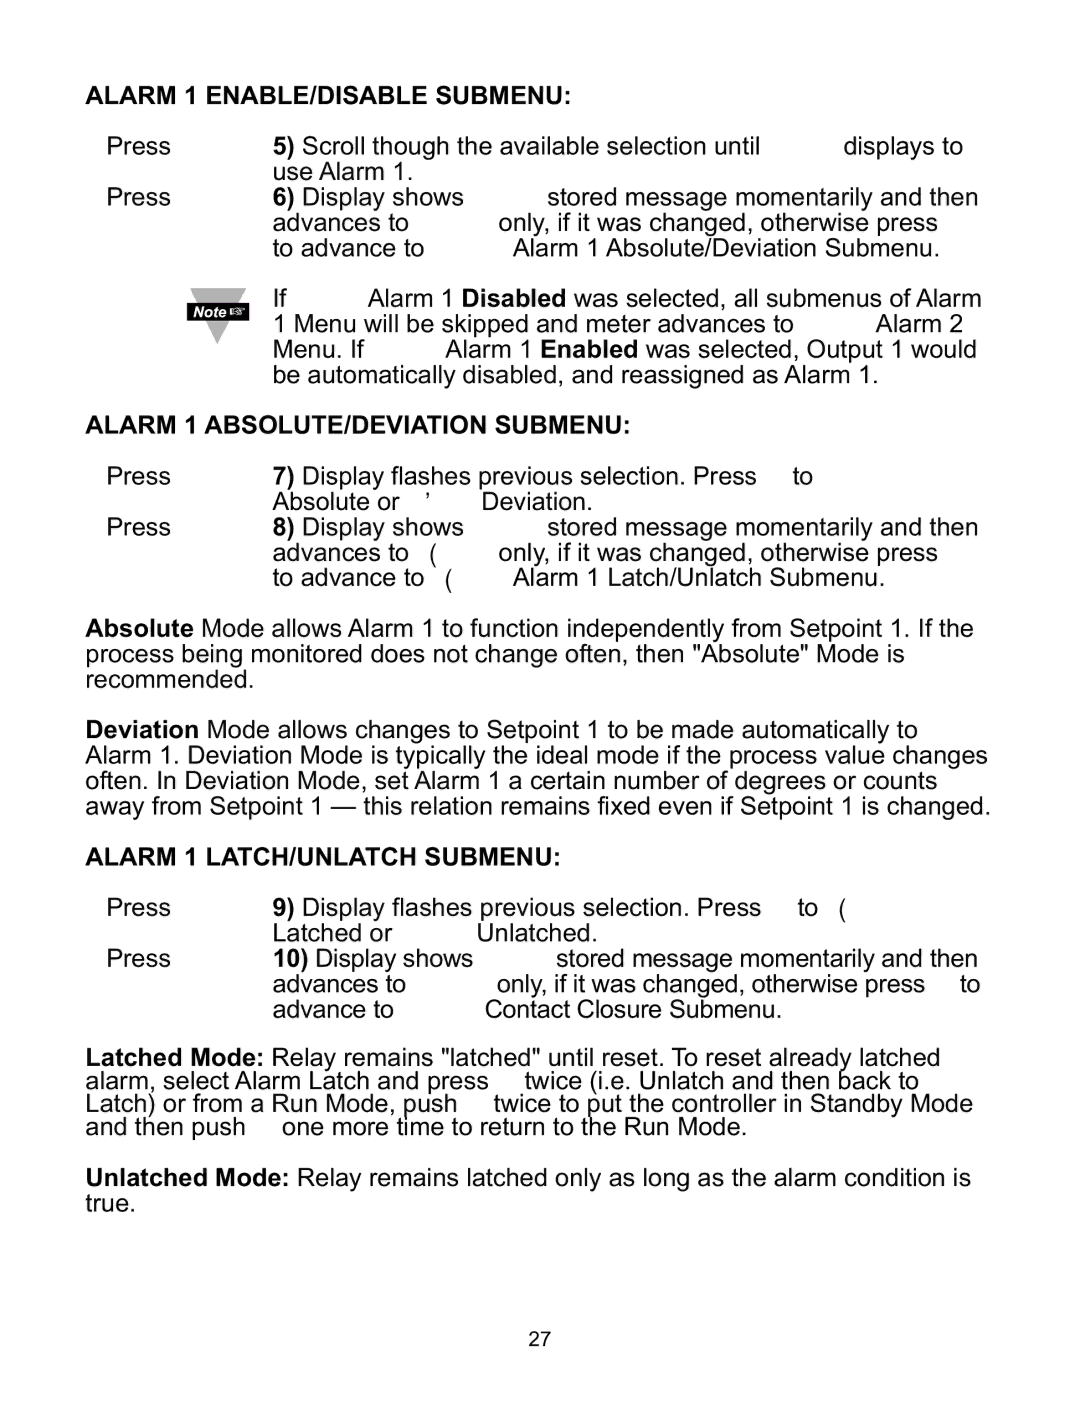
ALARM 1 ENABLE/DISABLE SUBMENU:
Press b 5) Scroll though the available selection until ENBL displays to use Alarm 1.
Press d 6) Display shows STRD stored message momentarily and then advances to ABSo only, if it was changed, otherwise press a to advance to ABSo Alarm 1 Absolute/Deviation Submenu.
If DSBL Alarm 1 Disabled was selected, all submenus of Alarm 1 Menu will be skipped and meter advances to ALR2 Alarm 2 Menu. If ENBL Alarm 1 Enabled was selected, Output 1 would be automatically disabled, and reassigned as Alarm 1.
ALARM 1 ABSOLUTE/DEVIATION SUBMENU:
Press d
Press d
7)Display flashes previous selection. Press b to ABSo Absolute or _DEV Deviation.
8)Display shows STRD stored message momentarily and then advances to LTçH only, if it was changed, otherwise press a to advance to LTçH Alarm 1 Latch/Unlatch Submenu.
Absolute Mode allows Alarm 1 to function independently from Setpoint 1. If the process being monitored does not change often, then "Absolute" Mode is recommended.
Deviation Mode allows changes to Setpoint 1 to be made automatically to Alarm 1. Deviation Mode is typically the ideal mode if the process value changes often. In Deviation Mode, set Alarm 1 a certain number of degrees or counts away from Setpoint 1 — this relation remains fixed even if Setpoint 1 is changed.
ALARM 1 LATCH/UNLATCH SUBMENU:
Press d
Press d
9)Display flashes previous selection. Press b to LTçH Latched or UNLT Unlatched.
10)Display shows STRD stored message momentarily and then advances to CT.CL only, if it was changed, otherwise press a to advance to CT.CL Contact Closure Submenu.
Latched Mode: Relay remains "latched" until reset. To reset already latched alarm, select Alarm Latch and press b twice (i.e. Unlatch and then back to Latch) or from a Run Mode, push d twice to put the controller in Standby Mode and then push d one more time to return to the Run Mode.
Unlatched Mode: Relay remains latched only as long as the alarm condition is true.
27
