■Camera ID Display Position
Camera ID display position can be set as desired.
■Camera ID Display Position Setting
(1)Set a camera ID.
(2)Move the cursor to POSI, and press the page switch. Camera ID display position is ready to be set, and its screen appears on the monitor.
Camera ID display position can be set at the camera head or RCU (RCB).
Note:
Unless a camera ID has been set, camera ID dis- play position will not be ready for setting.
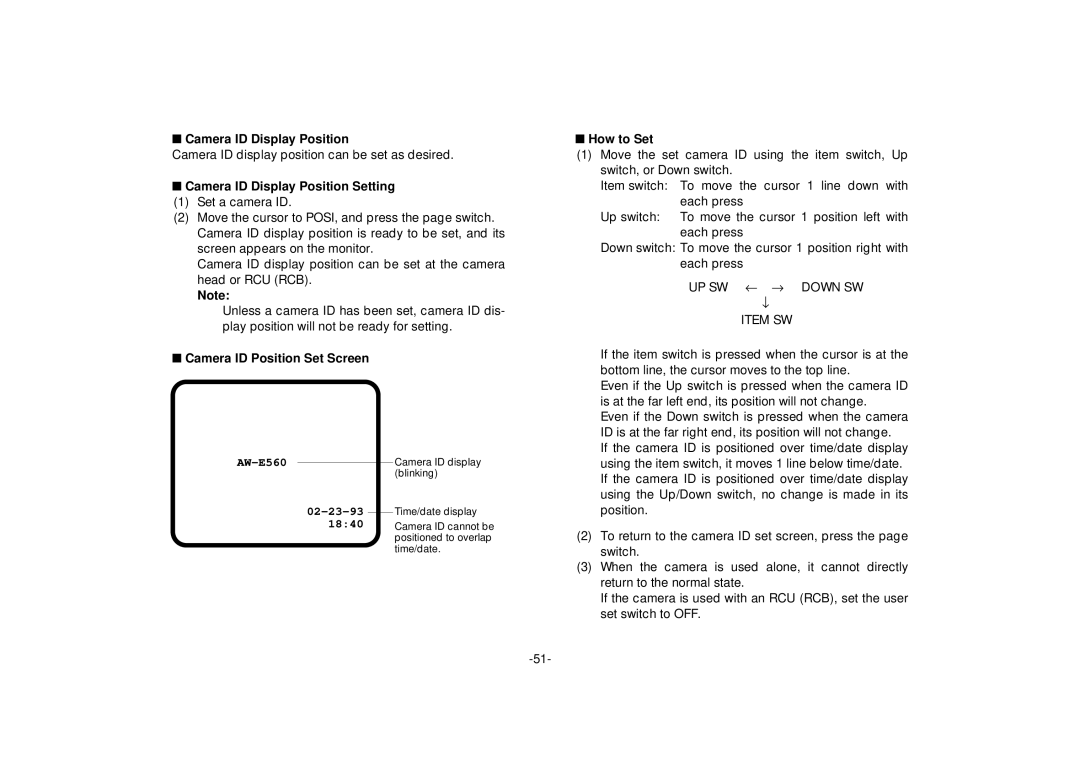
■Camera ID Position Set Screen
|
| Camera ID display | |
|
| ||
|
|
| (blinking) |
| Time/date display | ||
| |||
18:40 |
| Camera ID cannot be | |
|
|
| positioned to overlap |
|
|
| time/date. |
■How to Set
(1)Move the set camera ID using the item switch, Up switch, or Down switch.
Item switch: To move the cursor 1 line down with each press
Up switch: To move the cursor 1 position left with each press
Down switch: To move the cursor 1 position right with each press
UP SW ← → DOWN SW
↓
ITEM SW
If the item switch is pressed when the cursor is at the bottom line, the cursor moves to the top line.
Even if the Up switch is pressed when the camera ID is at the far left end, its position will not change.
Even if the Down switch is pressed when the camera ID is at the far right end, its position will not change.
If the camera ID is positioned over time/date display using the item switch, it moves 1 line below time/date. If the camera ID is positioned over time/date display using the Up/Down switch, no change is made in its position.
(2)To return to the camera ID set screen, press the page switch.
(3)When the camera is used alone, it cannot directly return to the normal state.
If the camera is used with an RCU (RCB), set the user set switch to OFF.