■ How to Set | |
(1) | Select the date and time positions to change, or a |
| command, using the item switch. |
(2) | To change time/date, use the Up switch. |
| The set value increases each time the Up switch is |
| pressed. Stop pressing it when the desired figure |
| appears. |
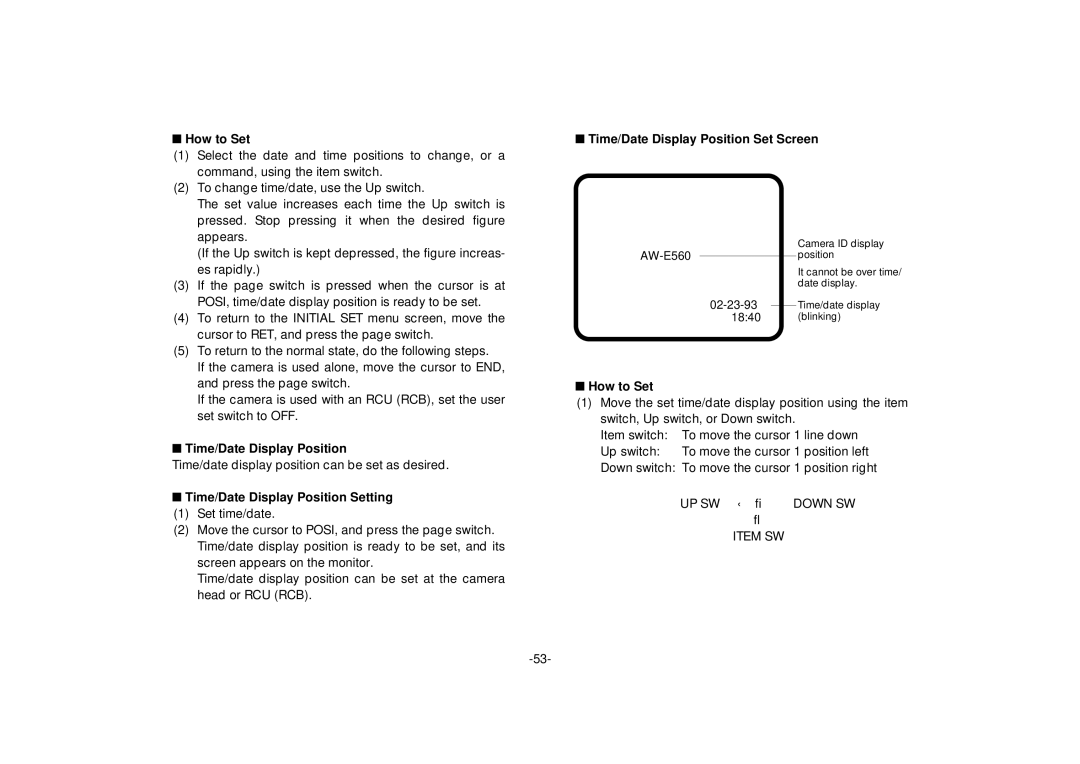
■Time/Date Display Position Set Screen
| (If the Up switch is kept depressed, the figure increas- |
| es rapidly.) |
(3) | If the page switch is pressed when the cursor is at |
| POSI, time/date display position is ready to be set. |
(4) | To return to the INITIAL SET menu screen, move the |
| cursor to RET, and press the page switch. |
(5) | To return to the normal state, do the following steps. |
| If the camera is used alone, move the cursor to END, |
02-23-93 18:40
Camera ID display position
It cannot be over time/ date display.
Time/date display (blinking)
and press the page switch. |
If the camera is used with an RCU (RCB), set the user |
set switch to OFF. |
■ Time/Date Display Position |
Time/date display position can be set as desired.
■Time/Date Display Position Setting
(1)Set time/date.
(2)Move the cursor to POSI, and press the page switch. Time/date display position is ready to be set, and its screen appears on the monitor.
Time/date display position can be set at the camera head or RCU (RCB).
■How to Set
(1)Move the set time/date display position using the item switch, Up switch, or Down switch.
Item switch: To move the cursor 1 line down
Up switch: To move the cursor 1 position left
Down switch: To move the cursor 1 position right
UP SW ← → DOWN SW
↓
ITEM SW
