NOTES:
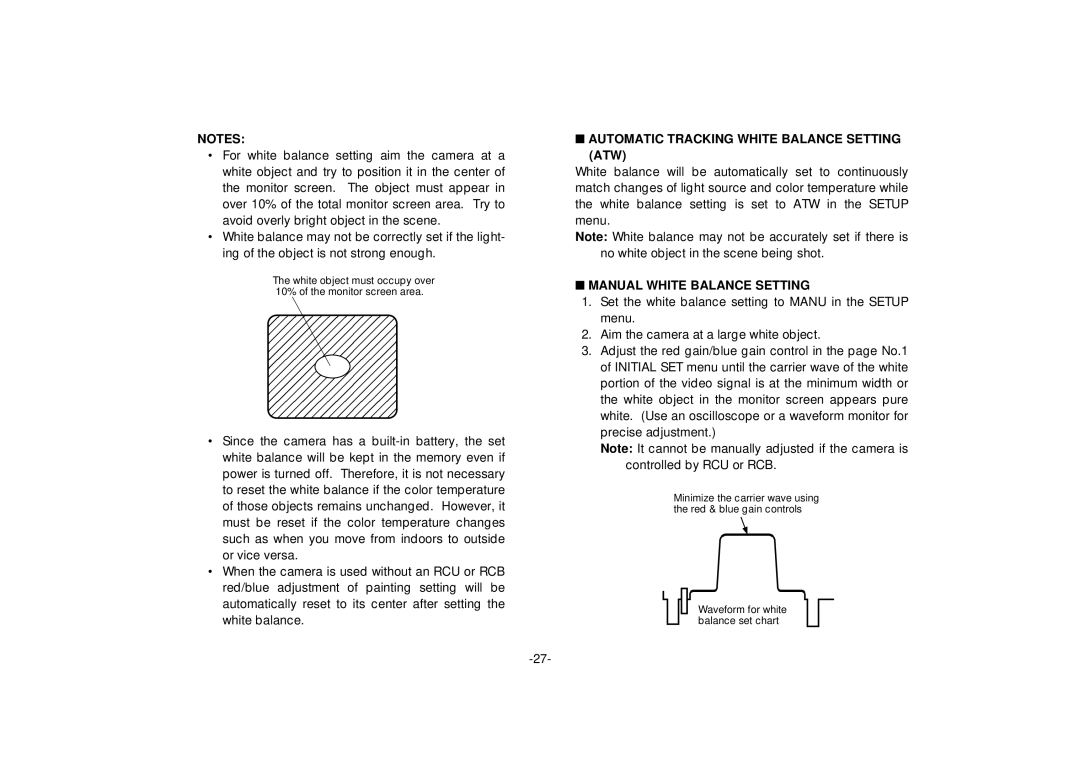
•For white balance setting aim the camera at a white object and try to position it in the center of the monitor screen. The object must appear in over 10% of the total monitor screen area. Try to avoid overly bright object in the scene.
•White balance may not be correctly set if the light- ing of the object is not strong enough.
The white object must occupy over 10% of the monitor screen area.
•Since the camera has a
•When the camera is used without an RCU or RCB red/blue adjustment of painting setting will be automatically reset to its center after setting the white balance.
■AUTOMATIC TRACKING WHITE BALANCE SETTING (ATW)
White balance will be automatically set to continuously match changes of light source and color temperature while the white balance setting is set to ATW in the SETUP menu.
Note: White balance may not be accurately set if there is no white object in the scene being shot.
■MANUAL WHITE BALANCE SETTING
1.Set the white balance setting to MANU in the SETUP menu.
2.Aim the camera at a large white object.
3.Adjust the red gain/blue gain control in the page No.1 of INITIAL SET menu until the carrier wave of the white portion of the video signal is at the minimum width or the white object in the monitor screen appears pure white. (Use an oscilloscope or a waveform monitor for precise adjustment.)
Note: It cannot be manually adjusted if the camera is controlled by RCU or RCB.
Minimize the carrier wave using the red & blue gain controls
Waveform for white balance set chart
