Part V | Composer |
•To assign a name to each VARIATION, press the VARIATION button and select a number.
3.On the RECORD MEMORY display, press the OK button.
•The display looks similar to the following.
4.Press the CLEAR THE ENTIRE PATTERN button.
•The display looks similar to the following.
5.Press the YES button.
•All the data for the selected pattern is erased.
6.Use the MEASURE ∧ and ∨ buttons to specify the number of measures in your new rhythm pattern (1 to 16).
7Use the TIME SIGNATURE ∧ and ∨ buttons to specify the meter of the pattern (1/4 to 8/4).
•When the settings for the MEASURE and TIME SIGNATURE of the INTRO or ENDING patterns are changed, the Maj and Min settings change at the same time.
8.Press the OK button.
KEY SETTING
Set the key and chord in which you wish the re- corded pattern to be played. If the recorded per- formance is played in a key or chord different from this setting, the automatic accompaniment will not be able to distinguish the correct chord.
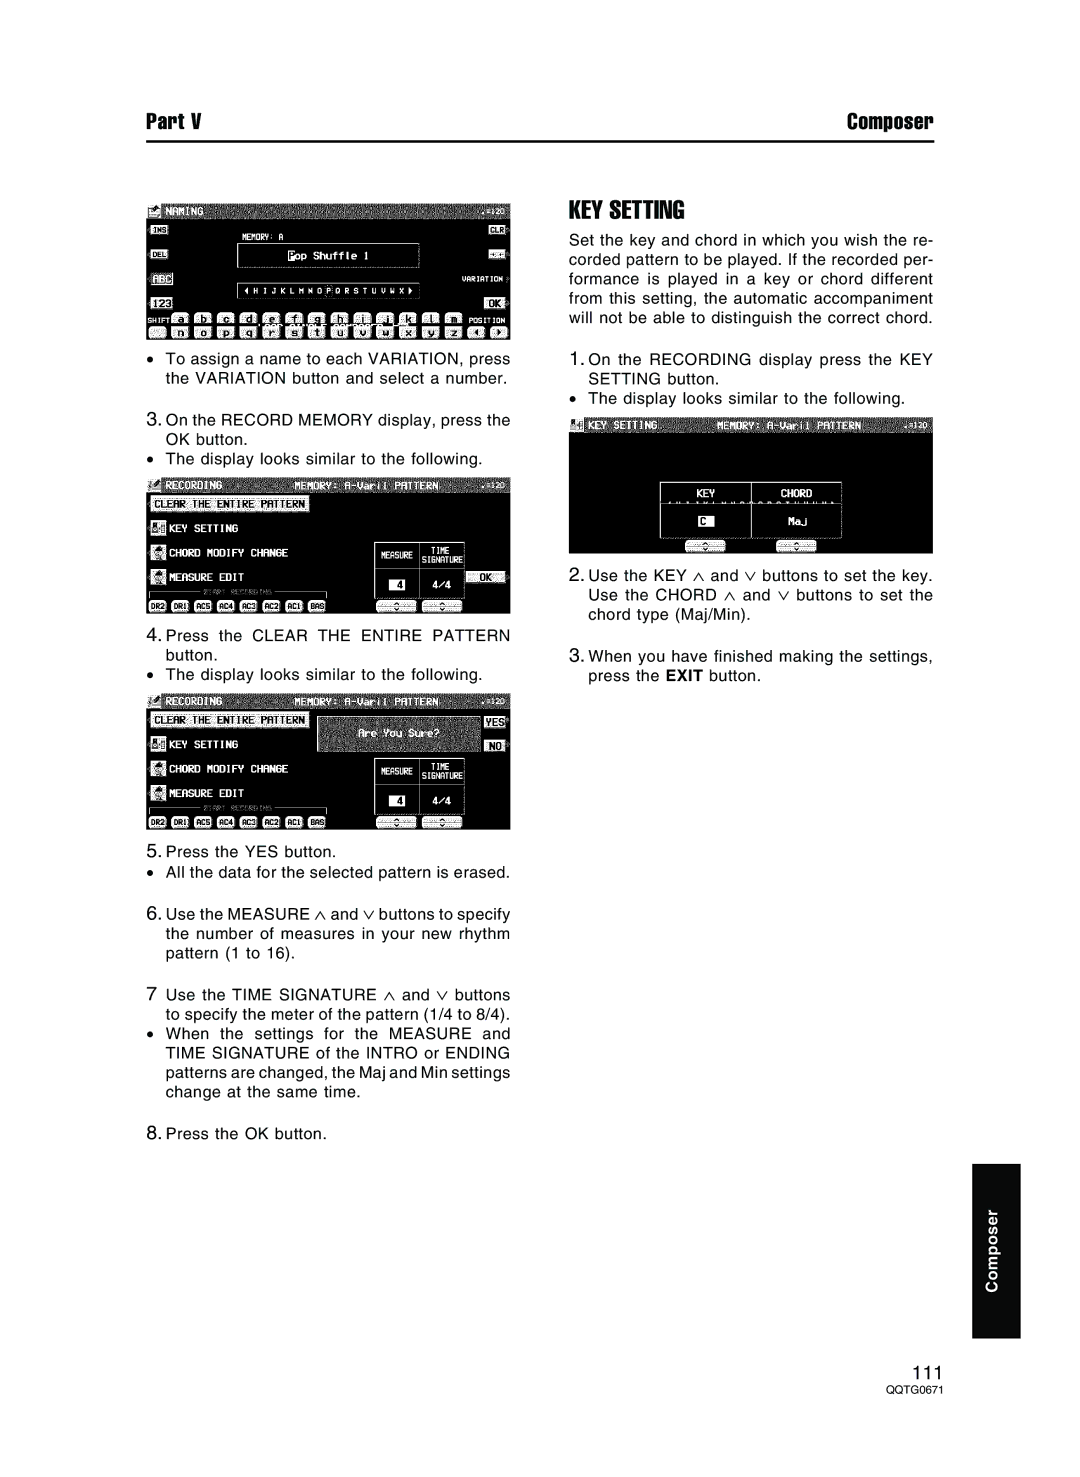
1.On the RECORDING display press the KEY SETTING button.
•The display looks similar to the following.
2.Use the KEY ∧ and ∨ buttons to set the key. Use the CHORD ∧ and ∨ buttons to set the chord type (Maj/Min).
3.When you have finished making the settings, press the EXIT button.
Composer
111