Part XIII | MIDI |
Part Setting
Follow this procedure to set the functions which can be set for each part: MIDI CHANNELs, the OCTAVE data to NOTE data during transmission, and LOCAL CONTROL (whether or not the sound generator of this instrument is active during transmission).
MIDI
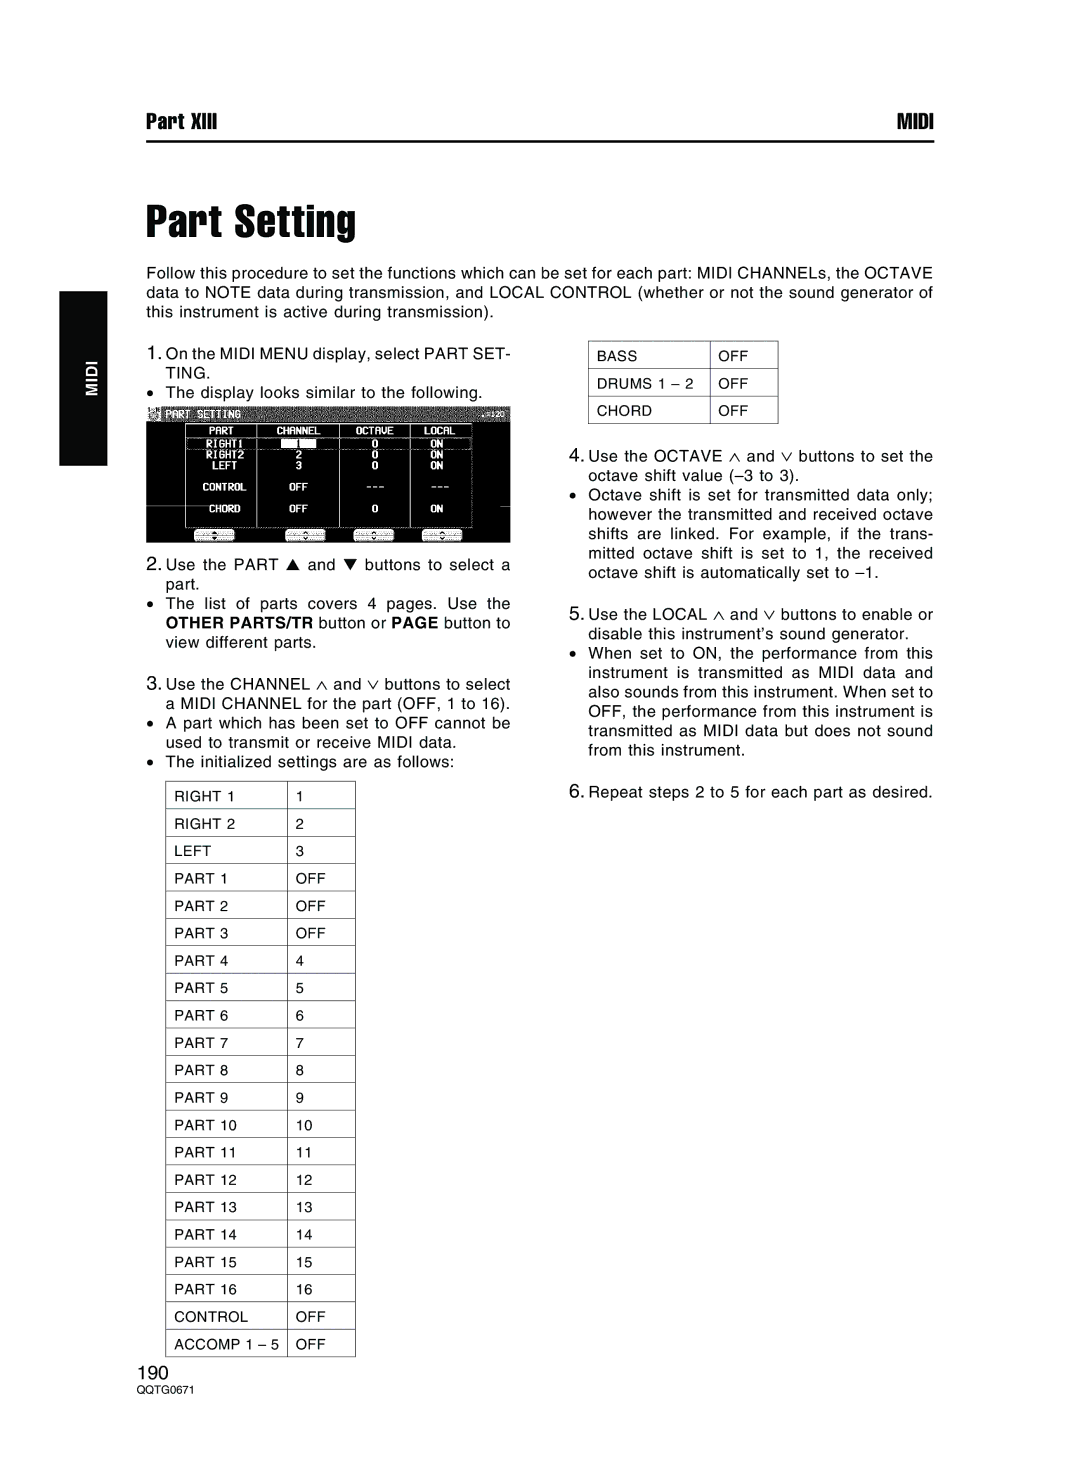
1.On the MIDI MENU display, select PART SET- TING.
•The display looks similar to the following.
2.Use the PART ▲ and ▼ buttons to select a part.
•The list of parts covers 4 pages. Use the OTHER PARTS/TR button or PAGE button to view different parts.
3.Use the CHANNEL ∧ and ∨ buttons to select a MIDI CHANNEL for the part (OFF, 1 to 16).
•A part which has been set to OFF cannot be used to transmit or receive MIDI data.
•The initialized settings are as follows:
RIGHT 1 | 1 |
|
|
RIGHT 2 | 2 |
|
|
LEFT | 3 |
|
|
PART 1 | OFF |
|
|
PART 2 | OFF |
|
|
PART 3 | OFF |
|
|
PART 4 | 4 |
|
|
PART 5 | 5 |
|
|
PART 6 | 6 |
|
|
PART 7 | 7 |
|
|
PART 8 | 8 |
|
|
PART 9 | 9 |
|
|
PART 10 | 10 |
|
|
PART 11 | 11 |
|
|
PART 12 | 12 |
|
|
PART 13 | 13 |
|
|
PART 14 | 14 |
|
|
PART 15 | 15 |
|
|
PART 16 | 16 |
|
|
CONTROL | OFF |
|
|
ACCOMP 1 – 5 | OFF |
|
|
BASS | OFF |
|
|
DRUMS 1 – 2 | OFF |
|
|
CHORD | OFF |
|
|
4.Use the OCTAVE ∧ and ∨ buttons to set the octave shift value (– 3 to 3).
•Octave shift is set for transmitted data only; however the transmitted and received octave shifts are linked. For example, if the trans- mitted octave shift is set to 1, the received octave shift is automatically set to – 1.
5.Use the LOCAL ∧ and ∨ buttons to enable or disable this instrument’s sound generator.
•When set to ON, the performance from this instrument is transmitted as MIDI data and also sounds from this instrument. When set to OFF, the performance from this instrument is transmitted as MIDI data but does not sound from this instrument.
6. Repeat steps 2 to 5 for each part as desired.
