Part VI | Disk Drive |
Loading data
Recall (load) the data from the disk to this instrument’s memories.
•Note that the load procedure causes any data which is currently stored in the relevant memories to be erased.
Disk Drive
LOAD
Load data that saved to a disk into this instru- ment’s memory.
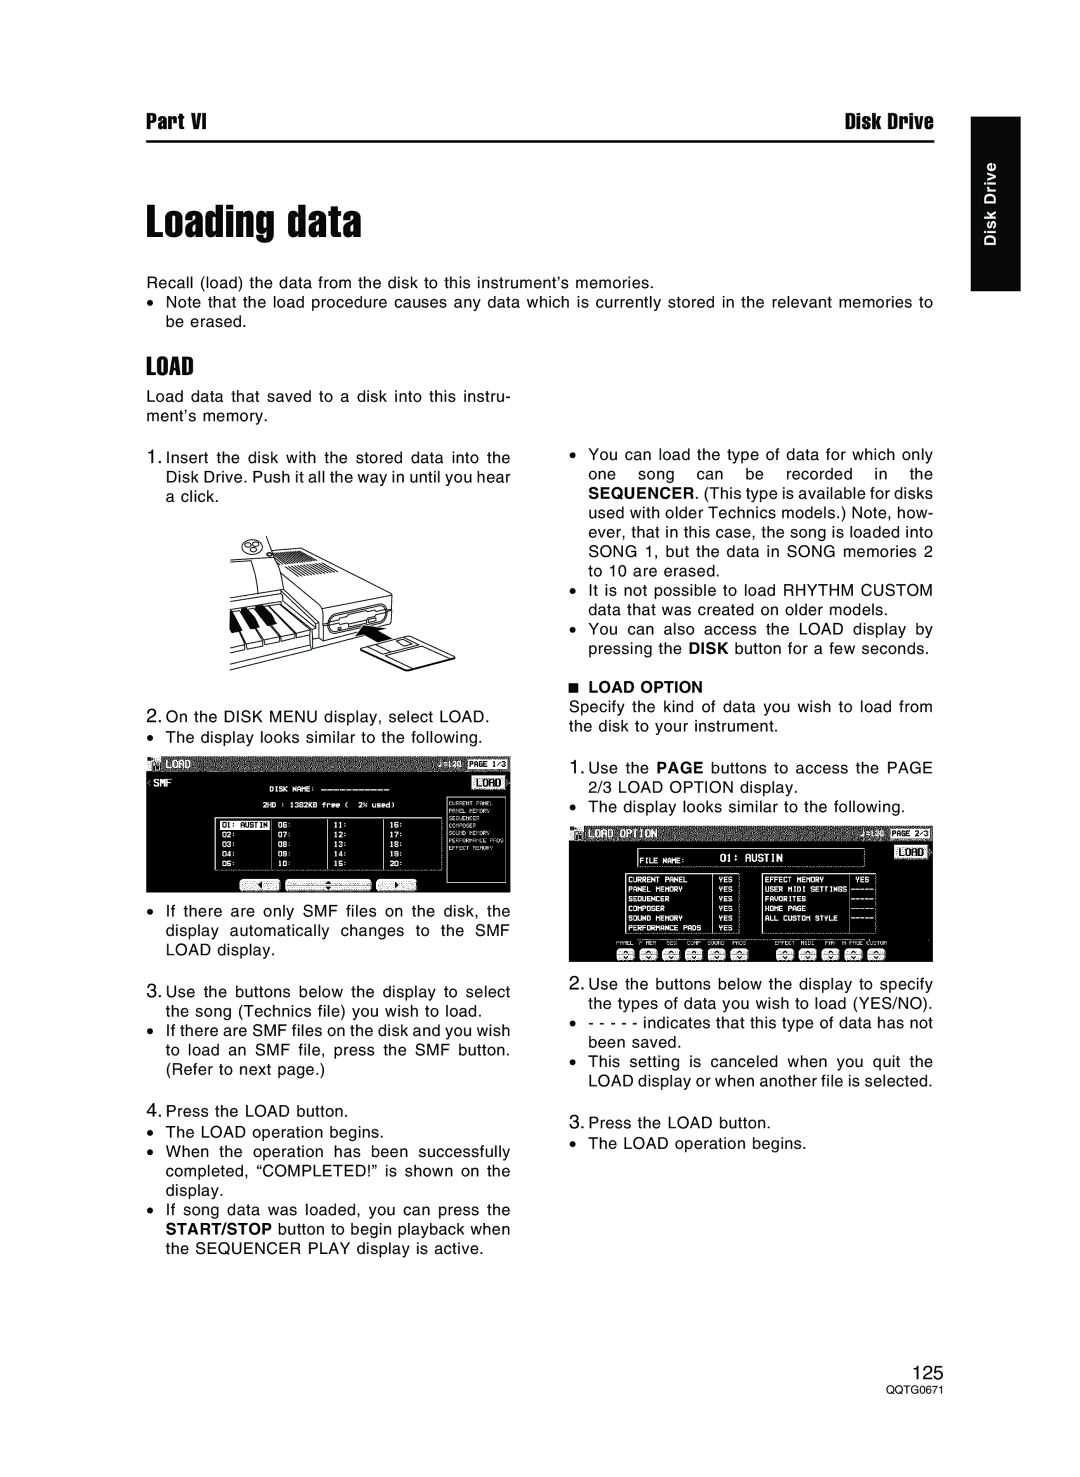
1.Insert the disk with the stored data into the Disk Drive. Push it all the way in until you hear a click.
2.On the DISK MENU display, select LOAD.
• The display looks similar to the following.
•If there are only SMF files on the disk, the display automatically changes to the SMF LOAD display.
3.Use the buttons below the display to select the song (Technics file) you wish to load.
•If there are SMF files on the disk and you wish to load an SMF file, press the SMF button. (Refer to next page.)
4.Press the LOAD button.
•The LOAD operation begins.
•When the operation has been successfully completed, “COMPLETED!” is shown on the display.
•If song data was loaded, you can press the START/STOP button to begin playback when the SEQUENCER PLAY display is active.
•You can load the type of data for which only one song can be recorded in the SEQUENCER. (This type is available for disks used with older Technics models.) Note, how- ever, that in this case, the song is loaded into SONG 1, but the data in SONG memories 2 to 10 are erased.
•It is not possible to load RHYTHM CUSTOM data that was created on older models.
•You can also access the LOAD display by pressing the DISK button for a few seconds.
LOAD OPTION
Specify the kind of data you wish to load from the disk to your instrument.
1.Use the PAGE buttons to access the PAGE 2/3 LOAD OPTION display.
•The display looks similar to the following.
2.Use the buttons below the display to specify the types of data you wish to load (YES/NO).
•- - - - - indicates that this type of data has not been saved.
•This setting is canceled when you quit the LOAD display or when another file is selected.
3.Press the LOAD button.
•The LOAD operation begins.
125