Part VIII | Sound |
Part Setting
Sound
Set the various sound attributes for each part.
Selecting an attribute
1.On the SOUND MENU display, select PART SETTING.
2.Use the PART SELECT ∧ and ∨ buttons to select the part.
3.Use the buttons below the display to adjust each attribute (explained in detail following).
•The settings display is comprised of 5 pages. Use the PAGE buttons to switch pages.
•When you have completed adjustment of an attribute, use the buttons along the bottom of the display to select the next attribute you wish to adjust.
4.When you have completed adjusting all of the settings for one part, select another part and repeat the adjustment procedure as desired.
•The settings and effects of the PAN, EFFECT etc. may differ depending on the sound.
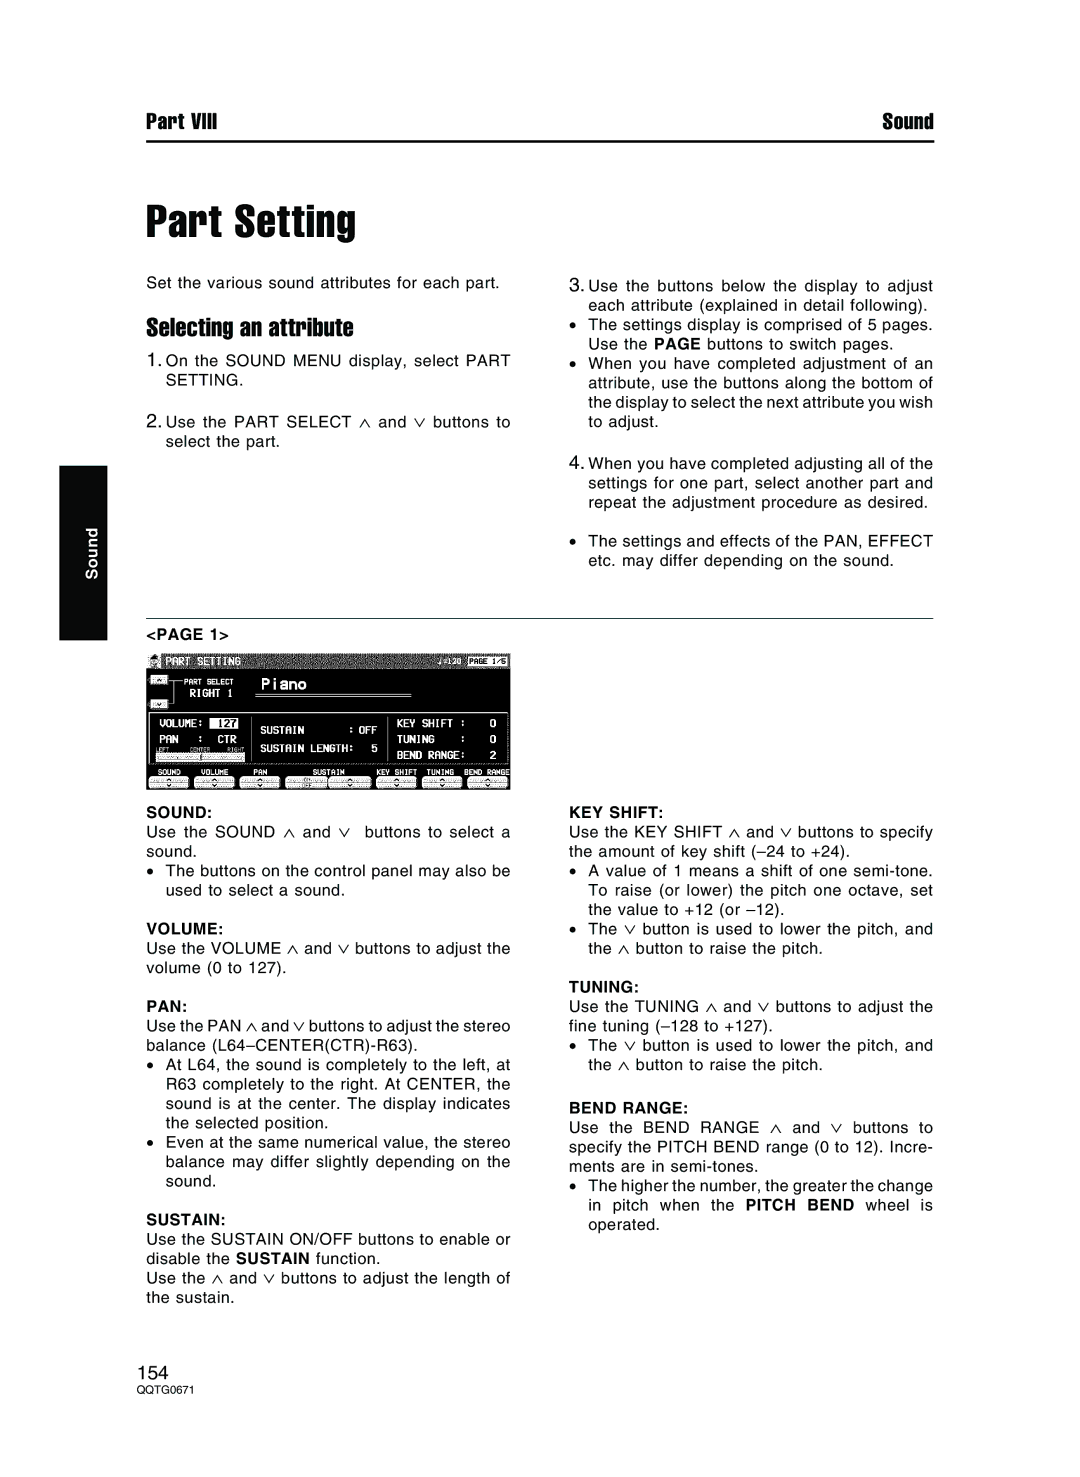
<PAGE 1>
SOUND:
Use the SOUND ∧ and ∨ buttons to select a sound.
•The buttons on the control panel may also be used to select a sound.
VOLUME:
Use the VOLUME ∧ and ∨ buttons to adjust the volume (0 to 127).
PAN:
Use the PAN ∧ and ∨ buttons to adjust the stereo balance (L64–
•At L64, the sound is completely to the left, at R63 completely to the right. At CENTER, the sound is at the center. The display indicates the selected position.
•Even at the same numerical value, the stereo balance may differ slightly depending on the sound.
SUSTAIN:
Use the SUSTAIN ON/OFF buttons to enable or disable the SUSTAIN function.
Use the ∧ and ∨ buttons to adjust the length of the sustain.
KEY SHIFT:
Use the KEY SHIFT ∧ and ∨ buttons to specify the amount of key shift (– 24 to +24).
•A value of 1 means a shift of one
•The ∨ button is used to lower the pitch, and the ∧ button to raise the pitch.
TUNING:
Use the TUNING ∧ and ∨ buttons to adjust the fine tuning (– 128 to +127).
•The ∨ button is used to lower the pitch, and the ∧ button to raise the pitch.
BEND RANGE:
Use the BEND RANGE ∧ and ∨ buttons to specify the PITCH BEND range (0 to 12). Incre- ments are in
•The higher the number, the greater the change in pitch when the PITCH BEND wheel is operated.
154