Part X | Sound Edit |
4.Use the CUTOFF ∧ and ∨ buttons to set the frequency range which is cut by the filter.
5.Use the RESO ∧ and ∨ buttons to specify the resonance value (dB).
•Resonance is effect which adds character to the sound by emphasizing the harmonic com- ponents of frequencies close to the
<Equalizer>
For LPF(6)+EQ/HPF(6)+EQ filters, the sound qu- ality can be modified by the EQUALIZER.
RANGE
Select the setting range (HIGH or LOW).
FREQ
Set the standard frequency.
GAIN
Set the level increase or decrease from the value set for FREQ (dB).
6.Repeat steps 2 to 5 for each tone, as desired.
TOUCH & KEY FOLLOW
Adjust how the filter is applied relative to touch and pitch.
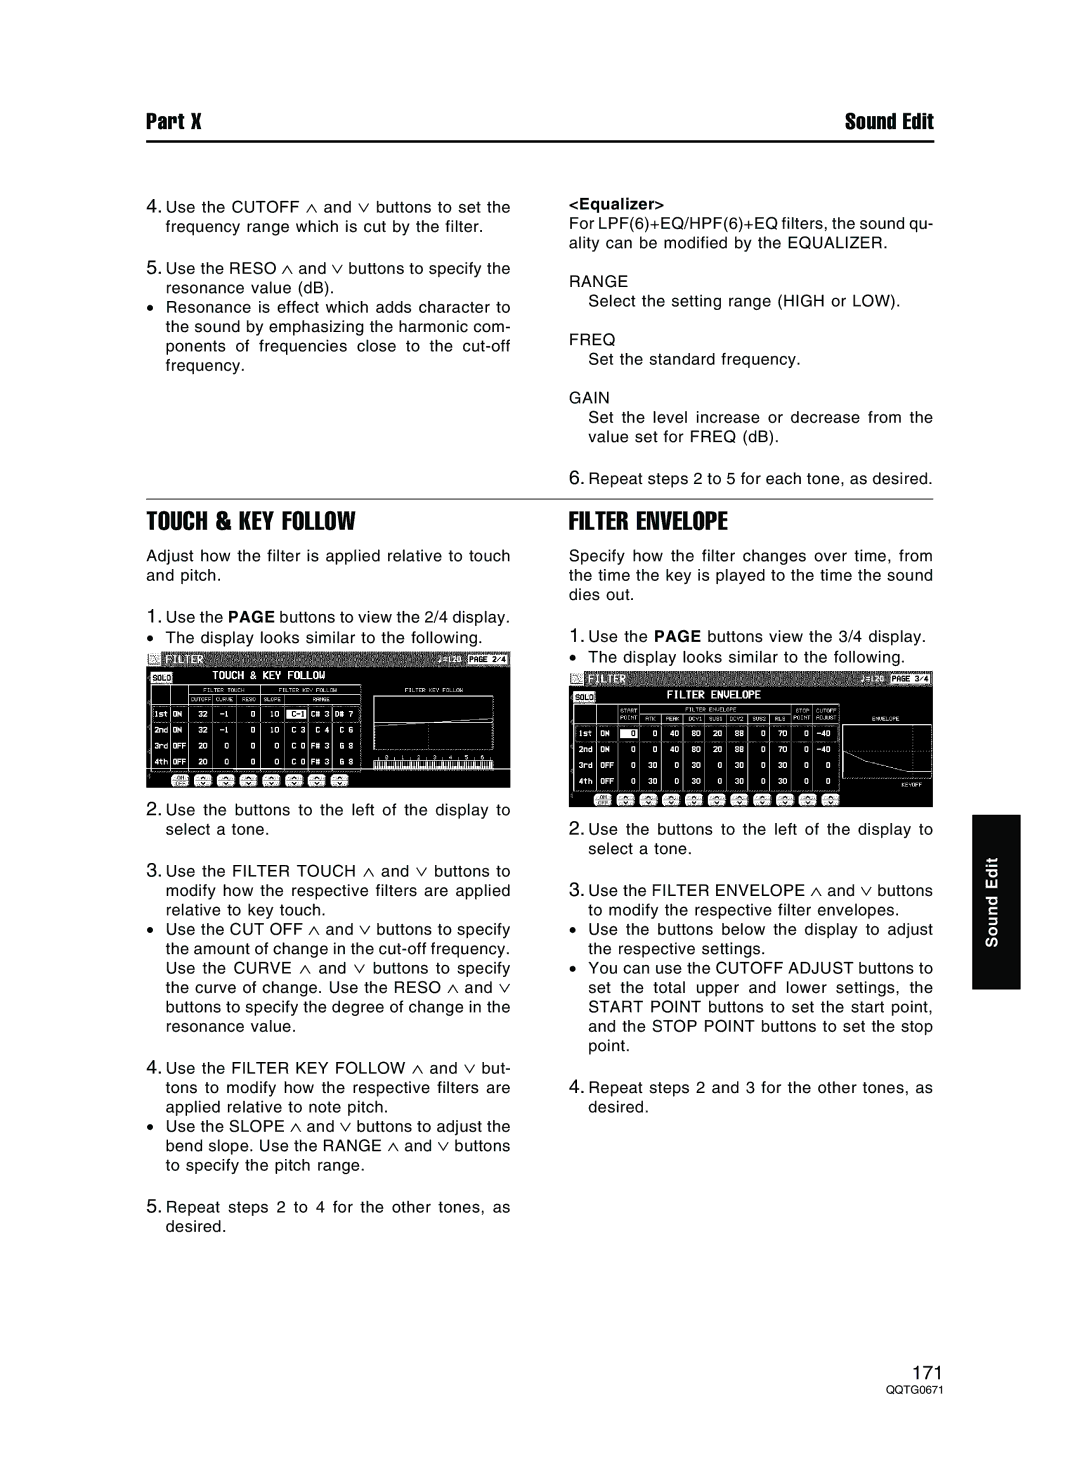
1.Use the PAGE buttons to view the 2/4 display.
• The display looks similar to the following.
2. Use the buttons to the left of the display to select a tone.
3. Use the FILTER TOUCH ∧ and ∨ buttons to modify how the respective filters are applied relative to key touch.
• Use the CUT OFF ∧ and ∨ buttons to specify the amount of change in the
4. Use the FILTER KEY FOLLOW ∧ and ∨ but- tons to modify how the respective filters are applied relative to note pitch.
• Use the SLOPE ∧ and ∨ buttons to adjust the bend slope. Use the RANGE ∧ and ∨ buttons to specify the pitch range.
5.Repeat steps 2 to 4 for the other tones, as desired.
FILTER ENVELOPE
Specify how the filter changes over time, from the time the key is played to the time the sound dies out.
1.Use the PAGE buttons view the 3/4 display.
• The display looks similar to the following.
2.Use the buttons to the left of the display to select a tone.
3.Use the FILTER ENVELOPE ∧ and ∨ buttons to modify the respective filter envelopes.
•Use the buttons below the display to adjust the respective settings.
•You can use the CUTOFF ADJUST buttons to set the total upper and lower settings, the START POINT buttons to set the start point, and the STOP POINT buttons to set the stop point.
4.Repeat steps 2 and 3 for the other tones, as desired.
Sound Edit
171