Part X | Sound Edit |
Pitch Edit
Adjust the settings related to the pitch of the sound.
KEY SHIFT & DETUNE
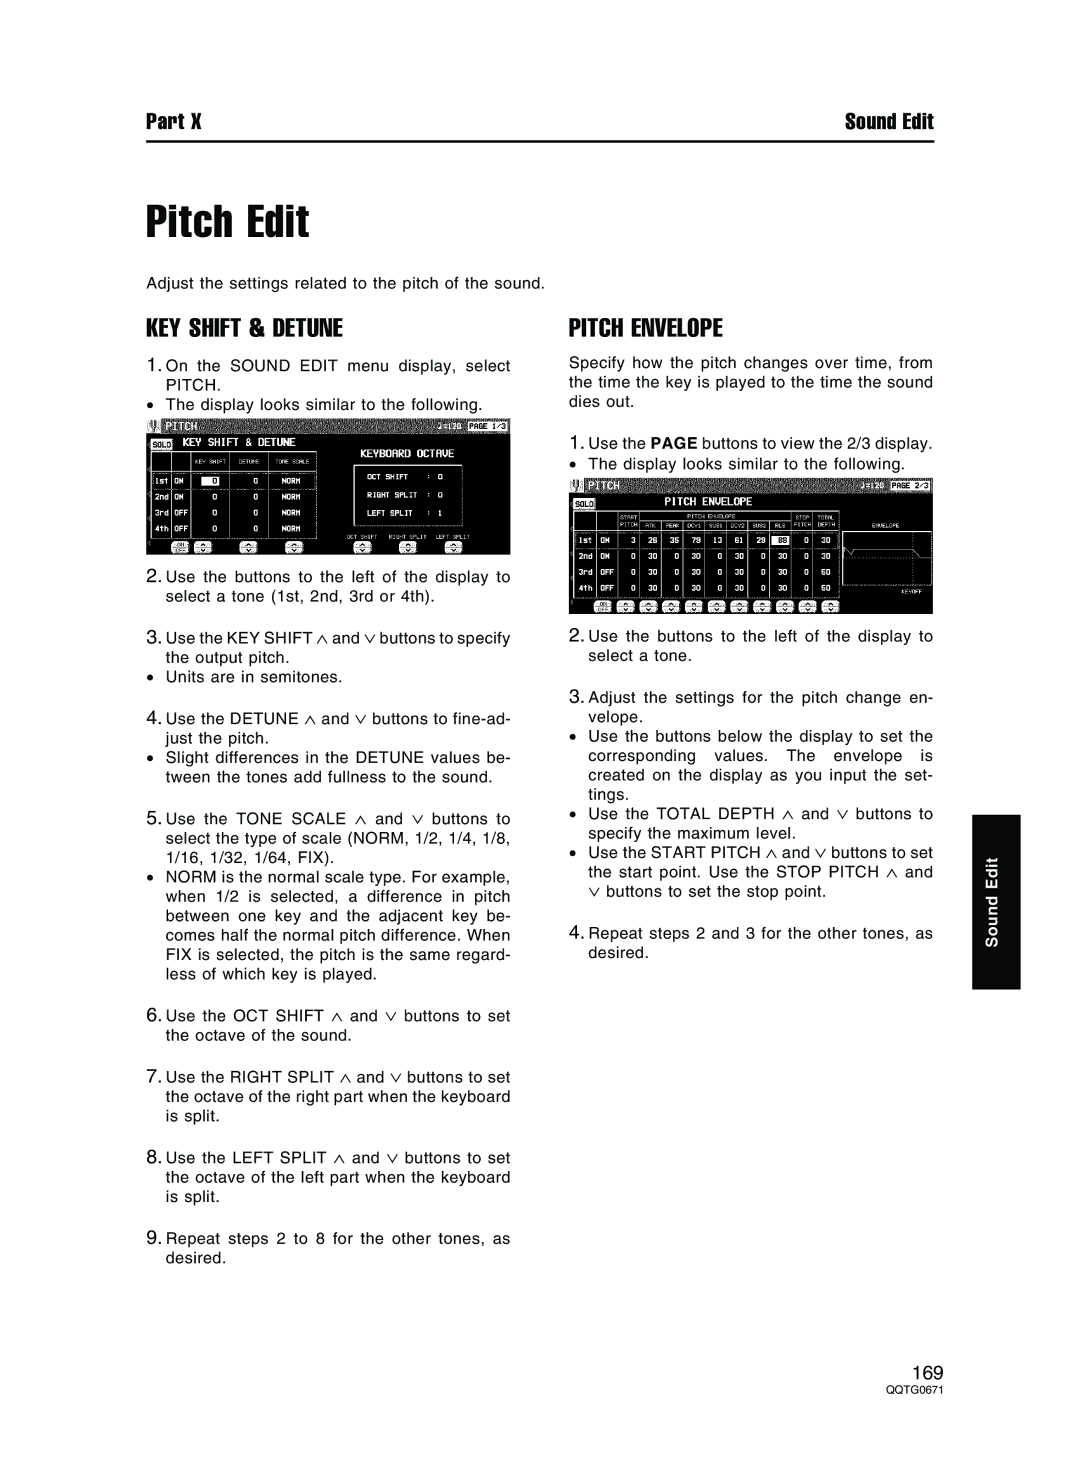
1.On the SOUND EDIT menu display, select
PITCH.
•The display looks similar to the following.
2.Use the buttons to the left of the display to select a tone (1st, 2nd, 3rd or 4th).
3.Use the KEY SHIFT ∧ and ∨ buttons to specify the output pitch.
•Units are in semitones.
4.Use the DETUNE ∧ and ∨ buttons to
•Slight differences in the DETUNE values be- tween the tones add fullness to the sound.
5.Use the TONE SCALE ∧ and ∨ buttons to select the type of scale (NORM, 1/2, 1/4, 1/8, 1/16, 1/32, 1/64, FIX).
•NORM is the normal scale type. For example, when 1/2 is selected, a difference in pitch between one key and the adjacent key be- comes half the normal pitch difference. When FIX is selected, the pitch is the same regard- less of which key is played.
6.Use the OCT SHIFT ∧ and ∨ buttons to set the octave of the sound.
7.Use the RIGHT SPLIT ∧ and ∨ buttons to set the octave of the right part when the keyboard is split.
8.Use the LEFT SPLIT ∧ and ∨ buttons to set the octave of the left part when the keyboard is split.
9.Repeat steps 2 to 8 for the other tones, as desired.
PITCH ENVELOPE
Specify how the pitch changes over time, from the time the key is played to the time the sound dies out.
1.Use the PAGE buttons to view the 2/3 display.
• The display looks similar to the following.
2.Use the buttons to the left of the display to select a tone.
3.Adjust the settings for the pitch change en- velope.
•Use the buttons below the display to set the corresponding values. The envelope is created on the display as you input the set- tings.
•Use the TOTAL DEPTH ∧ and ∨ buttons to specify the maximum level.
•Use the START PITCH ∧ and ∨ buttons to set the start point. Use the STOP PITCH ∧ and ∨ buttons to set the stop point.
4.Repeat steps 2 and 3 for the other tones, as desired.
Sound Edit
169