Part IV | Sequencer |
Realtime Record
With REALTIME RECORD, your performance is recorded with the timing exactly as you played it on the keyboard. Use this mode to record your performance in up to 16 tracks and create your own orchestra or band.
Sequencer
Recording procedure
1.Press the PROGRAM MENUS button to turn it on.
•The display changes to the following.
2.Select SEQUENCER.
•The display looks similar to the following.
•When you press the PANEL WRITE button, the PANEL WRITE display appears. To store the currently active settings, such as the sounds, at the beginning of the song, press the OK button.
3.Use the SONG SELECT ∧ and ∨ buttons to select a song number in which to record. (The song number is shown on the display.)
4.Select RECORD & EDIT.
•The display looks similar to the following.
5.Select REALTIME RECORD.
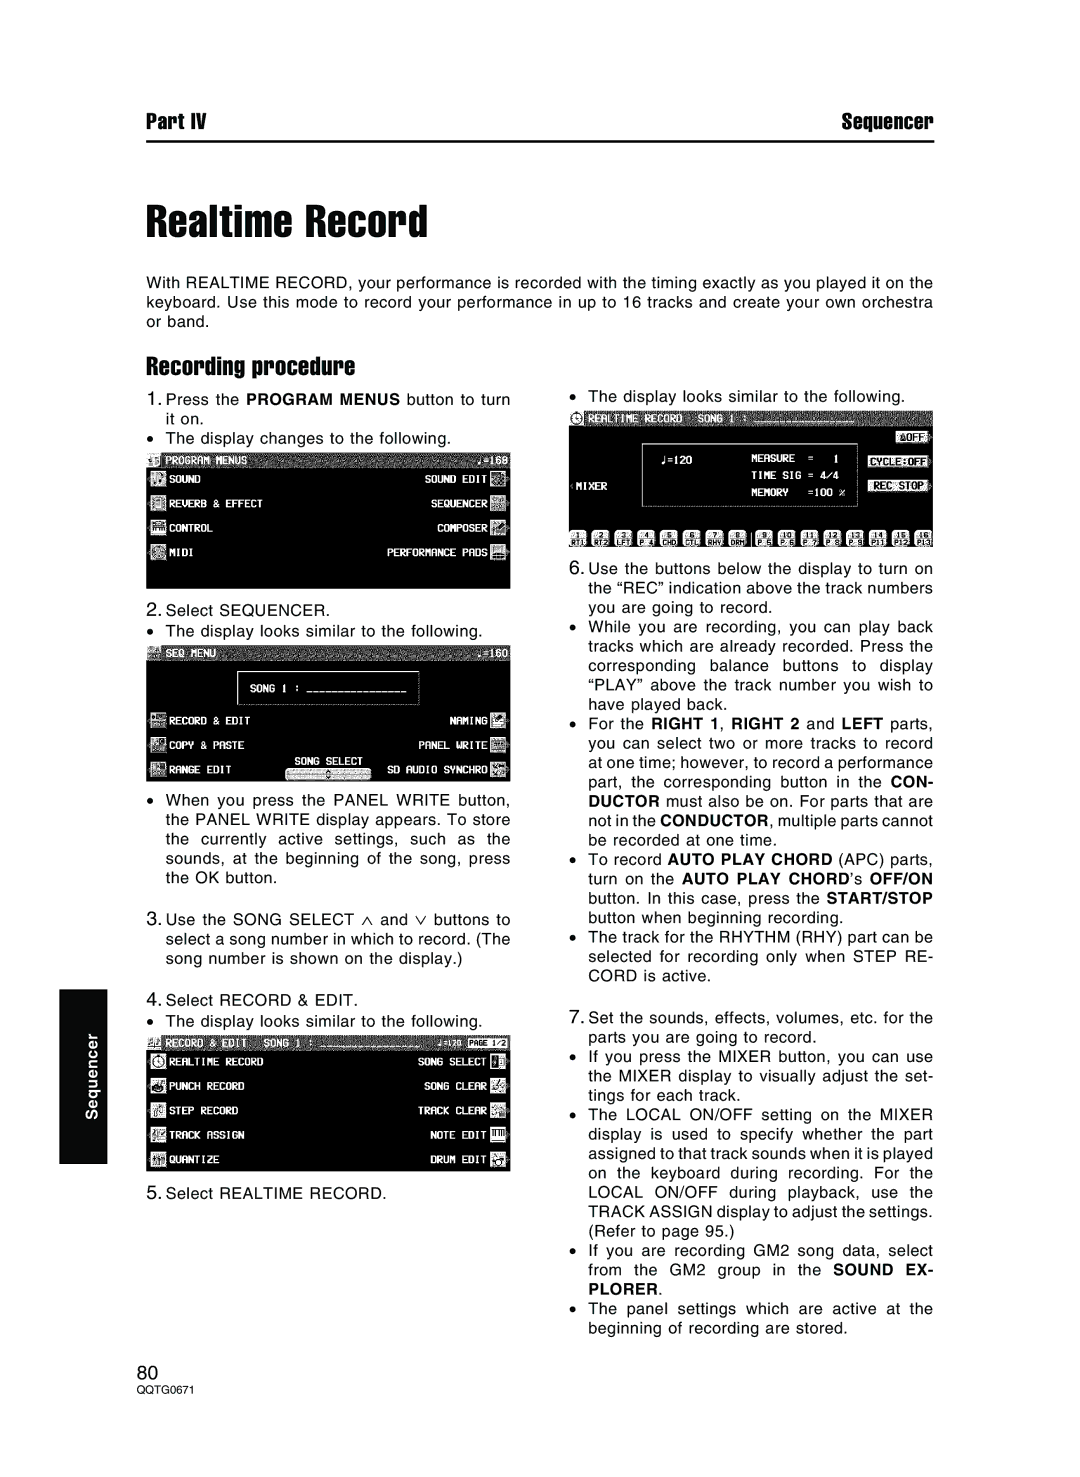
•The display looks similar to the following.
6.Use the buttons below the display to turn on the “REC” indication above the track numbers you are going to record.
•While you are recording, you can play back tracks which are already recorded. Press the corresponding balance buttons to display “PLAY” above the track number you wish to have played back.
•For the RIGHT 1, RIGHT 2 and LEFT parts, you can select two or more tracks to record at one time; however, to record a performance part, the corresponding button in the CON- DUCTOR must also be on. For parts that are not in the CONDUCTOR, multiple parts cannot be recorded at one time.
•To record AUTO PLAY CHORD (APC) parts, turn on the AUTO PLAY CHORD’s OFF/ON button. In this case, press the START/STOP button when beginning recording.
•The track for the RHYTHM (RHY) part can be selected for recording only when STEP RE- CORD is active.
7.Set the sounds, effects, volumes, etc. for the parts you are going to record.
•If you press the MIXER button, you can use the MIXER display to visually adjust the set- tings for each track.
•The LOCAL ON/OFF setting on the MIXER display is used to specify whether the part assigned to that track sounds when it is played on the keyboard during recording. For the LOCAL ON/OFF during playback, use the TRACK ASSIGN display to adjust the settings. (Refer to page 95.)
•If you are recording GM2 song data, select from the GM2 group in the SOUND EX-
PLORER.
•The panel settings which are active at the beginning of recording are stored.
80