Part IV | Sequencer |
<Measure 3>
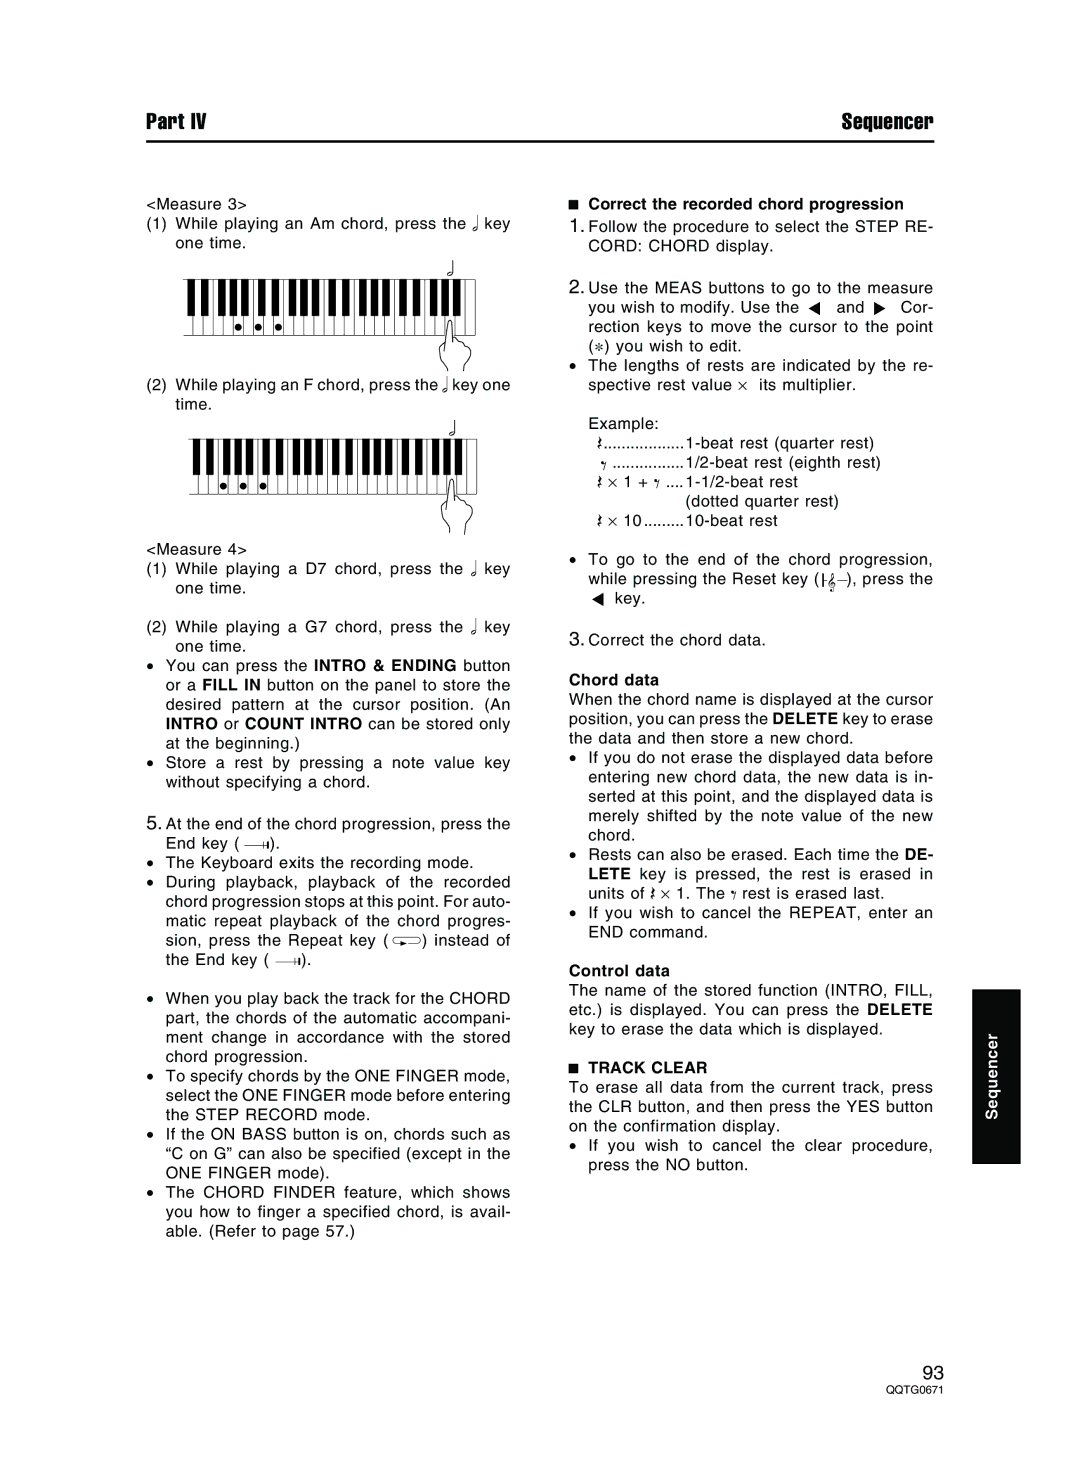
(1) While playing an Am chord, press the key one time.
(2) While playing an F chord, press the key one time.
<Measure 4>
(1) While playing a D7 chord, press the key one time.
(2) While playing a G7 chord, press the key one time.
•You can press the INTRO & ENDING button or a FILL IN button on the panel to store the desired pattern at the cursor position. (An INTRO or COUNT INTRO can be stored only at the beginning.)
•Store a rest by pressing a note value key without specifying a chord.
5.At the end of the chord progression, press the
End key ( ![]() ).
).
•The Keyboard exits the recording mode.
•During playback, playback of the recorded chord progression stops at this point. For auto- matic repeat playback of the chord progres-
sion, press the Repeat key ( ![]() ) instead of
) instead of
the End key ( ![]() ).
).
•When you play back the track for the CHORD part, the chords of the automatic accompani- ment change in accordance with the stored chord progression.
•To specify chords by the ONE FINGER mode, select the ONE FINGER mode before entering the STEP RECORD mode.
•If the ON BASS button is on, chords such as “C on G” can also be specified (except in the ONE FINGER mode).
•The CHORD FINDER feature, which shows you how to finger a specified chord, is avail- able. (Refer to page 57.)
Correct the recorded chord progression
1.Follow the procedure to select the STEP RE- CORD: CHORD display.
2.Use the MEAS buttons to go to the measure
you wish to modify. Use the | ▲ | and | ▼ | Cor- |
rection keys to move the cursor to the point
(*) you wish to edit.
• The lengths of rests are indicated by the re- spective rest value ⋅ its multiplier.
Example:
⋅1
⋅
•To go to the end of the chord progression,
while pressing the Reset key ( |
|
|
| ), press the |
|
| |||
▲ key. |
|
|
|
|
3. Correct the chord data. |
|
|
|
|
Chord data
When the chord name is displayed at the cursor position, you can press the DELETE key to erase the data and then store a new chord.
•If you do not erase the displayed data before entering new chord data, the new data is in- serted at this point, and the displayed data is merely shifted by the note value of the new chord.
•Rests can also be erased. Each time the DE- LETE key is pressed, the rest is erased in
units of ⋅ 1. The rest is erased last.
•If you wish to cancel the REPEAT, enter an END command.
Control data
The name of the stored function (INTRO, FILL, etc.) is displayed. You can press the DELETE key to erase the data which is displayed.
TRACK CLEAR
To erase all data from the current track, press the CLR button, and then press the YES button on the confirmation display.
•If you wish to cancel the clear procedure, press the NO button.
Sequencer
93