Part IV | Sequencer |
4.Use the COUNT IN MEASURE ∧ and ∨ but- tons to specify the number of
•Set the metronome to on or off with the ON or OFF button.
5.Press the EXIT button.
•The display changes to the PUNCH RECORD display.
6.Press the START/STOP button.
•Playback begins from the measure indicated by CURRENT MEASURE on the display.
•Pertinent information, such as the FIRST MEASURE, is shown in the upper section of the display.
7.Correct the performance.
•The mode changes automatically to the re- cording mode at the specified FIRST measure. Begin playing at this point. The mode auto- matically changes back to the playback mode at the specified LAST measure.
•To discontinue punch recording in the middle, press the CANCEL button. In this case, the recorded contents up to that point are erased.
Step Record
STEP RECORD is simply a method of making a tune by storing the sounds
Sequencer
Recording procedure
Record the keyboard performance and panel changes.
1.On the SEQ MENU display, use the SONG SELECT ∧ and ∨ buttons to select the song number. Then select RECORD & EDIT.
2.On the RECORD & EDIT display, select STEP RECORD.
•The display changes to the PART SELECT display.
3.Use the balance buttons below the display to specify the track for the part you are going to record (only one track can be selected at a time).
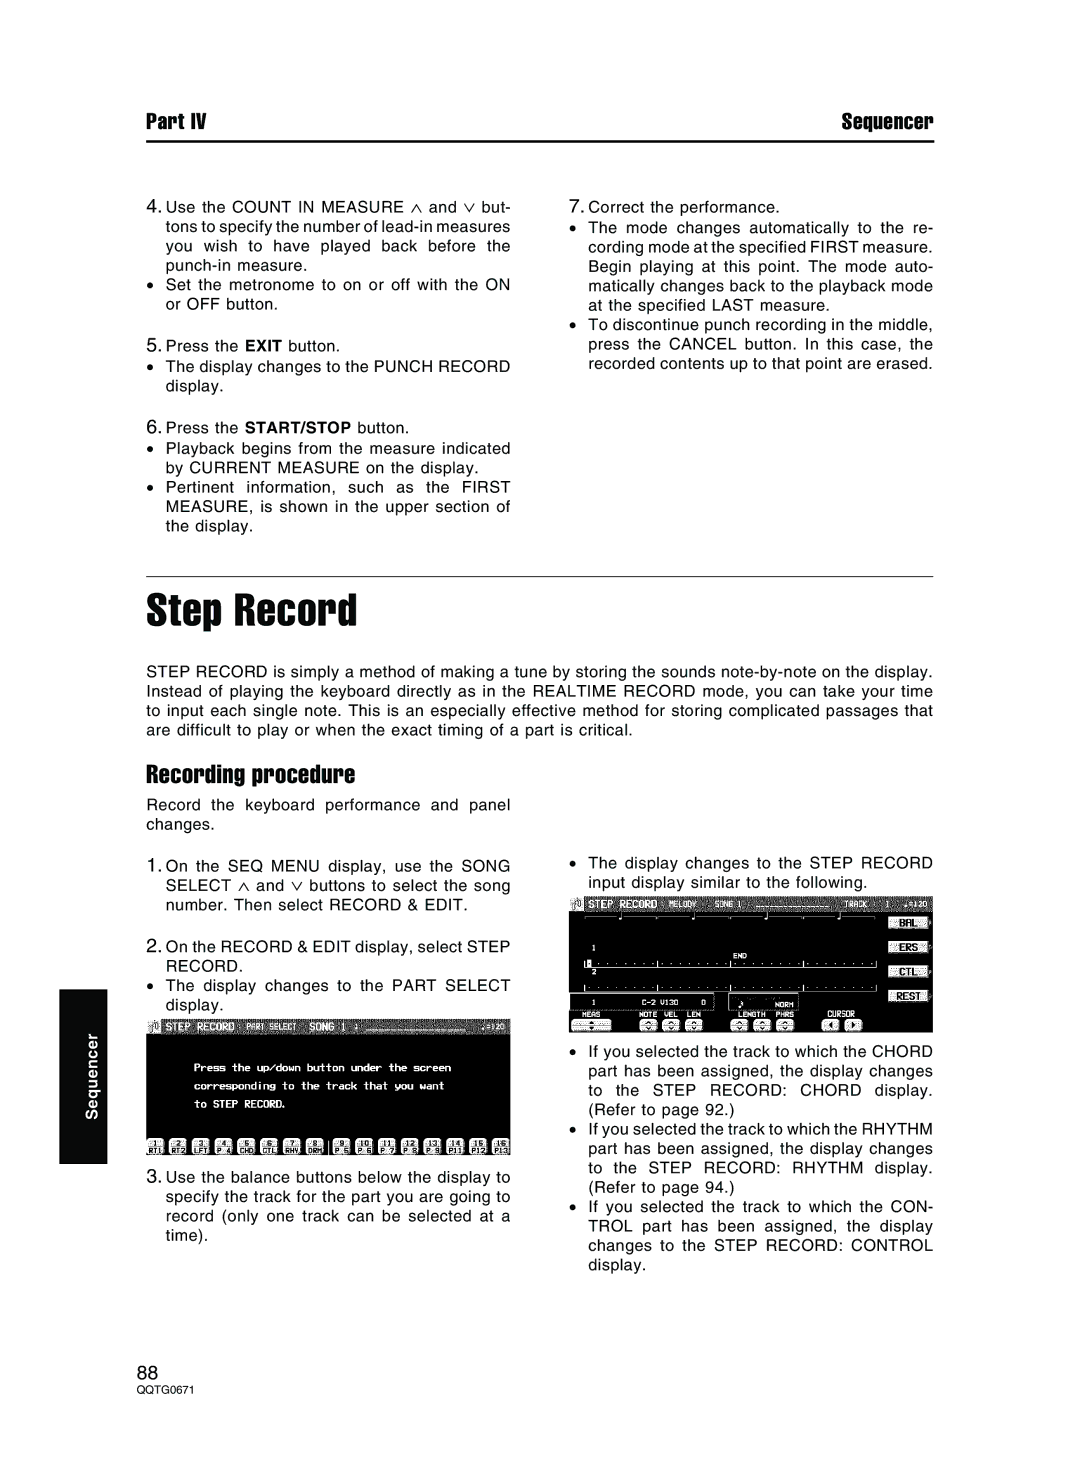
•The display changes to the STEP RECORD input display similar to the following.
•If you selected the track to which the CHORD part has been assigned, the display changes to the STEP RECORD: CHORD display. (Refer to page 92.)
•If you selected the track to which the RHYTHM part has been assigned, the display changes to the STEP RECORD: RHYTHM display. (Refer to page 94.)
•If you selected the track to which the CON- TROL part has been assigned, the display changes to the STEP RECORD: CONTROL display.
88